

Why Is My Amcrest Camera P2P Showing Offline and I Cannot View Remotely
- P2P feature not enabled in camera or NVR network settings
- Wrong or missing default gateway/DNS on a static-IP camera (no internet path)
- DNS resolution failing, preventing P2P server registration
Problem Description
Your Amcrest camera or NVR shows P2P status as Offline in the device settings, preventing you from viewing the live feed remotely through the Amcrest View Pro app or web portal when you are away from home. The camera works fine on the local network but is inaccessible from outside your home WiFi.
Why This Happens in Real Homes
Amcrest's P2P is what lets you view a camera from anywhere without configuring port forwarding — the camera "phones home" to Amcrest's (Dahua's) P2P relay servers and registers itself by serial number, so the app finds it through that cloud broker. That's why a P2P Offline status almost always means the camera itself can't reach those servers, even though it streams fine on your LAN: it has local connectivity but no working path out to the internet.
The two things that most often break that path are DNS and the gateway. A camera on a static IP frequently gets a wrong or missing gateway or DNS, so it can't resolve anything and never registers — setting DNS to 8.8.8.8 and confirming the correct gateway (or simply switching to DHCP) resolves a large share of cases. After that, check the camera's clock, since a wrong date/time breaks the secure handshake, then the router (UPnP off or a strict firewall blocking outbound P2P). If the camera clearly has internet and still won't register, the culprit is usually your ISP: carrier-grade NAT (CGNAT) or a double-NAT setup blocks direct P2P, and manual port forwarding is the reliable fallback.
Symptoms
- P2P status shows Offline in camera or NVR network settings
- Amcrest View Pro app shows the device offline on mobile data
- Camera works on local WiFi but not when away from home
- AmcrestCloud.com portal cannot connect to the device remotely
- Remote viewing worked before but stopped after a router change
- P2P was enabled but the status never changes from Offline to Online
- P2P status flickers Online then drops back to Offline
- Adding the device by serial number (SN) times out
Recognize these? Here's what usually causes it.
Common Causes
- P2P feature not enabled in camera or NVR network settings
- Wrong or missing default gateway/DNS on a static-IP camera (no internet path)
- DNS resolution failing, preventing P2P server registration
- Camera date/time incorrect, breaking the secure P2P handshake
- Router UPnP disabled preventing automatic port mapping
- Router firewall blocking outbound UDP connections for P2P
- ISP CGNAT or double NAT preventing direct P2P connections
- Camera or NVR firmware needs an update for P2P server compatibility
Most fixes happen in the first 3 steps.
When setting up port forwarding, change the default camera admin password to something strong. Exposing camera ports to the internet with a weak password is a serious security risk.
Tools & Requirements
Step-by-Step Solution
Verify P2P Is Enabled
Access the camera web interface by typing its local IP address in a browser. Go to Setup, then Network, then TCP/IP or Online Upgrade section depending on your firmware version. Look for the P2P option and make sure it is toggled to Enable. After enabling, wait 30 seconds and check if the P2P Status changes from Offline to Online. If it stays Offline, the issue is network-related and not a camera setting problem.
Fix DNS Resolution
P2P requires the camera to connect to Amcrest's relay servers which requires working DNS resolution. In the camera network settings under TCP/IP, change the Preferred DNS from your router IP to 8.8.8.8 and the Alternate DNS to 8.8.4.4. Apply the settings and reboot the camera. DNS issues are the most common cause of P2P showing Offline when the feature is enabled.
Check Router Settings
Log into your router admin panel. Enable UPnP if it is disabled, as this allows the camera to automatically configure the port forwarding needed for P2P. Check the firewall settings and make sure outbound connections are not being blocked. Some routers have a strict firewall mode that blocks unusual outbound traffic patterns. Set the firewall to medium or standard mode. Also verify the camera has internet access by pinging an external IP from the camera diagnostic tools.
Set Up Manual Port Forwarding as Backup
If P2P continues to show Offline, set up manual port forwarding. In the camera web interface, note the HTTP port (default 80) and RTSP port (default 554). In your router, create port forwarding rules that forward these external ports to the camera internal IP address. You may want to use non-standard external ports like 8080 and 8554 for security. Then add the camera to Amcrest View Pro using the port forwarding method instead of P2P by selecting IP/Domain and entering your public IP with the forwarded ports.
Update Firmware and Verify
Download the latest firmware from amcrest.com for your specific camera model. Update through the camera web interface under Setup, System, Upgrade. After the camera reboots, check P2P status again. Open the Amcrest View Pro app on your phone, switch to mobile data instead of WiFi, and attempt to view the live feed. If the camera connects, P2P is working correctly. Bookmark your camera in the app for quick access.
Quick Solutions
Still having issues? This is usually the deeper cause below.
This usually happens right after a router reboot or ISP change — the device rejoins the network but drops its cloud session silently.
If your ISP uses CGNAT (Carrier-Grade NAT), P2P and port forwarding will not work. Contact your ISP and request a public IP address, often available for a small monthly fee or by switching to a business plan.
Most WiFi drop-offs happen right after a router reboot or ISP swap — the device reconnects to the network but silently loses its cloud registration.
- P2P feature not enabled in camera or NVR network
- Wrong or missing default gateway/DNS on a static-IP camera
- DNS resolution failing, preventing P2P server registration
- Camera date/time incorrect, breaking the secure P2P handshake
- Router UPnP disabled preventing automatic port mapping
Before you go — try one of these (they fix most cases).
Most popular upgrades chosen by Amcrest IP Camera and NVR owners.
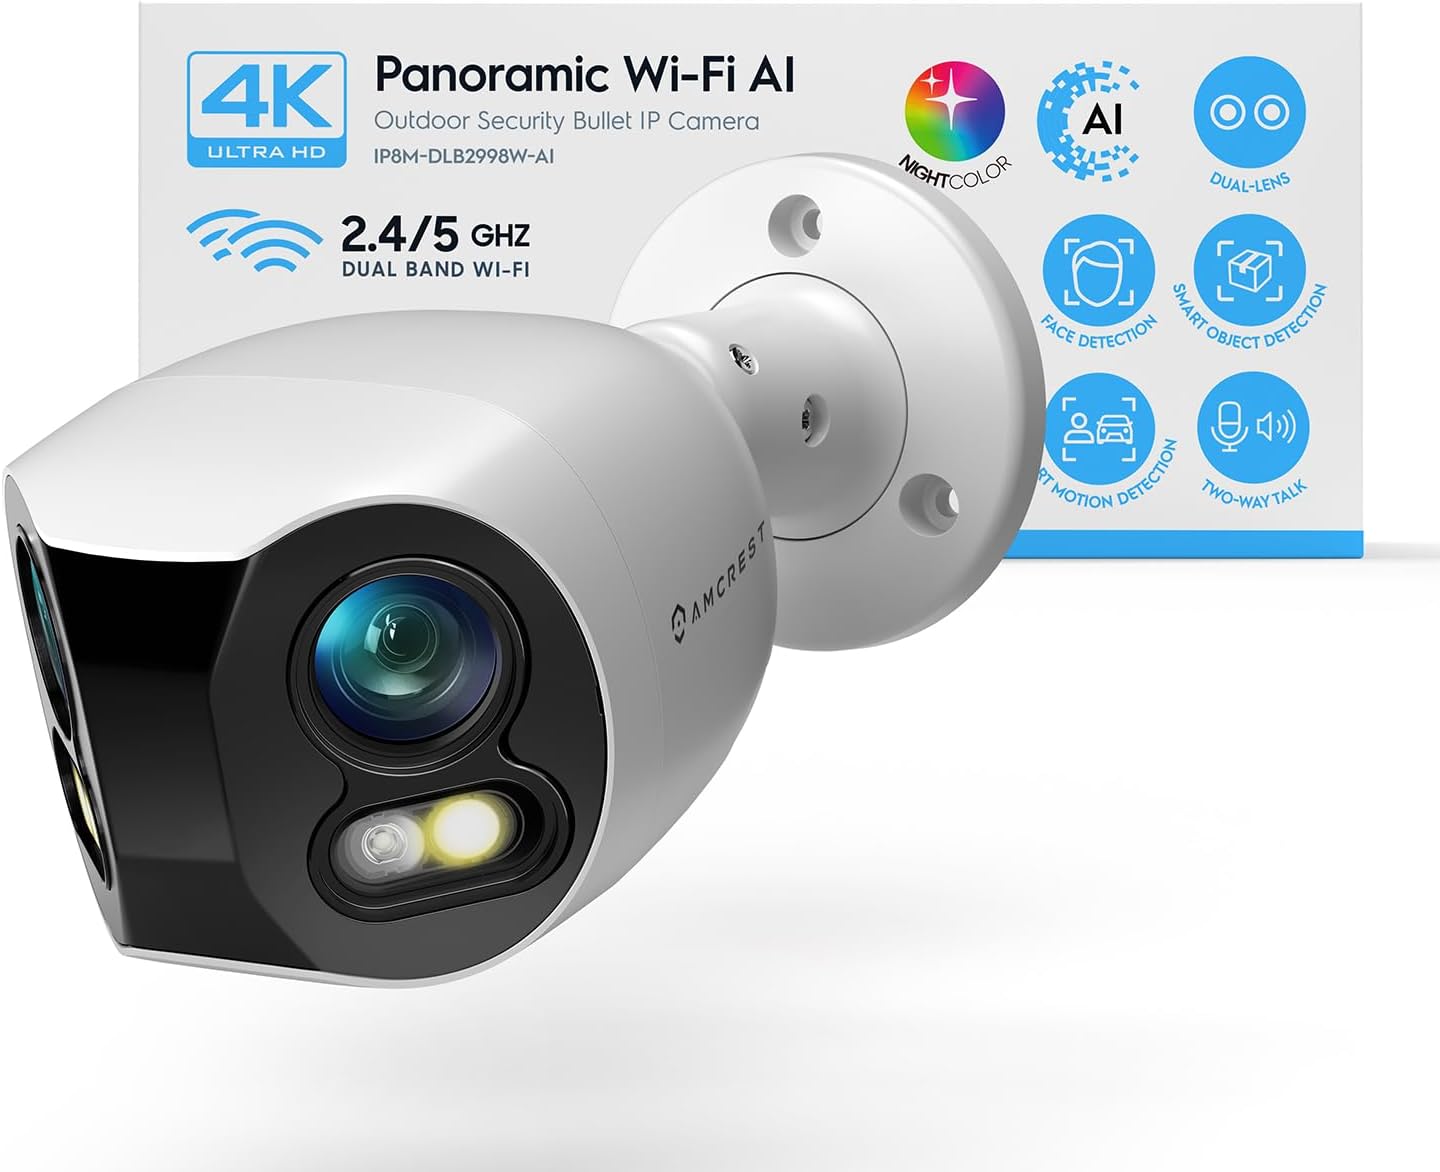
Amcrest Dual-Lens 4K (8MP) Outdoor Security WiFi Camera, ...

Amcrest 2-Pack 1080p WiFi Camera Indoor, 2MP Pan/Tilt Hom...

Amcrest 4MP ProHD Indoor WiFi Camera, Security IP Camera ...
As an Amazon Associate we earn from qualifying purchases.
Official Manufacturer Manual
Amcrest provides official product documentation through their online manual rather than downloadable PDF. Access setup guides, troubleshooting steps, and product specifications for your Amcrest IP Camera and NVR.
Source: support.amcrest.com
Need More Help? Amcrest Support
Note: The contact information below connects you directly to Amcrest's official customer support team, not Trunetto. They can help with warranty claims, device replacements, and advanced technical issues.


