Why Is My Amcrest Camera Night Vision Blurry With Purple Tint or Washed Out Image
- IR reflecting off a nearby wall/surface
- IR cut filter stuck (purple/pink tint)
- Dirty or wet lens
Problem Description
Your Amcrest security camera produces blurry, purple-tinted, or washed-out images during nighttime recording. The IR night vision may appear foggy, have a strong purple or pink color cast, or show extremely bright spots that wash out the entire image. Daytime video quality is normal but night vision is unusable.
Why This Happens in Real Homes
Amcrest night-vision problems split into two signatures. A purple or pink tint is the classic sign of a stuck IR cut filter — the mechanical filter that swaps in front of the sensor for day/night has jammed, letting infrared bleed into the daytime image or mixing color wrong. Blurry, washed-out night footage, by contrast, is almost always infrared reflecting straight back into the lens off a nearby wall, eave, railing, or a window you're shooting through.
For a purple tint, power-cycle the camera a few times to free the IR cut filter; if it keeps sticking, the filter mechanism is failing and needs service. For washed-out or hazy night vision, aim the camera so nothing reflective sits right in front of it, keep close objects out of the frame, and never shoot through glass — mount the camera outside the window. Clean the lens and dome of dust, water spots, and spiderwebs (which glow brightly under IR), and address any condensation inside a dome. That resolves the vast majority of night-vision complaints.
Symptoms
- Blurry night vision
- Purple/pink tint on video
- Washed-out night image
- Glare/haze at night
- Bright center, dark edges
- Foggy night footage
- IR washout up close
- Discolored image
Recognize these? Here's what usually causes it.
Common Causes
- IR reflecting off a nearby wall/surface
- IR cut filter stuck (purple/pink tint)
- Dirty or wet lens
- Spiderwebs/insects near the lens
- Shooting through glass (IR bounce)
- Object too close reflecting IR
- Condensation/fogging inside the dome
- Aging IR LEDs or sensor
Most fixes happen in the first 3 steps.
Do not point IR-equipped cameras directly at windows from inside. The IR will reflect off the glass and create a completely white image. Use cameras without IR or disable IR LEDs for window-facing indoor setups.
Tools & Requirements
These tools will help you complete this fix.

Lens cleaning pen
Microfiber Lens Cleaning Cloth for Glasses & Camera ...

microfiber cloth
BELLEMOND「Samurai Cloth」Japanese Microfiber Cleaning...

Silicone sealant
WD-40 Specialist Dry Lube with Smart Straw Sprays 2 ...

Silica gel packets
Absorbking Silica Gel Packets, Food Safe Moisture Ab...
As an Amazon Associate we earn from qualifying purchases.
Step-by-Step Solution
Check for IR Reflection Sources
At night, view the camera live feed and look for any bright white areas washing out the image. IR LEDs reflect strongly off walls, roof eaves, window glass, and light-colored siding within 3 feet of the camera. Reposition the camera so no surfaces are within the IR beam path directly in front of or beside the lens. Even a small lip of a mounting surface can reflect enough IR to ruin the entire image.
Needed for this step
Microfiber Lens Cleaning Cloth for Glasses & Ca...
This helps complete the fix you are currently reading.
$8.99Clean Lens and Dome Cover
Power off the camera and carefully remove the dome cover if applicable. Clean the inside and outside of the dome with a dry microfiber cloth. Check the actual lens surface for fingerprints, dust, or water spots. For bullet cameras, clean the front glass window. Any film or residue on the lens surface will scatter IR light and create a foggy or hazy night vision image. Use a lens cleaning pen for stubborn spots.
Needed for this step
BELLEMOND「Samurai Cloth」Japanese Microfiber Cle...
This helps complete the fix you are currently reading.
$18.99Address Condensation and Moisture
If you see fog or moisture droplets inside the dome or housing, the camera seal has been compromised. Remove the camera and dry it thoroughly indoors for 24 hours. Apply silicone sealant around the cable entry point and any seams where water could enter. Place a small silica gel desiccant packet inside the housing before resealing. For turret cameras, make sure the rubber gasket around the lens module is properly seated.
Needed for this step
WD-40 Specialist Dry Lube with Smart Straw Spra...
This helps complete the fix you are currently reading.
$15.96Adjust IR and Exposure Settings
Access the camera web interface and go to the Image or Video settings. Find the IR LED or Infrared section and reduce the IR intensity from Auto to a manual level, starting at 50 percent. Under Exposure settings, switch from Auto to Manual and reduce the gain value to lower noise in the image. Increase the shutter speed slightly if the image is too dark. These adjustments reduce the purple tint and overexposure common with auto settings.
Test and Fine-Tune at Night
After making adjustments, wait until full darkness and review the live feed. Walk through the camera field of view to check that people and objects are visible without being washed out. If the purple tint persists, the IR cut filter may be mechanically stuck. Try power cycling the camera which sometimes frees a stuck filter. If the filter is permanently stuck, the camera may need warranty replacement as the filter mechanism is not user-serviceable.
Quick Solutions
Still having issues? This is usually the deeper cause below.
Camera issues that start suddenly almost always trace back to an upload bandwidth drop — run a speed test before assuming hardware failure.
External IR illuminators mounted separately from the camera often provide better night vision than built-in IR LEDs. They eliminate reflection issues and provide more even illumination.
Live view problems that start suddenly usually trace back to an upload speed drop — the camera itself is fine, the bandwidth path to the cloud isn't.
- IR reflecting off a nearby wall/surface
- IR cut filter stuck (purple/pink tint)
- Dirty or wet lens
- Spiderwebs/insects near the lens
- Shooting through glass (IR bounce)
Before you go — try one of these (they fix most cases).
Most popular upgrades chosen by Amcrest IP Camera owners.
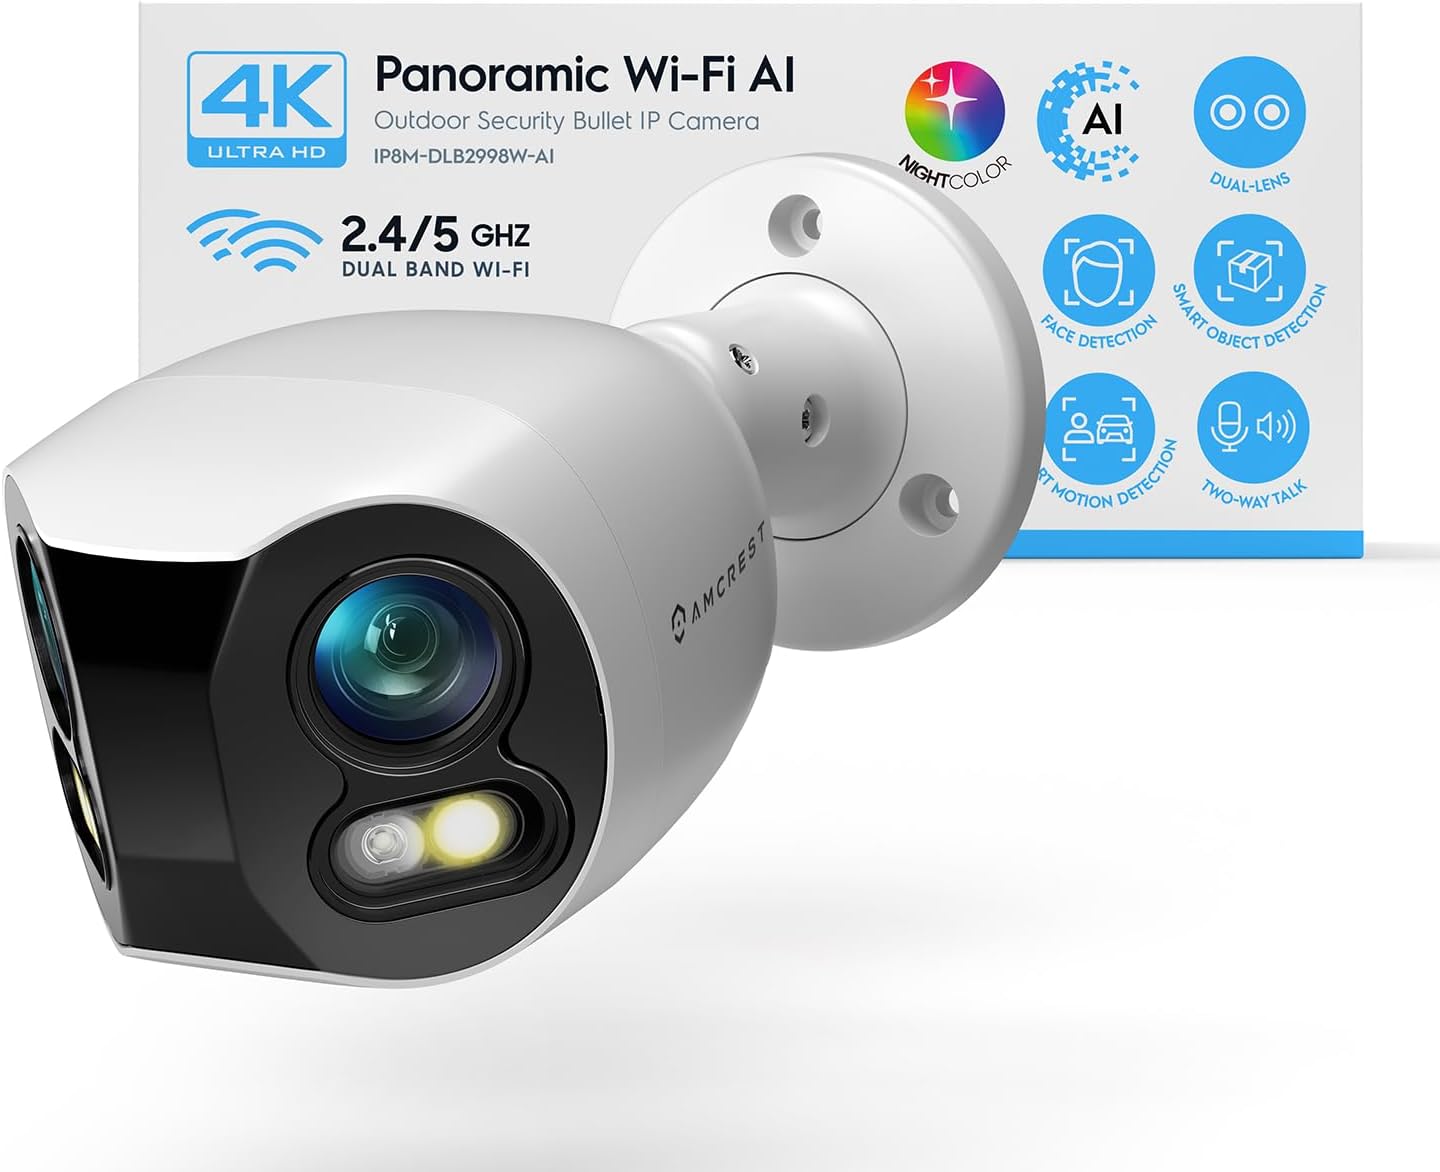
Amcrest Dual-Lens 4K (8MP) Outdoor Security WiFi Camera, ...

Amcrest 4MP ProHD Indoor WiFi Camera, Security IP Camera ...
Amcrest ProHD 1080P WiFi 2MP (1920TVL) Indoor Pan/Tilt Se...
As an Amazon Associate we earn from qualifying purchases.
Official Manufacturer Manual
Amcrest provides official product documentation through their online manual rather than downloadable PDF. Access setup guides, troubleshooting steps, and product specifications for your Amcrest IP Camera.
Source: support.amcrest.com
Need More Help? Amcrest Support
Note: The contact information below connects you directly to Amcrest's official customer support team, not Trunetto. They can help with warranty claims, device replacements, and advanced technical issues.


