How to Set Up Your Wyze Cam
- Power On and Prepare App
- Add Device in Wyze App
- Scan the QR Code
- Finalize Setup
Most users complete this in under 15 minutes
Overview
This guide provides instructions for setting up your Wyze Cam (v3, v3 Pro, or OG). It covers connecting the camera to power, pairing it with the Wyze app via a QR code, and mounting it in your desired indoor or outdoor location for home monitoring.
Why This Happens in Real Homes
Nearly every Wyze Cam setup problem is the same two things: the camera only joins 2.4GHz WiFi, and it needs the app to hand it your network during a QR-code pairing step. If your phone is on a 5GHz or combined band, or the signal at the camera's spot is weak, setup stalls at "connecting."
Before you start, put your phone on the 2.4GHz band, keep the camera near the router for first setup, and have the QR code steady and well-lit for the camera to scan. Once it's online you can move it to its final location — just confirm the signal holds there, since a spot that's fine for your phone may be marginal for the camera.
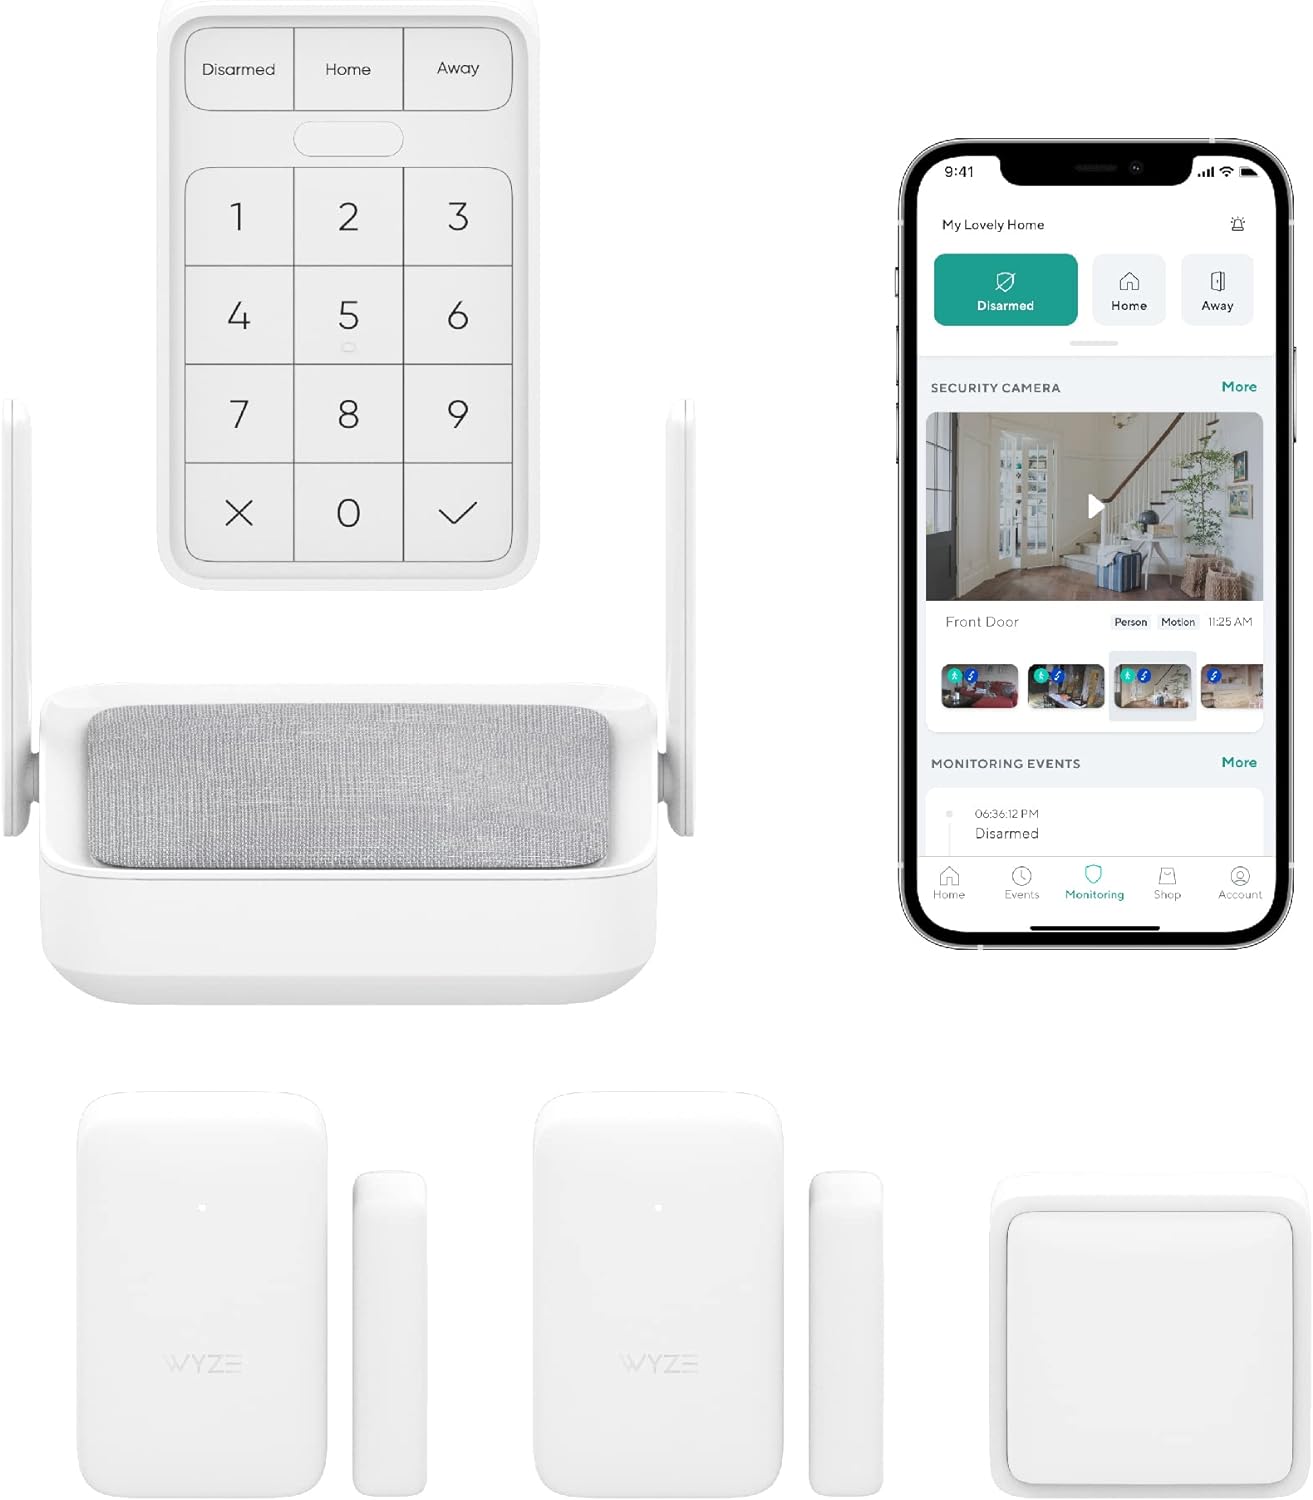
What's Included
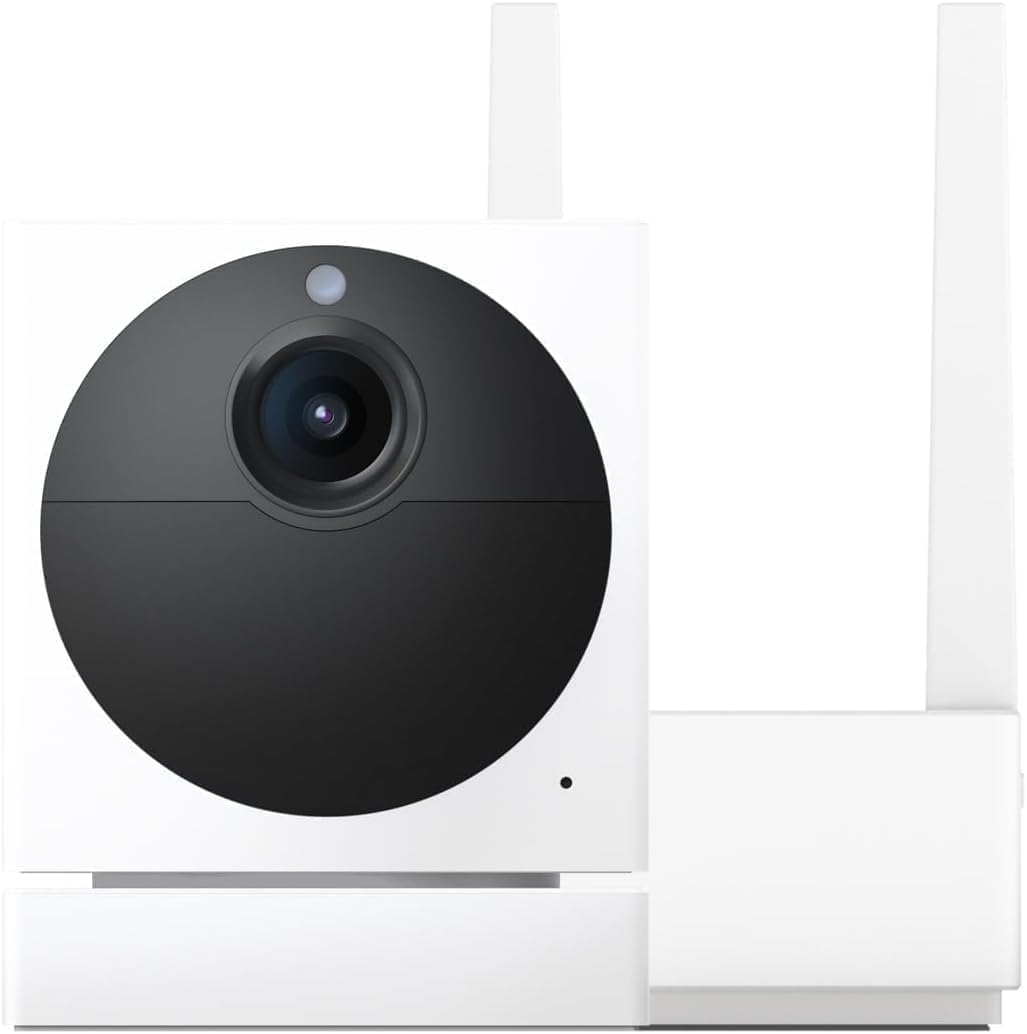
- Wyze Cam camera unit
- USB cable and power adapter
- Wall mount plate and mounting tape
- Mounting screws for a secure fit
- User manual for quick reference
- Your smartphone with the Wyze app
Got your materials ready? Here's what to check first.
Before You Start
- A 2.4GHz Wi-Fi network (5GHz not supported)
- A nearby power outlet for the camera
- Smartphone with the Wyze app installed
- Bluetooth enabled for some setup processes
- The setup button on the camera is pressed
- QR code is scanned correctly by the camera
Don't skip this step — it breaks everything if you do
Wyze Cams only support 2.4GHz Wi-Fi networks. They will not connect to 5GHz networks.
Tools & Requirements
Installation Steps
Power On and Prepare App
Download the Wyze app and create an account. Plug your Wyze Cam into a power outlet using the provided USB cable and power adapter. Wait for the camera's status light to begin flashing red, which indicates that it is ready for the setup process to begin.
Add Device in Wyze App
In the Wyze app, tap the '+' icon in the top-left corner, then select 'Add Device'. Choose your specific Wyze Cam model from the list of available products. The app will then prompt you to begin the pairing process with your new camera.
Scan the QR Code
Follow the in-app instructions, which will require you to press the setup button on the bottom of the camera until you hear a beep. The app will then display a QR code on your phone's screen. Hold your phone in front of the Wyze Cam lens to scan the code.
Finalize Setup
Once the camera successfully scans the QR code, it will announce 'QR code scanned, please wait.' The camera will then complete the connection to your Wi-Fi network. Give your camera a name in the app, and the setup process is complete. You can now view the live stream.
Installation Tips
Still stuck? This is usually the deeper cause below.
When scanning the QR code, make sure your phone's screen brightness is turned up to maximum for best results.
Before you go — these Wyze guides fix most remaining issues.
Most popular upgrades chosen by Wyze Cam v3/v3 Pro/OG owners.

Wyze Cam v3, 1080P HD WiFi Wired Indoor/Outdoor Home Secu...
WYZE Cam v3, 1080P HD WiFi Wired Indoor/Outdoor Home Secu...

Wyze Cam OG Indoor/Outdoor 1080p Wi-Fi Smart Home Securit...
As an Amazon Associate we earn from qualifying purchases.
Official Manufacturer Manual
Wyze provides official product documentation through their online manual rather than downloadable PDF. Access setup guides, troubleshooting steps, and product specifications for your Wyze Cam v3/v3 Pro/OG.
Source: support.wyze.com
Need More Help? Wyze Support
Note: The contact information below connects you directly to Wyze's official customer support team, not Trunetto. They can help with warranty claims, device replacements, and advanced technical issues.
How Does Wyze Compare?
Before replacing your Wyze device, see how it stacks up against alternatives in our full comparison guides.