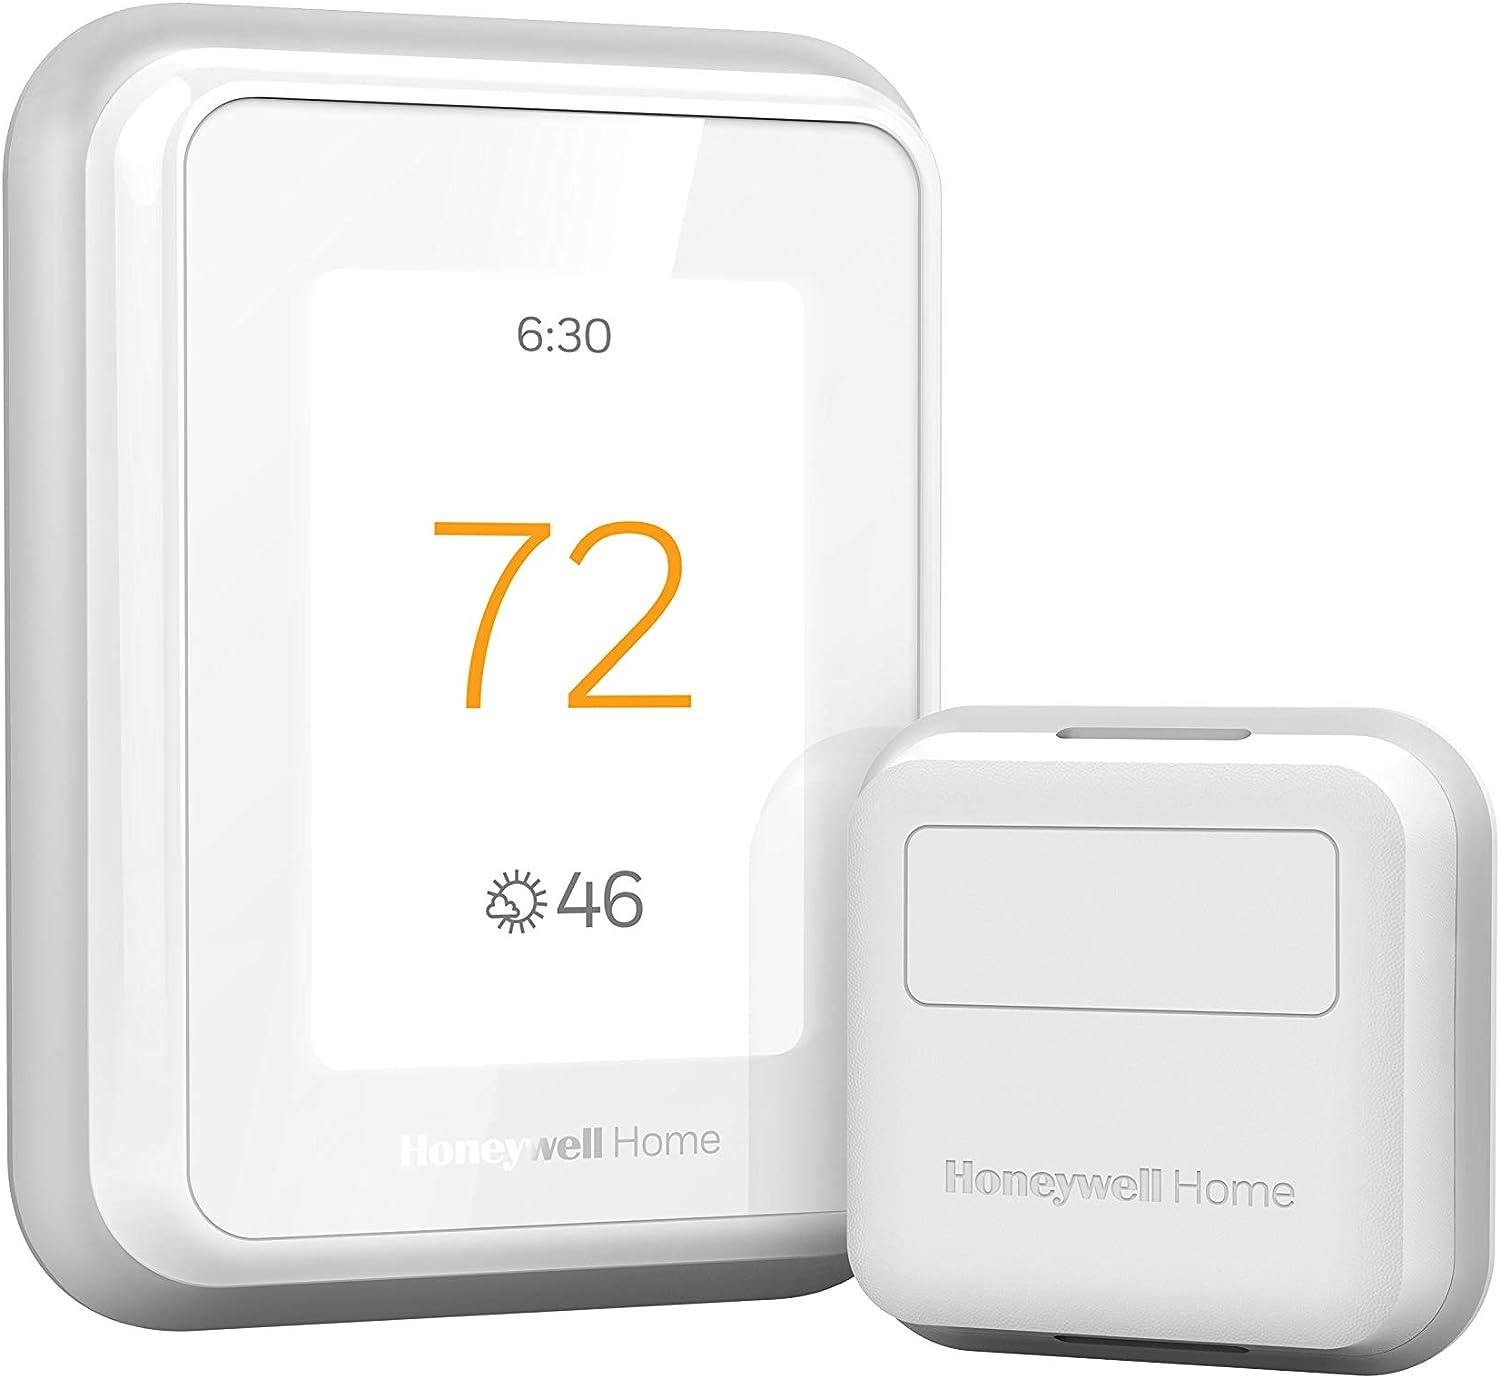
How Do I Set Up the Honeywell Home T9 Thermostat?
- C-wire not connected (power/brownout during setup)
- Trying to join a 5GHz network (T9 is 2.4GHz only)
- Wrong WiFi password entered
Problem Description
You are setting up the Honeywell Home T9 Smart Thermostat. The T9 mounts on the wall with a C-wire for reliable power (a C-wire adapter is included for systems without one), connects to 2.4GHz WiFi, and pairs to the Resideo app. Its standout feature is support for wireless Smart Room Sensors that let it heat and cool based on the rooms you're actually in. This guide covers wiring, WiFi setup, app pairing, and adding room sensors.
Why This Happens in Real Homes
Setting up a Honeywell Home T9 comes down to three things going right in order: power, WiFi, and app pairing. The T9 wants a C-wire for steady power (Resideo includes an adapter if your system lacks one), joins 2.4GHz WiFi only, and pairs through the Resideo app — most setup failures are a 5GHz network selected by mistake, a mistyped password, or a phone that isn't on the same 2.4GHz band during pairing.
Wire it with the C-wire or the included adapter so it isn't brownout-resetting mid-setup, confirm you're joining the 2.4GHz SSID, and keep your phone on that same network while the app links the thermostat. The T9's Smart Room Sensors pair afterward — pull each sensor's battery tab and add it within RF range. If a firmware update kicks off during setup, let it finish before continuing rather than power-cycling.
Symptoms
- Setting up a new T9
- T9 won't connect to WiFi during setup
- App won't find the T9
- Not sure about wiring/C-wire
- Room sensors won't pair
- Setup stalls partway
- Can't complete app pairing
- First-time configuration questions
Recognize these? Here's what usually causes it.
Common Causes
- C-wire not connected (power/brownout during setup)
- Trying to join a 5GHz network (T9 is 2.4GHz only)
- Wrong WiFi password entered
- Phone not on the same 2.4GHz network during pairing
- Resideo account not created/verified
- Weak WiFi at the thermostat location
- Room sensors out of RF range or battery tab not pulled
- Firmware update mid-setup
Most fixes happen in the first 3 steps.
Always turn off your HVAC system at the breaker before removing the thermostat or touching wires. Incorrect wiring can damage both the thermostat and your HVAC equipment resulting in expensive repairs. If unsure about wiring consult an HVAC technician.
Tools & Requirements
These tools will help you complete this fix.

As an Amazon Associate we earn from qualifying purchases.
Step-by-Step Solution
Check wiring compatibility before installing
The Honeywell Home T9 thermostat requires a C-wire (common wire) for power — it does not run on batteries. At your existing thermostat, pull it off the wall and check the wire labels. You need at minimum R (power), C (common), and wires for your system type: W for heat, Y for cooling, G for fan. If you have only R, W, Y, G (no C), you need to add a C-wire or use the included C-Wire Adapter (Honeywell part number THP9045A1098). The T9 supports up to 3 heat / 2 cool stages, heat pumps, and dual fuel systems.
Install and wire the T9
Turn off power at the breaker to your HVAC system. Remove the old thermostat but leave the wires. Label each wire with the included stickers before disconnecting. Mount the T9 base plate using the included screws and level. Connect wires to the matching terminals on the base plate — the terminals are clearly labeled. Snap the T9 display onto the base plate. Turn the breaker back on. The T9 powers up and starts the setup wizard.
Connect to WiFi and the Resideo app
During the T9 setup wizard, it prompts you to connect to WiFi. The T9 supports 2.4GHz WiFi only — not 5GHz. Select your network and enter the password. Then download the Resideo app (not the old Honeywell Home app — Resideo is the current app as of 2024). Create or sign in to your Resideo account. Add the T9 by scanning the QR code on the thermostat or on the box. The app walks through system configuration — heat type, cooling type, fan settings.
Add T9 Smart Room Sensors
The T9 supports up to 20 wireless room sensors (sold separately as RCHTSENSOR-1PK). Each sensor measures temperature and detects occupancy. In the Resideo app, go to the T9 device > Room Sensors > Add Sensor. Put the sensor in pairing mode by pressing the button on the back for 5 seconds (LED flashes). The app discovers and adds the sensor. Assign it to a room. You can then configure Focus Comfort to prioritize occupied rooms — the T9 adjusts heating/cooling based on which rooms have people in them.
Configure schedules and geofencing
In the Resideo app, set up a weekly schedule for the T9 — separate temperature settings for Wake, Away, Home, and Sleep periods for each day. Enable Geofencing to automatically switch between Home and Away based on your phone location. The T9 uses the Resideo app location service — all household members need the Resideo app installed for geofencing to work accurately. You can also enable Auto Home/Away using the T9 room sensor occupancy data — the thermostat switches to Away mode when no sensors detect motion for a set period.
Quick Solutions
Still having issues? This is usually the deeper cause below.
Schedules that skip randomly are usually a daylight-saving holdover — delete and recreate the schedule to clear the corrupted entry.
Use the thermostat energy reports to find patterns in your heating and cooling usage. Setting back the temperature just 3 degrees when you leave for work can save 5 to 10 percent on your annual energy bill without any comfort sacrifice.
Thermostat issues that keep returning are often caused by stale backup-battery memory holding old settings across power cycles without the user realising.
- C-wire not connected (power/brownout during setup)
- Trying to join a 5GHz network (T9 is 2.4GHz
- Wrong WiFi password entered
- Phone not on the same 2.4GHz network during pairing
- Resideo account not created/verified
Before you go — try one of these (they fix most cases).
Most popular upgrades chosen by Honeywell T9 owners.

Honeywell Home RCHT9510WF T9 Smart Thermostat + Wall Plate

Honeywell Home X7B Smart Thermostat with Humidity Monitor...

Honeywell Home X7S Smart Thermostat with Advanced Occupan...
As an Amazon Associate we earn from qualifying purchases.
Official Manufacturer Manual
Honeywell Home provides official product documentation through their online manual rather than downloadable PDF. Access setup guides, troubleshooting steps, and product specifications for your Honeywell T9.
Source: honeywellhome.com
Need More Help? Honeywell Home Support
Note: The contact information below connects you directly to Honeywell Home's official customer support team, not Trunetto. They can help with warranty claims, device replacements, and advanced technical issues.
How Does Honeywell Home Compare?
Before replacing your Honeywell Home device, see how it stacks up against alternatives in our full comparison guides.
Accessories owners commonly pair with Honeywell T9.

Ring Rechargeable Quick Release Battery Pack
Ring Chime Pro

SwitchBot Hub Mini Smart Remote - IR Universal Remote, Wi...
As an Amazon Associate we earn from qualifying purchases.