

Why Is My Honeywell Home T9 Humidity Reading Wrong
- Thermostat near a vent
- Drafts from wall hole
- Sensor needs calibration
Problem Description
Humidity readings can drift if the thermostat is near a vent or exposed to drafts. This guide checks placement and recalibrates the sensor.
Why This Happens in Real Homes
Humidity readings can drift if the thermostat is near a vent or exposed to drafts. This guide checks placement and recalibrates the sensor. In day-to-day use, this usually looks like Humidity reads too high; Room feels drier than display; Readings jump quickly.
Most cases trace back to Thermostat near a vent; Drafts from wall hole; Sensor needs calibration. The fix works best when you go step by step instead of changing multiple settings at once.
A practical order for this issue is: Compare With Hygrometer -> Seal Wall Hole -> Clean Sensor -> Apply Offset. After each step, test the exact behavior that was failing so you can confirm what actually solved it.
Symptoms
- Humidity reads too high
- Room feels drier than display
- Readings jump quickly
- Thermostat near vent
- Recent filter change
- Sensor recently cleaned
Recognize these? Here's what usually causes it.
Common Causes
- Thermostat near a vent
- Drafts from wall hole
- Sensor needs calibration
- Firmware outdated
- Dirty sensor vents
- Exterior wall placement
Most fixes happen in the first 3 steps.
Keep the sensor vents free from dust and obstruction.
Tools & Requirements
These tools will help you complete this fix.

hygrometer
Wengart Zigbee Temperature Humidity Sensor with LCD ...

soft brush
Antistatic Brush, 2 PCS Mainboard Cleaning Tools ESD...
As an Amazon Associate we earn from qualifying purchases.
Step-by-Step Solution
Compare with a Standalone Hygrometer
Place a standalone digital hygrometer within 2 feet of the Honeywell T9 thermostat at the same height. Wait 15-20 minutes for both readings to stabilize. If the readings differ by more than 5%, the T9 sensor may be affected by its location. Note: thermostat humidity sensors are inherently less accurate than dedicated hygrometers because they are influenced by wall cavity air and HVAC airflow.
Needed for this step
Wengart Zigbee Temperature Humidity Sensor with...
This helps complete the fix you are currently reading.
$18.39Seal the Wall Opening Behind the Thermostat
Remove the T9 from its wall plate. Behind the thermostat, there may be an opening in the wall where the wiring comes through. Air from inside the wall cavity (which is often more humid or drier than room air) blows directly onto the thermostat sensors, skewing readings. Seal the opening with putty, foam, or caulk. Reinstall the thermostat and wait 30 minutes for readings to stabilize.
Clean the Sensor Openings
The T9 has small ventilation slots on the body that allow ambient air to reach the internal sensors. Dust buildup on these slots restricts airflow and causes the sensor to read the temperature of the trapped air rather than the room. Use a soft brush or compressed air to clean the ventilation slots on the sides and bottom of the thermostat. Do not use liquid cleaners.
Needed for this step
Antistatic Brush, 2 PCS Mainboard Cleaning Tool...
This helps complete the fix you are currently reading.
$8.50Apply a Humidity Offset
If the T9 reads consistently high or low compared to your reference hygrometer, you can apply a correction offset. On the T9 touchscreen, go to Menu > Installer Settings (may require installer code 1234) > Humidity Offset. Enter the difference between the T9 reading and your reference hygrometer. For example, if the T9 reads 55% but actual humidity is 50%, set the offset to -5%.
Monitor Readings Over 24 Hours
After making adjustments, monitor the humidity readings throughout the day. Humidity naturally fluctuates — it is higher in the morning, lower in the afternoon when HVAC runs, and spikes during cooking or showering. Compare the T9 reading trends with your reference hygrometer trends. If both follow the same pattern but are offset by a constant amount, use the humidity offset to correct it.
Quick Solutions
Still having issues? This is usually the deeper cause below.
If this comes back after following these steps, check whether a recent app or firmware update reset a default setting — the fix works, but the setting gets reverted silently.
Place the thermostat on an interior wall for stable humidity readings.
This issue almost always looks more complex than it is — the majority of cases trace back to a single setting, a stale credential, or a default that shipped wrong.
- Thermostat near a vent
- Drafts from wall hole
- Sensor needs calibration
- Firmware outdated
- Dirty sensor vents
Before you go — try one of these (they fix most cases).
Most popular upgrades chosen by Honeywell Home T9 owners.

Honeywell Home T9 WIFI Smart Thermostat, Smart Room Senso...
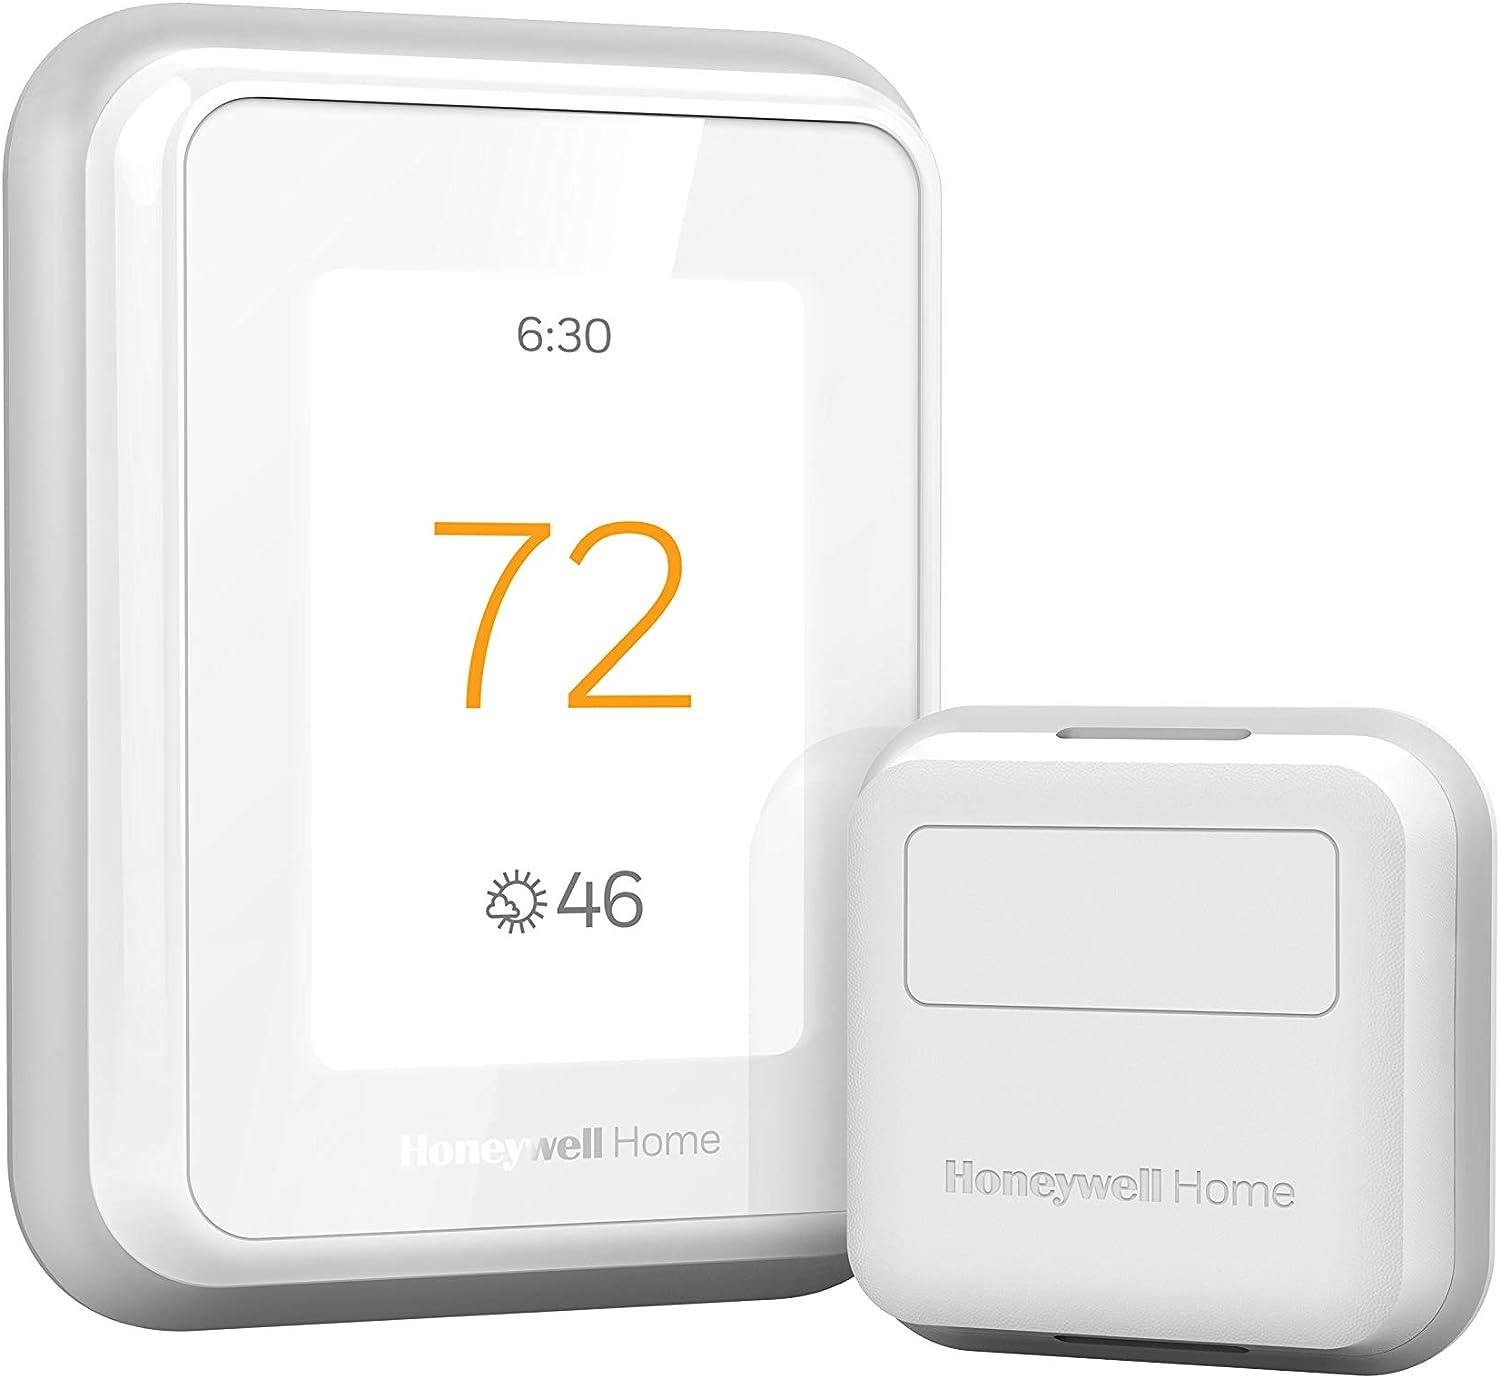
Honeywell Home T9 WiFi Smart Thermostat with 1 Smart Room...
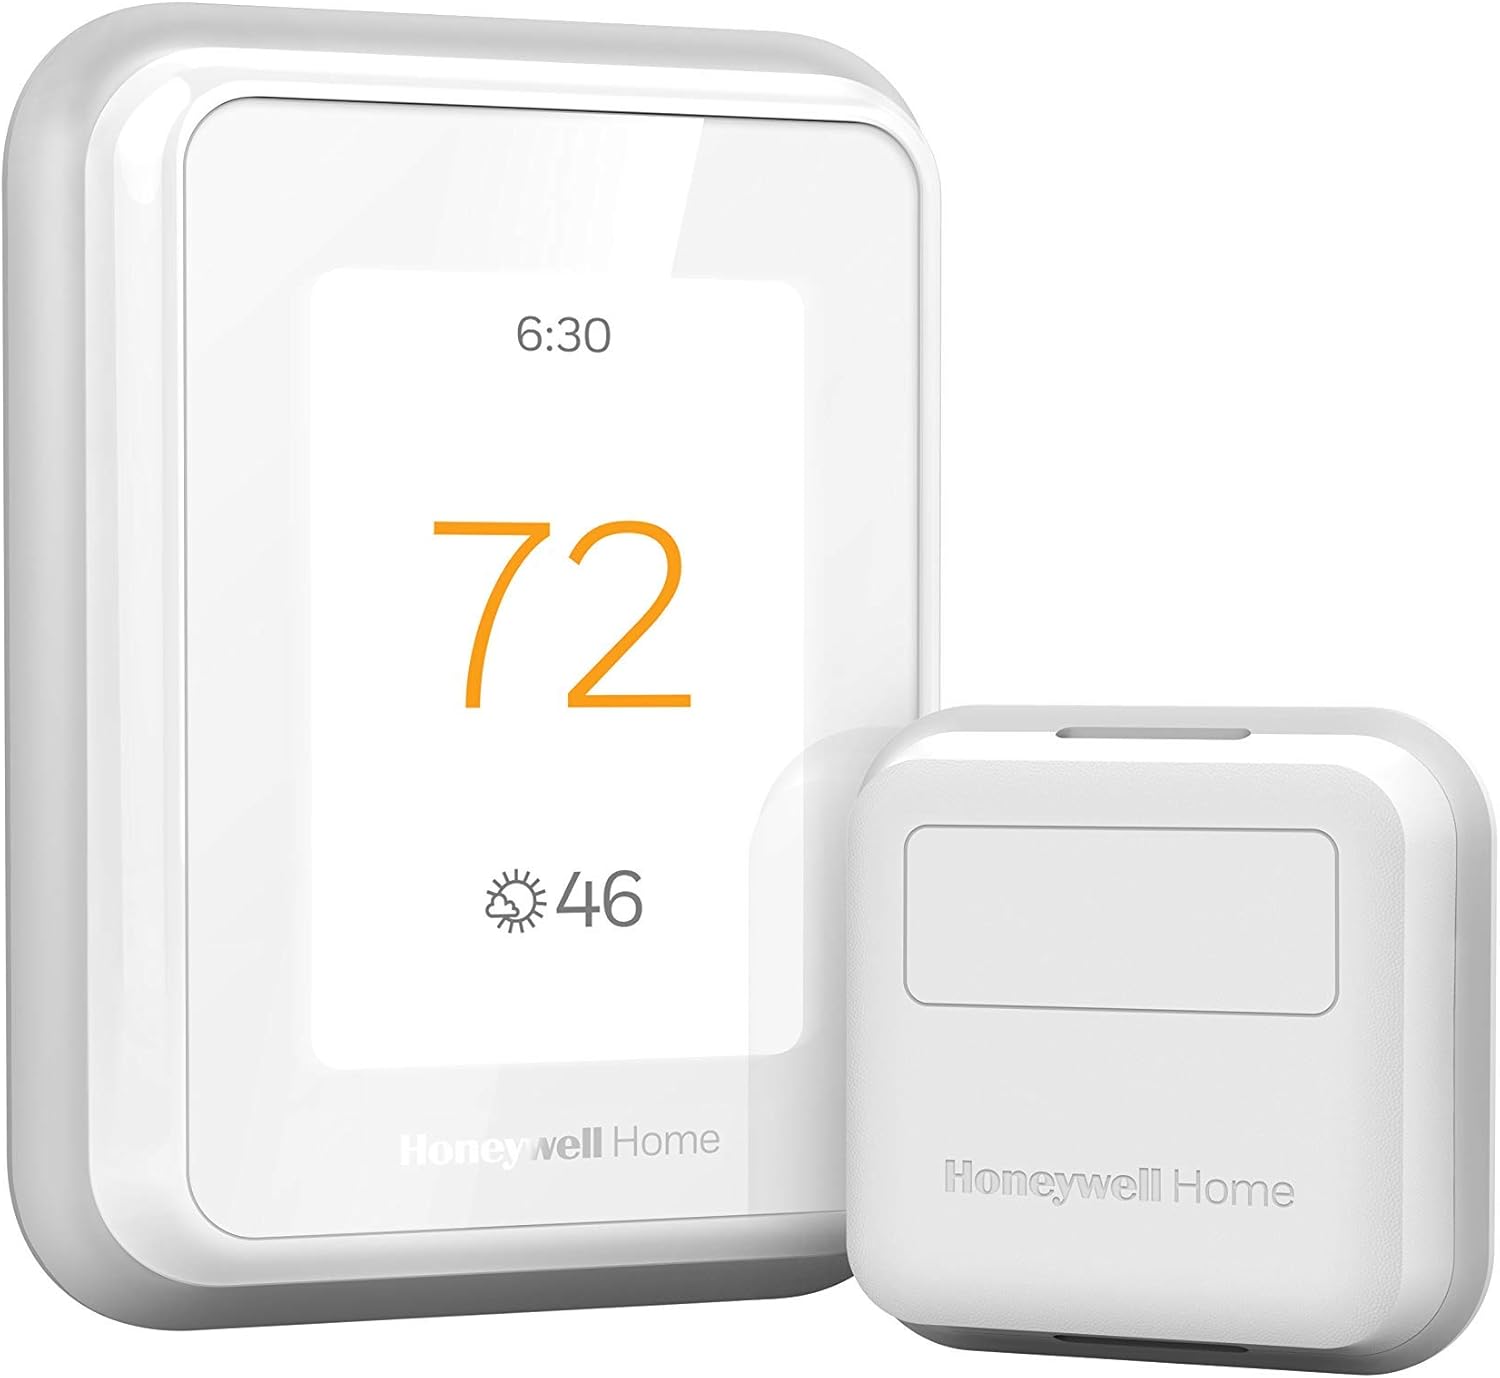
Honeywell Home T9
As an Amazon Associate we earn from qualifying purchases.
Official Manufacturer Manual
Honeywell Home provides official product documentation through their online manual rather than downloadable PDF. Access setup guides, troubleshooting steps, and product specifications for your Honeywell Home T9.
Source: honeywellhome.com
Need More Help? Honeywell Home Support
Note: The contact information below connects you directly to Honeywell Home's official customer support team, not Trunetto. They can help with warranty claims, device replacements, and advanced technical issues.
How Does Honeywell Home Compare?
Before replacing your Honeywell Home device, see how it stacks up against alternatives in our full comparison guides.
Accessories owners commonly pair with Honeywell Home T9.

As an Amazon Associate we earn from qualifying purchases.


