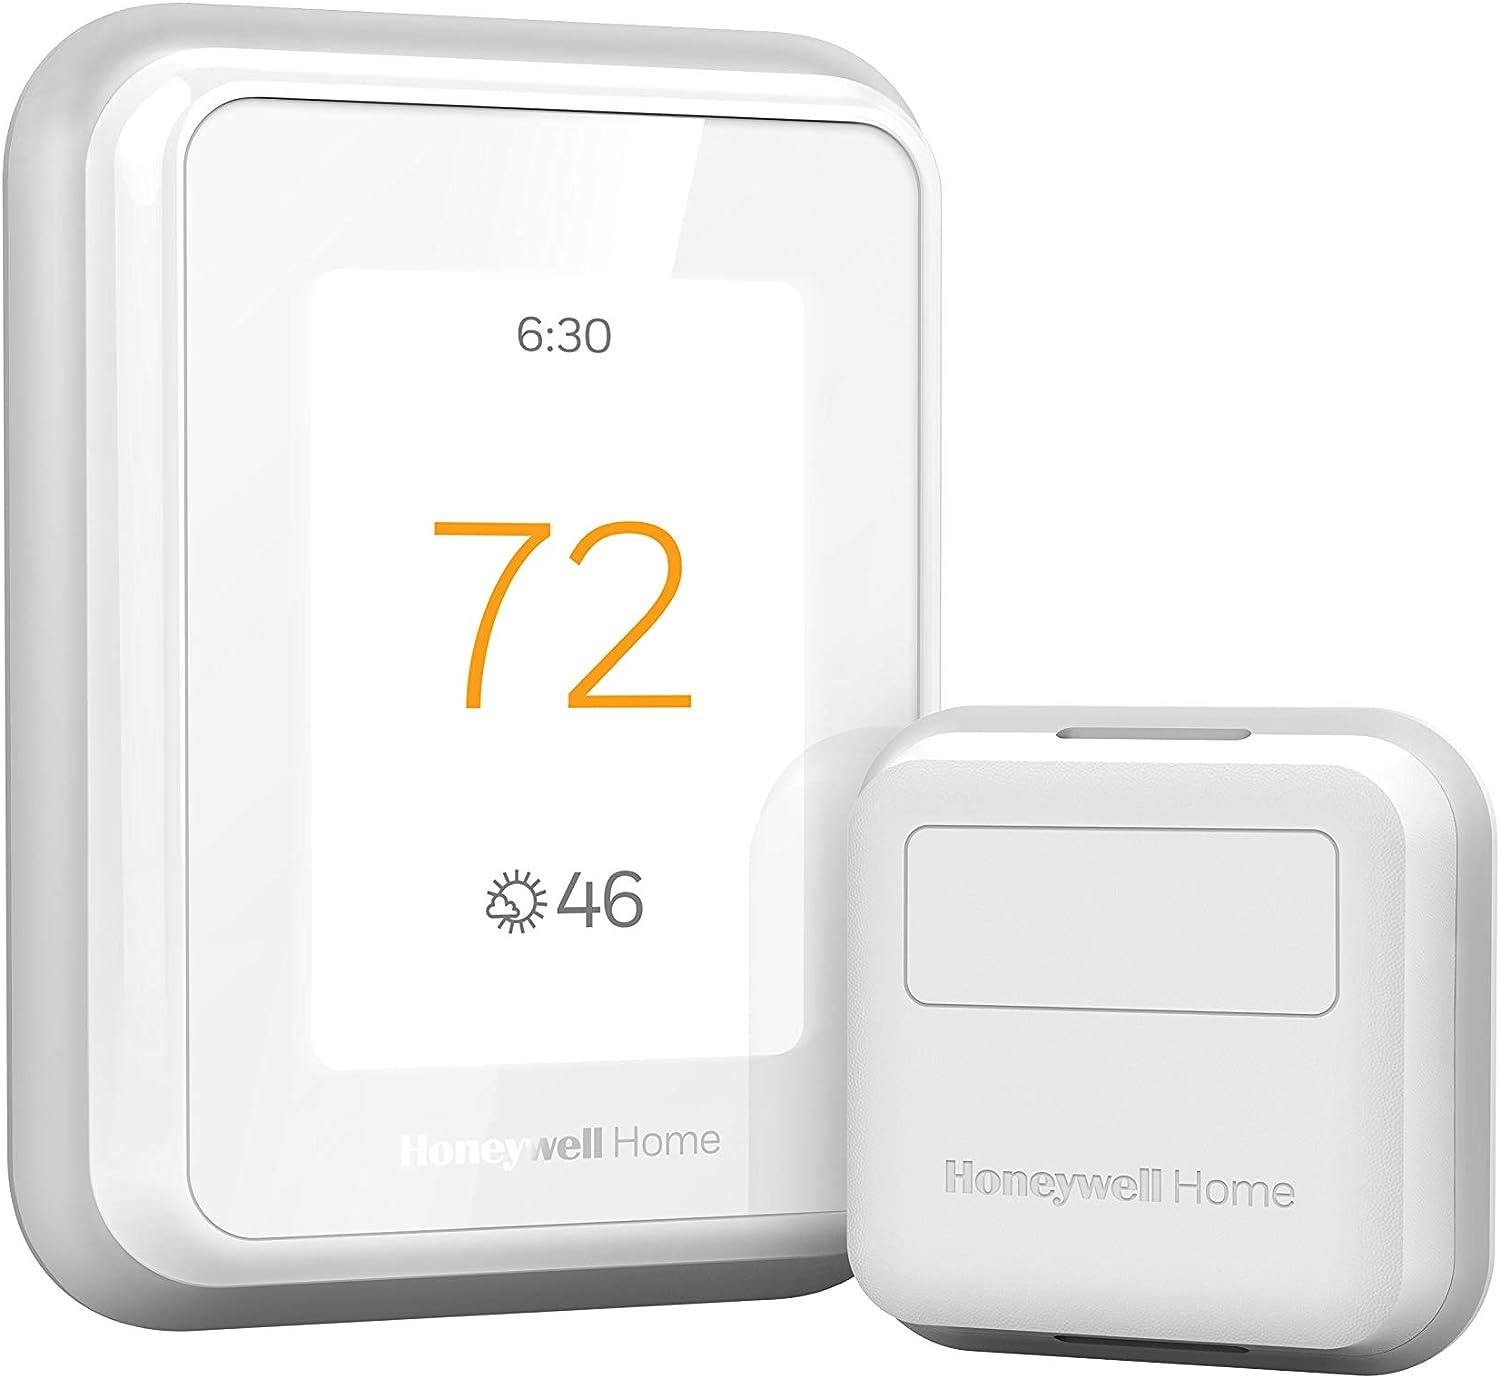
How Do I Use the Honeywell T9 Smart Room Sensor?
- Battery tab not pulled / dead CR2032
- Sensor out of RF range of the thermostat
- Not paired through the Resideo app
Problem Description
You want to set up and use the Honeywell T9 Smart Room Sensor with your T9 thermostat. Unbox the sensor, pull the battery tab to activate it (CR2032 battery inside), and pair it with the thermostat through the Resideo app. The sensor measures temperature and occupancy in remote rooms. This guide covers activation, pairing, and using sensor data for comfort scheduling.
Why This Happens in Real Homes
The Honeywell T9 Smart Room Sensor lets the thermostat heat and cool based on the rooms you actually use rather than just the hallway where the thermostat hangs. Each sensor is a small RF device (CR2032 coin cell) that reports temperature and occupancy back to the T9, with a range of roughly 200 feet that walls and interference cut into.
Activate the sensor by pulling its battery tab, pair it through the Resideo app, and place it within RF range of the thermostat where it can sense the room. The key concept is prioritization: in the app you tell the T9 which rooms matter (and when), so it averages or focuses on occupied rooms to decide when to run. If a sensor shows disconnected, it's usually range or a dead battery — move it closer or fit a fresh CR2032.
Symptoms
- Setting up a T9 room sensor
- Sensor won't activate
- Sensor won't pair with the thermostat
- Sensor not affecting temperature
- Not sure how prioritization works
- Sensor shows disconnected
- Occupancy not detected
- Placement questions
Recognize these? Here's what usually causes it.
Common Causes
- Battery tab not pulled / dead CR2032
- Sensor out of RF range of the thermostat
- Not paired through the Resideo app
- Room not prioritized in the app
- Sensor mounted where it can't detect occupancy
- Interference/walls weakening RF
- Firmware/app not updated
- Too many walls between sensor and thermostat
Most fixes happen in the first 3 steps.
Always turn off your HVAC system at the breaker before removing the thermostat or touching wires. Incorrect wiring can damage both the thermostat and your HVAC equipment resulting in expensive repairs. If unsure about wiring consult an HVAC technician.
Tools & Requirements
These tools will help you complete this fix.

Power adapter
JcBlaon Outlet Extender Surge Protector - 6 Outlet S...
As an Amazon Associate we earn from qualifying purchases.
Step-by-Step Solution
Unbox and activate the room sensor
The Honeywell Home T9 Smart Room Sensor (model RCHTSENSOR-1PK) comes with a pre-installed CR2032 battery. Pull the battery tab to activate the sensor. The LED on the front flashes to indicate it is ready to pair. Each sensor measures temperature and detects occupancy (motion) in the room where it is placed. The T9 thermostat supports up to 20 room sensors.
Pair the sensor with the T9 thermostat
In the Resideo app, go to your T9 thermostat > Room Sensors > Add Sensor. The app searches for nearby sensors. Press the button on the back of the room sensor for 3 seconds — the LED blinks rapidly. The app discovers the sensor and prompts you to name it and assign it to a room. Place the sensor in the room at approximately chest height for accurate temperature readings — temperature varies significantly between floor level and ceiling level.
Configure Focus Comfort for occupied rooms
In the Resideo app, go to the T9 thermostat settings > Focus Comfort. This feature prioritizes temperature in rooms where people are detected. When a room sensor detects motion, the T9 adjusts heating/cooling to reach the target temperature in that room, even if it means the hallway (where the thermostat is mounted) runs slightly above or below the set temperature. This solves the common problem of rooms far from the thermostat being too hot or too cold.
Set per-room temperature preferences
In the Resideo app, you can set temperature offsets for each room sensor. If the bedroom is naturally 3°F warmer than the thermostat location, set a -3°F offset for that room. The T9 accounts for these offsets when deciding how long to run the HVAC system. You can also set per-room schedules — the bedroom can have a different target temperature at night than the living room. These settings are configured in the app under each room sensor.
Optimize sensor placement for accurate readings
Mount the sensor on an interior wall, not on an exterior wall (which is hotter in summer and colder in winter, giving false readings). Keep it away from: direct sunlight, heating vents, windows, and appliances that generate heat (TVs, computers, ovens). The occupancy sensor has a 30-foot range with a 120-degree field of view — aim it toward the area where people typically sit or walk. The CR2032 battery lasts approximately 2 years. The app alerts you when the battery is low.
Quick Solutions
Still having issues? This is usually the deeper cause below.
If this comes back after following these steps, check whether a recent app or firmware update reset a default setting — the fix works, but the setting gets reverted silently.
Use the thermostat energy reports to find patterns in your heating and cooling usage. Setting back the temperature just 3 degrees when you leave for work can save 5 to 10 percent on your annual energy bill without any comfort sacrifice.
Battery-related failures are almost always flagged too late — the device degrades silently for days before the app catches up to what's actually happening.
- Battery tab not pulled / dead CR2032
- Sensor out of RF range of the thermostat
- Not paired through the Resideo app
- Room not prioritized in the app
- Sensor mounted where it can't detect occupancy
Before you go — try one of these (they fix most cases).
Most popular upgrades chosen by Honeywell T9 Smart Sensor owners.

Honeywell Home RCHT9510WF T9 Smart Thermostat + Wall Plate

Honeywell Home X7B Smart Thermostat with Humidity Monitor...

Honeywell Home X7S Smart Thermostat with Advanced Occupan...
As an Amazon Associate we earn from qualifying purchases.
Official Manufacturer Manual
Honeywell Home provides official product documentation through their online manual rather than downloadable PDF. Access setup guides, troubleshooting steps, and product specifications for your Honeywell T9 Smart Sensor.
Source: honeywellhome.com
Need More Help? Honeywell Home Support
Note: The contact information below connects you directly to Honeywell Home's official customer support team, not Trunetto. They can help with warranty claims, device replacements, and advanced technical issues.
How Does Honeywell Home Compare?
Before replacing your Honeywell Home device, see how it stacks up against alternatives in our full comparison guides.