How to Install a Honeywell T10 Pro Smart Thermostat With a Return Sensor
- Kill Power
- Install T10
- Place Sensor
- Pair Sensor
- Configure Priority
Most users complete this in under 45 minutes
Overview
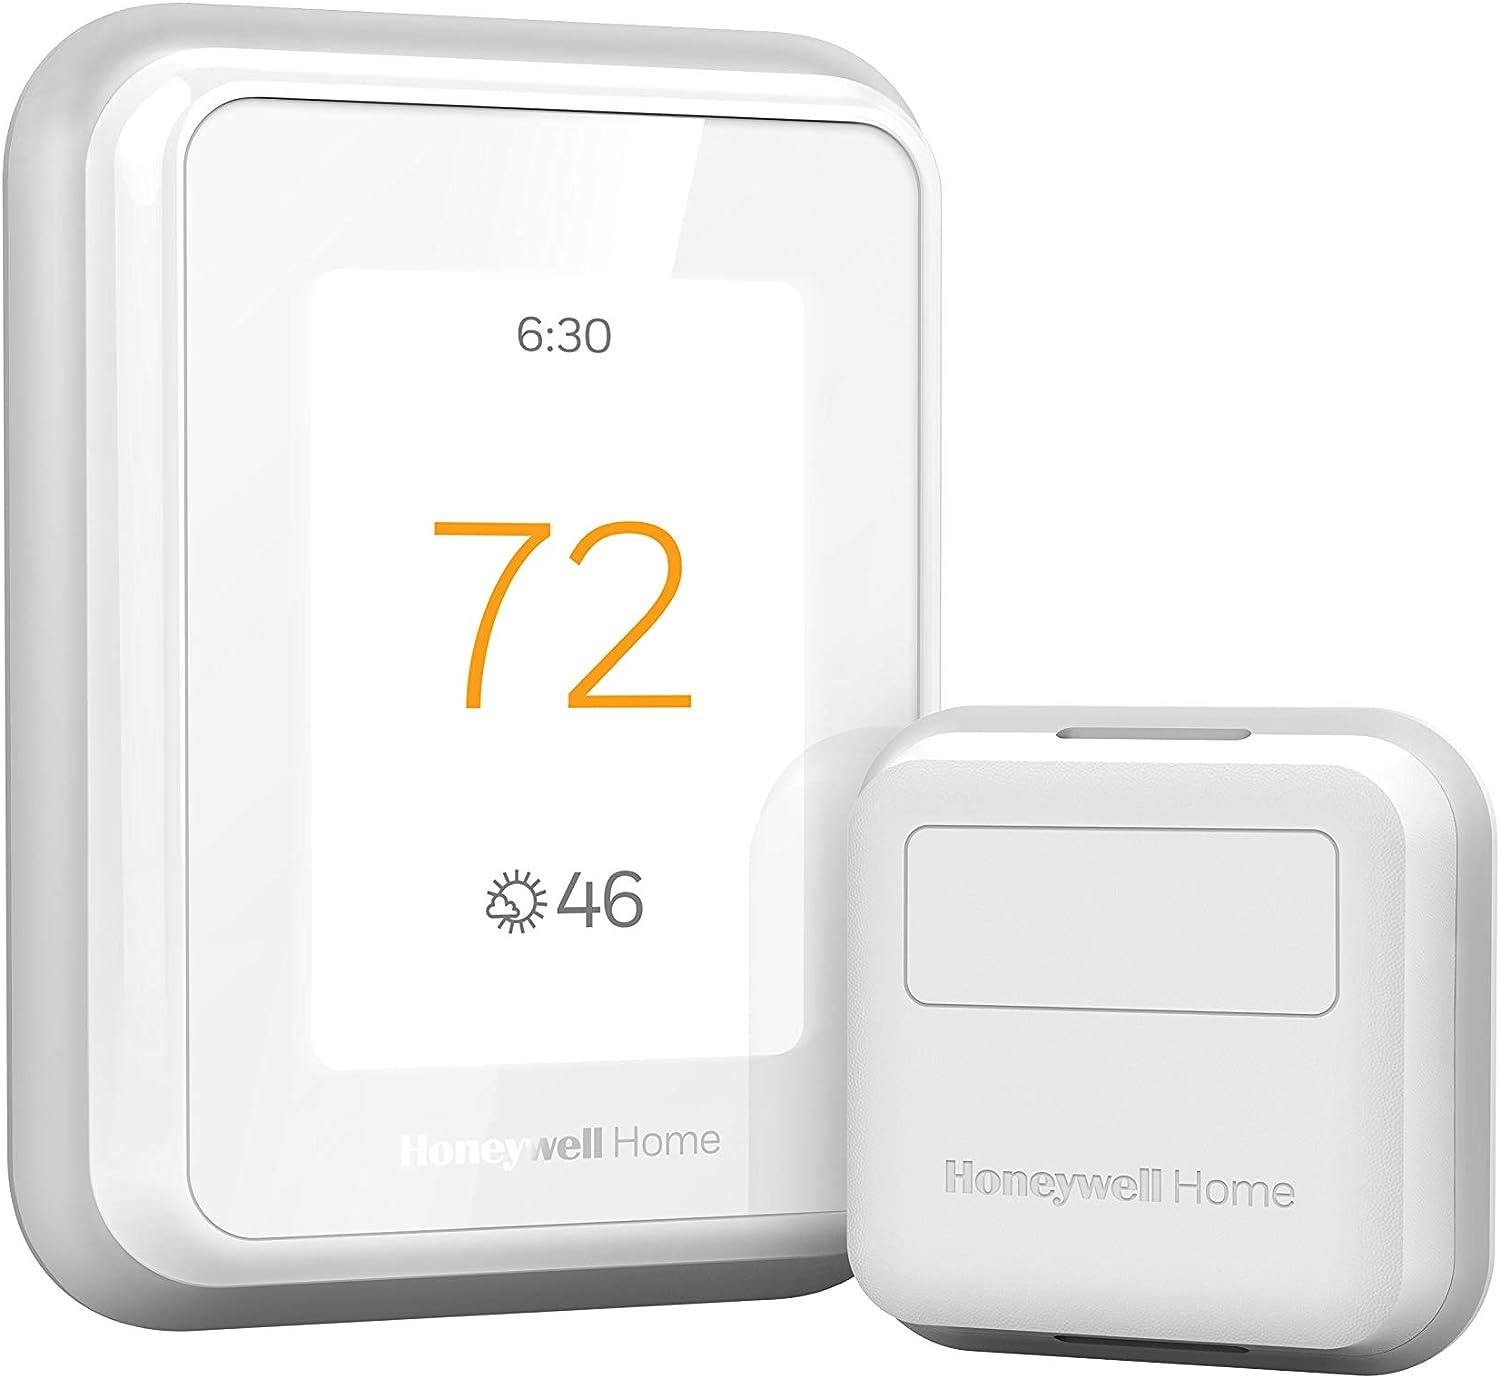
The T10 Pro pairs with Honeywell indoor air sensors to balance comfort across rooms. This guide wires the thermostat, mounts the sensor, and pairs both in the Resideo app.
Why This Happens in Real Homes
The T10 Pro pairs with Honeywell indoor air sensors to balance comfort across rooms. This guide wires the thermostat, mounts the sensor, and pairs both in the Resideo app. In day-to-day use, this usually looks like Existing thermostat in place; HVAC panel reachable; Sensor in box.
Most cases trace back to Sensor placed in sun; No C-wire for T10; Sensor too far. The fix works best when you go step by step instead of changing multiple settings at once.
A practical order for this issue is: Kill Power -> Install T10 -> Place Sensor -> Pair Sensor. After each step, test the exact behavior that was failing so you can confirm what actually solved it.
What's Included
- Existing thermostat in place
- HVAC panel reachable
- Sensor in box
- C-wire present
- Resideo app installed
- Voltage tester
Got your materials ready? Here's what to check first.
Before You Start
- Sensor placed in sun
- No C-wire for T10
- Sensor too far
- Multiple Resideo accounts
- Wires mixed on reinstall
- Battery not fully seated
Don't skip this step — it breaks everything if you do
Do not power with only batteries long term. T10 benefits from C-wire for WiFi stability and firmware updates.
Tools & Requirements
These tools will help you complete this fix.

Level
9 Inch Torpedo Level Magnetic, Shock-Proof Small Lev...

Non-contact voltage tester
Neoteck Non-Contact AC Voltage Tester Pen, AC 12-100...

Phillips screwdriver
Klein Tools 85076 Screwdriver Set, Made in USA, Slot...
As an Amazon Associate we earn from qualifying purchases.
Installation Steps
Kill Power
Shut off HVAC breaker and furnace switch. Confirm with a tester at the thermostat wires before touching anything on the backplate.
Needed for this step
Neoteck Non-Contact AC Voltage Tester Pen, AC 1...
This helps complete the fix you are currently reading.
$9.59Install T10
Level the backplate, pull wires through, and land each on its correct terminal. Snap the T10 onto the base and restore power. Confirm boot screen appears.
Needed for this step
9 Inch Torpedo Level Magnetic, Shock-Proof Smal...
This helps complete the fix you are currently reading.
$6.99Place Sensor
Mount the indoor sensor on an interior wall at breathing height, away from direct sunlight and HVAC vents. Insert the battery per the diagram.
Pair Sensor
On the T10 menu, add an accessory. Press the button on the sensor. The T10 detects and links the sensor. Name it by room for clarity.
Configure Priority
In Resideo, set the sensor priority and schedule. Follow Me uses occupancy; weighted averaging balances rooms. Test briefly by covering and uncovering the sensor.
Installation Tips
Still stuck? This is usually the deeper cause below.
Place the sensor near the seating you use most. Sensor placement matters more than schedule tweaks for perceived comfort.
Before you go — these Honeywell Home guides fix most remaining issues.
Most popular upgrades chosen by Honeywell Home T10 Pro owners.

Honeywell Home RCHT9510WF T9 Smart Thermostat + Wall Plate

Honeywell Home X7B Smart Thermostat with Humidity Monitor...

Honeywell Home X7S Smart Thermostat with Advanced Occupan...
As an Amazon Associate we earn from qualifying purchases.
Official Manufacturer Manual
Honeywell Home provides official product documentation through their online manual rather than downloadable PDF. Access setup guides, troubleshooting steps, and product specifications for your Honeywell Home T10 Pro.
Source: honeywellhome.com
Need More Help? Honeywell Home Support
Note: The contact information below connects you directly to Honeywell Home's official customer support team, not Trunetto. They can help with warranty claims, device replacements, and advanced technical issues.
How Does Honeywell Home Compare?
Before replacing your Honeywell Home device, see how it stacks up against alternatives in our full comparison guides.
Accessories owners commonly pair with Honeywell Home T10 Pro.

As an Amazon Associate we earn from qualifying purchases.