

Why Is My Roborock Mop Pad Soaking the Floor Instead of Lightly Dampening It?
- Water flow set too high for the floor type
- Mop module not seated, allowing uncontrolled flow
- Water pump valve partially stuck open
Problem Description
Your Roborock robot mop is depositing too much water on the floor during a mopping run, leaving it visibly wet rather than lightly damp. Puddles or saturated sections appear behind the vacuum as it mops. Hardwood floors are at risk of water damage when the mop over-saturates. This is different from streaking caused by a dry or dirty mop pad. Over-saturation is caused by the water flow setting being too high for the floor type, a clogged or faulty water pump delivering intermittent bursts, or the mop module not being properly seated to regulate water flow.
Why This Happens in Real Homes
Almost every time this comes up it is the water flow setting — the default Medium is way too wet for hardwood and laminate. Switch to Low and the problem usually goes away immediately. The second most common cause is an old mop pad that has lost its absorption from repeated washing — the microfiber breaks down and just pushes water around instead of absorbing it. Fresh pads make a big difference.
Symptoms
- Floor visibly wet or puddled after a mop run
- Mop pad soaked through rather than damp
- Water streaks on hardwood/laminate after mopping
- Robot leaves wet tracks that don't dry quickly
- Water flow seems to increase mid-clean
- Hardwood shows slight swelling on the normal setting
- Water pools under the robot
- Only certain floors get over-wet
Recognize these? Here's what usually causes it.
Common Causes
- Water flow set too high for the floor type
- Mop module not seated, allowing uncontrolled flow
- Water pump valve partially stuck open
- Mop pad type not absorbing for the flow level
- Carpet/deep-mop mode used on hard floors
- Firmware bug over-regulating water flow
- Tank valve leaking excess water
- Worn/matted pad not spreading water evenly
Most fixes happen in the first 3 steps.
Never run the mop on unsealed hardwood, cork, or unfinished wood floors. Even on the lowest setting, the moisture can seep into the grain and cause warping or discoloration that cannot be reversed. If you are unsure whether your wood floors are sealed, test by dropping a small amount of water on a hidden area — if it beads up, it is sealed. If it soaks in, do not mop it.
Tools & Requirements
These tools will help you complete this fix.

As an Amazon Associate we earn from qualifying purchases.
Step-by-Step Solution
Set water flow to Low or Custom Low in the Roborock app
Open the Roborock app, go to your vacuum settings, and set the mop water flow to Low. If your model supports custom water flow, set it to 1 or 2 out of 30. The default Medium setting is too wet for most hard floors, especially hardwood and laminate. Run a test strip in a small area to check before doing a full clean.
Check that you are using the right mop pad type
Roborock ships different pad types for different purposes. The disposable pads are thinner and hold less water. Reusable microfiber pads hold more and can oversaturate if combined with high water flow. If your floors are getting too wet, switch to disposable pads or use a fresh, clean reusable pad — old pads that have been washed many times lose absorption and release water unevenly.
Check if the mop pad is properly seated on the plate
Remove the mop plate from the bottom of the robot and reattach the pad. If the pad is crooked, bunched, or not fully stuck to the velcro plate, water pools in one spot instead of distributing evenly. On models with the auto-mop-lifting feature, make sure the plate clicks back into place — a loose plate drips.
Inspect the water tank for cracks or a stuck valve
Remove the water tank and check the rubber valve on the bottom. Press it gently — it should spring back. If it is stuck open or deformed, water flows freely instead of being metered. Also check the tank body for hairline cracks. Fill the tank, hold it over a sink, and watch for drips. Replace the tank if the valve is damaged.
Check dock settings if you have an auto-wash dock
On models with auto-wash docks (S7 MaxV Ultra, S8 Pro Ultra, etc.), the dock rewets the pad between cleaning passes. If the dock water level or wash intensity is set too high, the pad leaves the dock oversaturated. Lower the dock mop wash settings in the app. Some models also have a pad drying option — enable it.
Update firmware and recalibrate the water pump
Go to the Roborock app, check for firmware updates, and install if available. Some firmware versions had water flow calibration bugs that were fixed in later updates. After updating, run one full mop cycle on Low to let the pump recalibrate. If the problem appeared suddenly after an update, this is likely the fix.
Quick Solutions
Still having issues? This is usually the deeper cause below.
If flickering only happens on dimming, the issue is almost always the dimmer's minimum-load setting, not the bulb — it's drawing less current than the dimmer expects.
For hardwood and laminate floors, always use Low water flow with a clean pad. Run the mop function separately from vacuuming if your model supports it — vacuum first, then mop. This prevents the robot from pushing wet debris around. If you have mixed flooring, use the app to set no-mop zones on carpet areas.
Over-saturation complaints spike in humid conditions — ambient humidity causes the mop pad to hold more water, compounding the pump output on the same flow setting.
- Water flow set too high for the floor type
- Mop module not seated, allowing uncontrolled flow
- Water pump valve partially stuck open
- Mop pad type not absorbing for the flow level
- Carpet/deep-mop mode used on hard floors
Before you go — try one of these (they fix most cases).
Most popular upgrades chosen by Roborock Robot Mop owners.

roborock 2 Pack Microfiber Mop Cloths for Q7 M5, Q7 M5+, ...
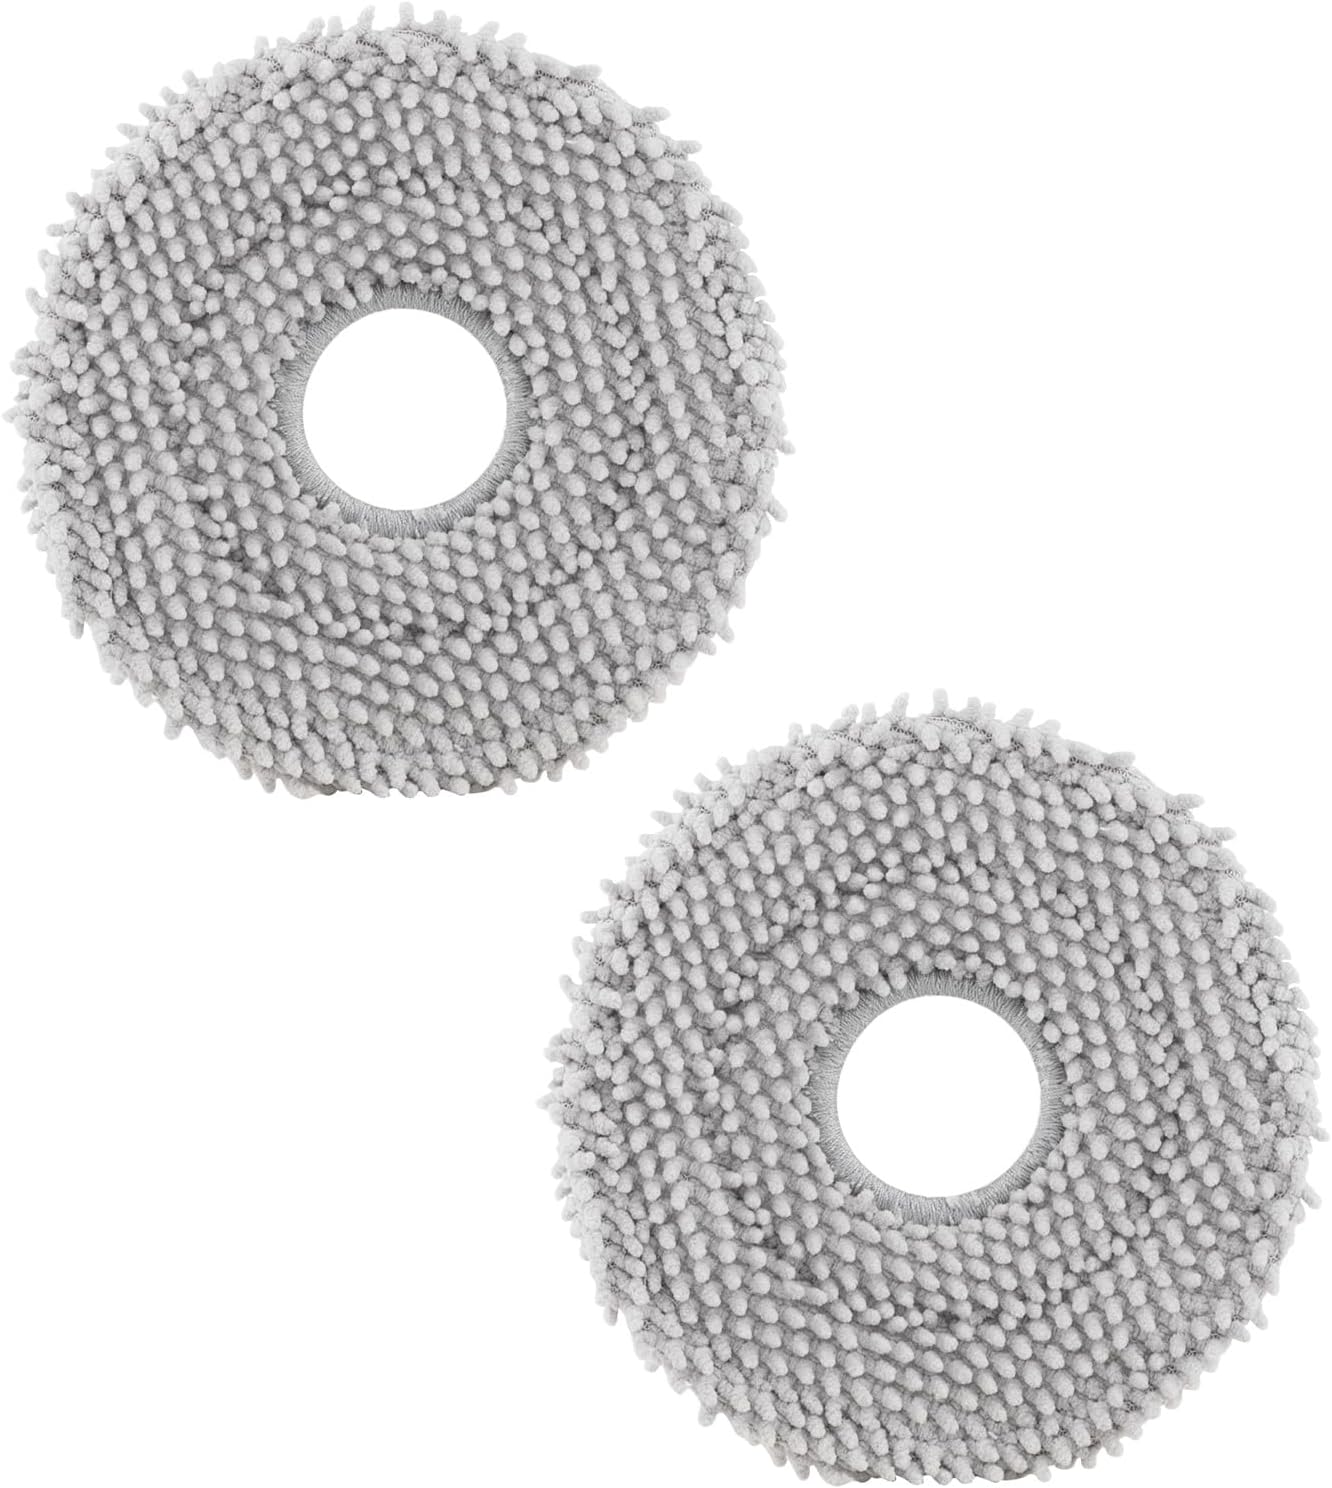
roborock 4 Pack Microfiber Mop Cloths for Q Revo, Qrevo M...

roborock 4 Pack Microfiber Mop Cloths for QV 35A/QV 35S/Q...
As an Amazon Associate we earn from qualifying purchases.
Official Manufacturer Manual
Roborock provides official product documentation through their online manual rather than downloadable PDF. Access setup guides, troubleshooting steps, and product specifications for your Roborock Robot Mop.
Source: support.roborock.com
Need More Help? Roborock Support
Note: The contact information below connects you directly to Roborock's official customer support team, not Trunetto. They can help with warranty claims, device replacements, and advanced technical issues.
How Does Roborock Compare?
Before replacing your Roborock device, see how it stacks up against alternatives in our full comparison guides.
Accessories owners commonly pair with Roborock Robot Mop.

Amazon Basics 20-Pack AA Alkaline High-Performance Batter...

Amazon Basics CR2032 3V Lithium Coin Cell Batteries for K...

Duracell Coppertop Double AA Batteries with Power Boost I...
As an Amazon Associate we earn from qualifying purchases.
Guide Improvements
- Updated June 16, 2026
Added specific water flow adjustments, pad type guidance, and dock settings to prevent floor over-saturation.
What changed:- Added app water flow level adjustment steps
- Added OEM vs aftermarket pad guidance
- Added dock water dispensing settings
- Added real-world context about pad saturation patterns
Source: Trunetto editorial update


