
Why Is My Roborock Q Revo Mop Pad Not Drying and Smells Bad
- Auto-dry feature disabled in app settings
- Dock ventilation blocked by wall or furniture
- Mop pads too thick or wrong type blocking airflow
Problem Description
Your Roborock Q Revo finishes cleaning and returns to the dock, but the mop pads remain wet and develop a musty or mildew smell. The auto-dry function either does not activate or runs but fails to fully dry the pads. Wet pads left in the dock overnight grow bacteria and create an unpleasant odor.
Why This Happens in Real Homes
The Roborock Q Revo dries its mop pads with warm air at the dock, and when pads come out damp and musty it's almost always because the drying isn't running long enough or the dock can't move enough air. First, confirm auto-dry is actually enabled in the app - it's the feature that turns on the drying fan after each clean, and if it's off, pads just sit wet in the dock and grow mildew overnight. Then give it enough time: increasing the drying duration to 3-4 hours (and running an extra cycle in humid weather) is what fully dries the pads in real-world conditions.
Airflow is the other half. The dock needs clearance to vent, so a dock pushed tight against a wall or into furniture traps humid air and can't dry the pads - move it out for airflow. Lint and debris clogging the dock's drying vents and channels choke the airflow too, so clean those periodically. Use genuine Q Revo pads, since thicker or wrong-type third-party pads block airflow and hold water. Old, matted pads hold moisture no matter how long they dry, so replace them on schedule. Emptying the dirty water and keeping the pads from sitting in residue prevents the smell from starting in the first place.
Symptoms
- Mop pads damp or wet hours after docking
- Musty mildew smell from the dock station
- Auto-dry fan doesn't turn on after cleaning
- Pads develop mold spots or discoloration
- Dock area smells even with fresh pads
- App shows drying complete but pads are wet
- Floors smell after mopping
- Pads never fully dry
Recognize these? Here's what usually causes it.
Common Causes
- Auto-dry feature disabled in app settings
- Dock ventilation blocked by wall or furniture
- Mop pads too thick or wrong type blocking airflow
- Dock drying channel clogged with lint/debris
- High-humidity environment slowing evaporation
- Drying duration set too short
- Dirty water/residue left on the pads
- Pads old and holding water
Most fixes happen in the first 3 steps.
Never leave wet mop pads on the dock without running the drying cycle. Mold can develop within 24 hours in humid conditions and may spread inside the dock, requiring professional cleaning.
Tools & Requirements
These tools will help you complete this fix.
As an Amazon Associate we earn from qualifying purchases.
Step-by-Step Solution
Verify Auto-Dry Settings
Open the Roborock app and select your Q Revo. Go to Robot Settings then Dock Settings. Find Auto-Dry or Drying Settings and make sure it is enabled. Set the drying duration to at least 2 hours, or 3-4 hours in humid climates. Some users disable auto-dry to save energy but this causes mold growth. Enable drying after every mop cycle.
Check Dock Ventilation
The Q Revo dock blows warm air through the mop pads to dry them. If the dock is pushed against a wall or inside a cabinet, airflow is restricted. Move the dock so there is at least 4-6 inches of clearance on all sides. Never enclose the dock in furniture. Blocked ventilation traps moisture and creates the conditions for mold and odor.
Clean Dock Drying Channels
Remove the mop pads and lift the robot off the dock. Look at the drying plate where the pads rest. Lint, hair, and debris accumulate here and block air vents. Use a dry cloth or soft brush to clean the vent slots. Check inside the dock body for dust buildup near the fan. A clogged airway drastically reduces drying effectiveness.

Needed for this step
OXO Grips Electronics Cleaning Brush
This helps complete the fix you are currently reading.
$9.99Inspect and Replace Mop Pads
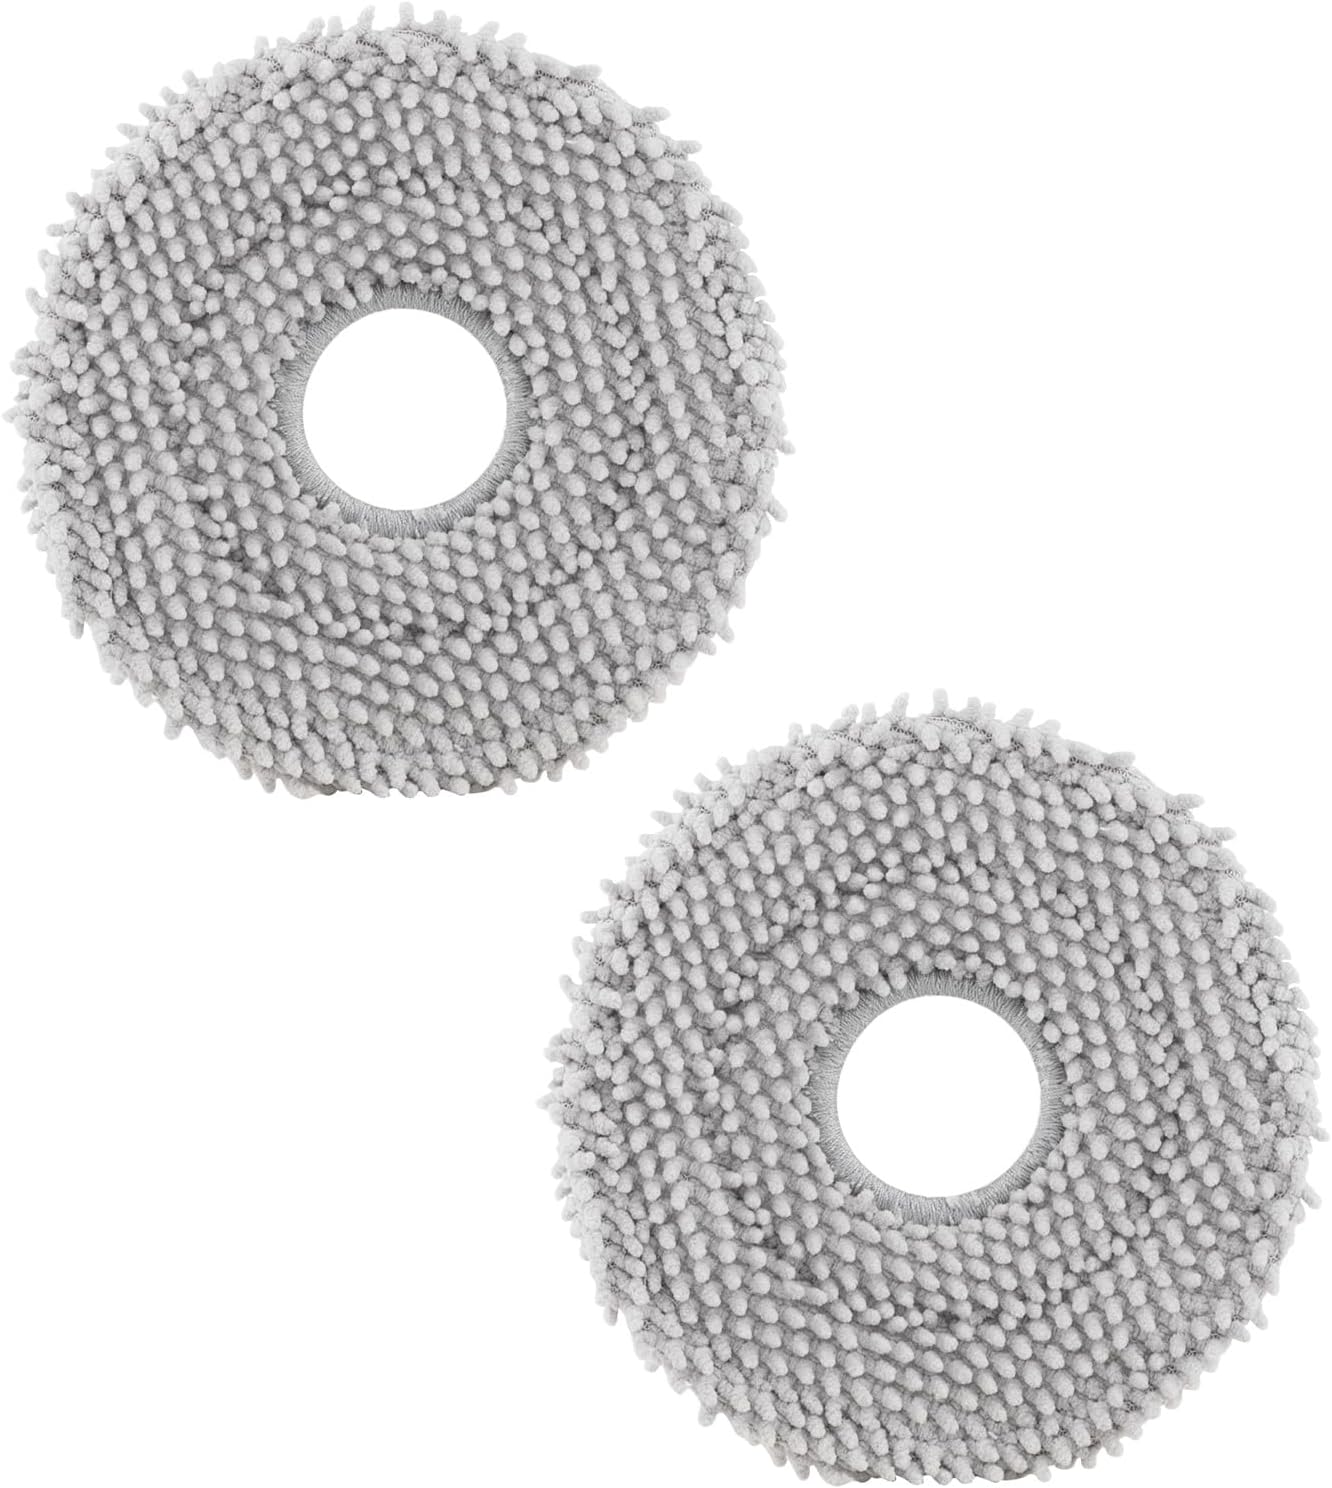
Old mop pads retain more moisture and harbor bacteria even when dried. If your pads are more than 2-3 months old, or show any discoloration, stiffness, or persistent odor after washing, replace them with genuine Roborock Q Revo pads. Third-party pads may be thicker and prevent proper airflow during drying. Wash pads weekly in a washing machine on a gentle cycle.
Run Manual Drying Cycle
If pads still smell, remove them and wash in hot water with a small amount of white vinegar to kill bacteria. Dry completely in a dryer or air dry in sunlight. While pads dry, wipe down the dock drying plate with a disinfecting wipe. Reattach clean pads and run a manual drying cycle from the app to confirm the fan activates and warm air flows.
Quick Solutions
Still having issues? This is usually the deeper cause below.
If the robot returns to the dock mid-clean, moved furniture may have invalidated its map — a fresh floor scan resolves the majority of navigation failures.
In humid environments above 60% relative humidity, extend drying time to 4 hours or run two consecutive drying cycles. Consider using a dehumidifier near the dock.
New filter smell is nearly universal with activated carbon — most people assume the unit is faulty when it just needs 24–48 hours at high speed to off-gas.
- Auto-dry feature disabled in app settings
- Dock ventilation blocked by wall or furniture
- Mop pads too thick or wrong type blocking airflow
- Dock drying channel clogged with lint/debris
- High-humidity environment slowing evaporation
Before you go — try one of these (they fix most cases).
Most popular upgrades chosen by Roborock Q Revo owners.
As an Amazon Associate we earn from qualifying purchases.
Official Manufacturer Manual
Roborock provides official product documentation through their online manual rather than downloadable PDF. Access setup guides, troubleshooting steps, and product specifications for your Roborock Q Revo.
Source: roborock.com
Need More Help? Roborock Support
Note: The contact information below connects you directly to Roborock's official customer support team, not Trunetto. They can help with warranty claims, device replacements, and advanced technical issues.
How Does Roborock Compare?
Before replacing your Roborock device, see how it stacks up against alternatives in our full comparison guides.
Accessories owners commonly pair with Roborock Q Revo.

Amazon Basics 20-Pack AA Alkaline High-Performance Batter...

Amazon Basics CR2032 3V Lithium Coin Cell Batteries for K...

Duracell Coppertop Double AA Batteries with Power Boost I...
As an Amazon Associate we earn from qualifying purchases.


