
How to Install Tapo C110 Indoor Camera
- Tapo App Preparation
- Strategic C110 Placement
- Power and Startup
- Enhanced App Setup
- Motion Detection Zones
- Privacy Mode Setup
Most users complete this in under 25 minutes
Overview
Tapo Tapo C110 Indoor Camera setup takes under 15 minutes for most users — if you're stuck, the steps below target the specific points where installs stall.
This guide covers the installation and WiFi setup of the TP-Link Tapo C110 1080p indoor security camera, a compact fixed-angle camera with color night vision and motion detection. Setup includes Tapo app pairing, motion sensitivity configuration, microSD or Tapo Care cloud recording setup, and optional Alexa or Google Home integration for live view.
Why This Happens in Real Homes
The C110 is a compact fixed indoor camera whose main draw over the C100 is better detail and color night vision, and both features hinge on setup and placement. Like the C100 it is a 2.4GHz-only camera, so put your phone on the 2.4GHz network before pairing and let the camera read the QR code the app shows on your phone, holding it steady about 20 cm from the lens. Color night vision needs some ambient light to work; in a pitch-black room the camera falls back to infrared black-and-white, which is normal rather than a fault, so a dim night light makes the difference if you want color. Keep the camera off windows and mirrors so the IR LEDs do not glare back at night. If you are storing footage locally, format the microSD in the Tapo app first, and remember Tapo Care cloud is the alternative if you would rather not use a card.
What's Included
- C110 will not pair during Tapo app setup
- App finds the camera but WiFi connection fails
- Setup times out at the connecting step
- Color night vision comes out black-and-white or washed out
- Weak or dropping signal after placement
- microSD card not recognized for recording
- Camera does not appear in Alexa or Google Home
- Privacy mode does not fully block the view
Got your materials ready? Here's what to check first.
Before You Start
- Phone on 5GHz; the C110 needs a 2.4GHz network
- WiFi password contains special characters the camera cannot parse
- Router on WPA3-only, band-steering, or AP isolation blocking setup
- Night vision left in infrared mode instead of a mode that uses ambient light
- Camera placed beyond usable 2.4GHz range
- microSD over the supported size or not formatted in the app
- Tapo account not linked in the Alexa or Google skill
- Camera aimed at a window or mirror, bouncing IR at night
Don't skip this step — it breaks everything if you do
Privacy mode completely shuts down camera - useful for temporary privacy. Night vision can be adjusted for room conditions.
Tools & Requirements
These tools will help you complete this fix.

Drill optional
DEWALT 20V MAX Cordless Drill and Impact Driver, Pow...

Level
9 Inch Torpedo Level Magnetic, Shock-Proof Small Lev...

Screwdriver
STREBITO 155 in 1 Electric Screwdriver Set, Small El...
As an Amazon Associate we earn from qualifying purchases.
Installation Steps
Tapo App Preparation
Make sure latest Tapo app version installed. C110 may require updated app features for full features.
Strategic C110 Placement
Position C110 considering improved detection range. Mount 8-10 feet high for best motion detection coverage.
Power and Startup
Connect power via micro-USB. C110 has faster startup than C100 - look for red-green blinking pattern within 20 seconds.
Enhanced App Setup
Add C110 through app with model-specific setup flow. C110 offers additional configuration options during initial setup.
Motion Detection Zones
Configure specific detection zones using C110 advanced motion detection. Set sensitivity levels for different areas of view.
Privacy Mode Setup
Enable privacy mode for scheduled camera shutdown. Useful for times when home monitoring not needed.
Night Vision Optimization
Configure C110 improved night vision settings. Adjust infrared intensity based on room lighting conditions.
Activity Zone Testing
Test motion detection in different zones and lighting conditions. Fine-tune sensitivity to avoid false alerts.
Installation Tips
Still stuck? This is usually the deeper cause below.
C110 offers enhanced features over C100 including better motion detection and privacy controls. Supports activity zones.
Before you go — these Tapo guides fix most remaining issues.
Most popular upgrades chosen by Tapo C110 Indoor Camera owners.
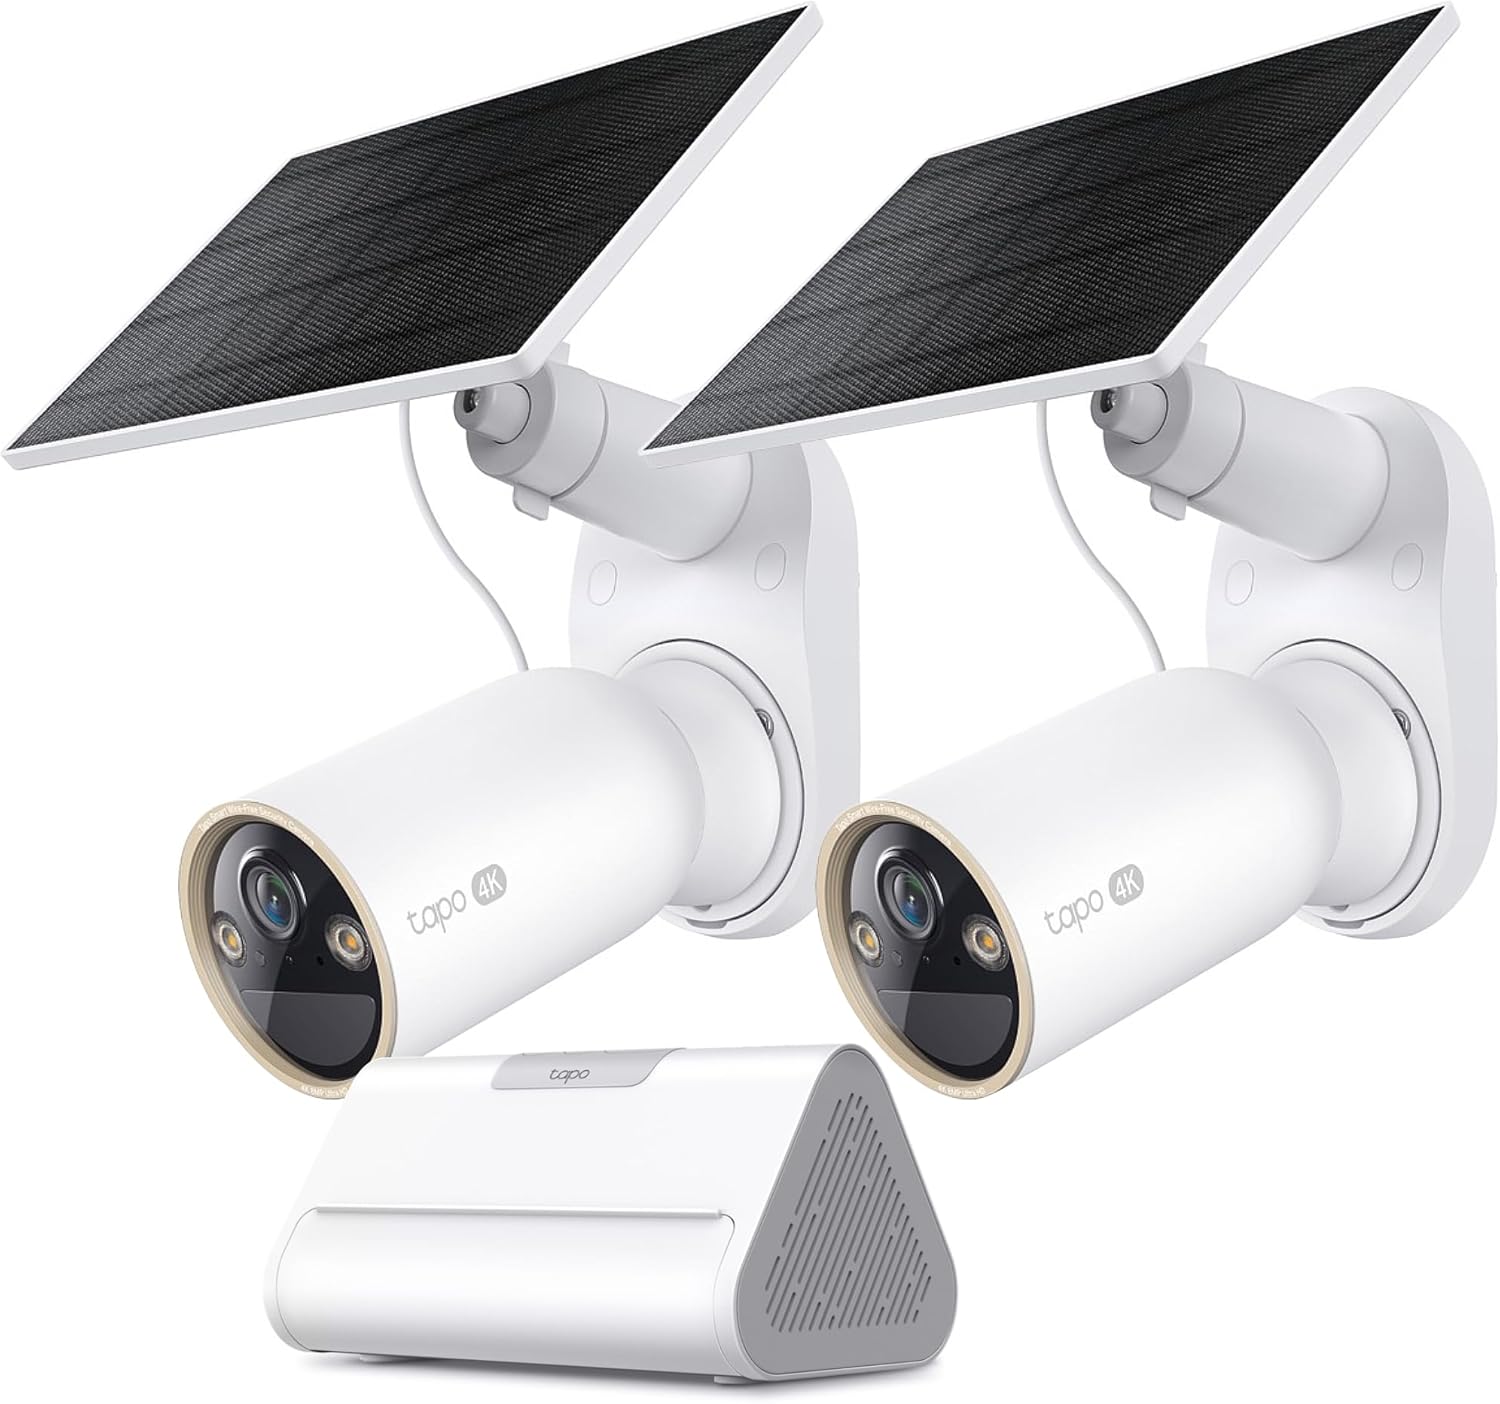
Tapo 4K Outdoor Solar-Powered Cameras C460 KIT x 2-Camera...

Tapo TP-Link 2K Pan/Tilt Security Camera for Baby Monitor...
As an Amazon Associate we earn from qualifying purchases.
Official Manufacturer Manual
If you need the complete manufacturer documentation for advanced setup, wiring diagrams, or detailed specifications, you can download the official manual below. The manual includes full technical instructions directly from the manufacturer and may help if your issue requires deeper troubleshooting.
Download the Official Tapo C110 Indoor Camera ManualSource: tp-link.com
Need More Help? Tapo Support
Note: The contact information below connects you directly to Tapo's official customer support team, not Trunetto. They can help with warranty claims, device replacements, and advanced technical issues.


