

How to Install Tapo C320WS Spotlight Camera
- Confirm Power and WiFi Band
- Add the Camera in the Tapo App Before Mounting
- Complete QR Pairing and Test Live View
- Mount the Base and Aim It
- Set the Night Vision Mode
- Enable the Spotlight and Siren
Most users complete this in under 50 minutes
Overview
Tapo Tapo C320WS Spotlight Camera setup takes under 15 minutes for most users — if you're stuck, the steps below target the specific points where installs stall.
This guide covers the outdoor installation of the TP-Link Tapo C320WS spotlight security camera, including weather-resistant mounting, spotlight and siren configuration, and Tapo app setup for color night vision, motion alerts, and local microSD or cloud recording. The C320WS has dual-band WiFi support and can connect to either 2.4GHz or 5GHz networks.
Why This Happens in Real Homes
The C320WS is the outdoor spotlight-and-siren model, and unlike the older Tapo cameras it is dual-band, so it can join 2.4GHz or 5GHz WiFi. That flexibility helps, but during pairing put your phone on the band the camera will use, because a mismatch is still the most common setup snag. Its headline features live in software settings people skip: color night vision only shows color when you set the spotlight/color mode, and the spotlight and siren are the active-deterrent tools, so enable them and bind them to person detection or a prowler triggers only a silent recording. Because it is outdoors, treat weatherproofing seriously, sealing the cable and adapter join, running a drip loop, and mounting under an eave. Aim it tight to your property and away from walls, or the spotlight and siren fire at every passing car and glare back into the lens.
What's Included
- C320WS will not pair during Tapo app setup
- App finds the camera but the WiFi step fails
- Spotlight does not trigger on night motion
- Siren will not sound or is too quiet
- Color night vision stays black-and-white
- Weak or dropping signal at the outdoor mount
- Water or condensation inside the housing after rain
- Camera does not appear in Alexa or Google Home
Got your materials ready? Here's what to check first.
Before You Start
- Phone on a different WiFi band than the camera is joining during pairing (C320WS is dual-band)
- WiFi password with special characters, or WPA3/band-steering/AP isolation
- Night vision left in black-and-white instead of a color/spotlight mode
- Spotlight or siren not enabled or not linked to a detection type
- Camera mounted beyond usable WiFi range
- Cable entry or adapter connection not sealed against weather
- Camera aimed too close to a wall reflecting the spotlight and IR
- Tapo account not linked in the Alexa or Google skill
Don't skip this step — it breaks everything if you do
Spotlight and siren can be disruptive to neighbors. Consider local noise ordinances. Higher power consumption than standard cameras.
Tools & Requirements
These tools will help you complete this fix.

Drill optional
DEWALT 20V MAX Cordless Drill and Impact Driver, Pow...

Level
9 Inch Torpedo Level Magnetic, Shock-Proof Small Lev...

Screwdriver
STREBITO 155 in 1 Electric Screwdriver Set, Small El...
As an Amazon Associate we earn from qualifying purchases.
Installation Steps
Confirm Power and WiFi Band
The C320WS is a wired outdoor camera powered by its included AC adapter (there is no PoE), so plan the run to a weatherproof outlet. Unlike older Tapo cameras it is dual-band, so decide whether it will join 2.4GHz or 5GHz, and put your phone on that same band before pairing.
Add the Camera in the Tapo App Before Mounting
Power the camera up near your router first. In the Tapo app, sign into your TP-Link account, tap the plus (+) in the top corner, and select the C320WS. If the status LED is not already blinking red/green for pairing, press and hold the RESET button (on the camera body, under a rubber weather flap near the cable) until it blinks.
Complete QR Pairing and Test Live View
Follow the wizard: the app displays a QR code on your phone that you hold about 20 cm in front of the lens for the camera to read, then it joins your WiFi. Open the live view and confirm a clear image before you go up a ladder to mount it.
Mount the Base and Aim It
Fix the included mounting plate to the wall or eave with the supplied screws, then clip the camera on. Aim the lens and the two spotlights (the LED panels flanking the lens) at the area you want to cover, angled down and away from any nearby wall so the spotlights do not glare straight back into the lens at night.
Set the Night Vision Mode
In the Tapo app open the camera, tap the gear/Settings icon, go to Advanced Settings > Night Vision, and choose the Full Color (spotlight) mode for color night video. Left on Black & White it uses only the infrared LEDs and stays grayscale, which is the number-one reason people think color night vision is broken.
Enable the Spotlight and Siren
In Settings > Detection & Alerts (Alarm), turn on the spotlight and siren and set them to trigger on Person detection rather than any motion. This is the active-deterrent feature; if you skip it, an intruder triggers only a silent recording.
Draw Detection Zones and Set Sensitivity
In Detection settings, draw the activity zone over your property and exclude the street and sidewalk. This stops the spotlight and siren firing at every passing car and cuts false alerts from vegetation, which is the common complaint with an untuned outdoor camera.
Weatherproof and Do a Night Test
Seal the cable entry and the adapter join, run a drip loop below the camera, and keep it under an eave where possible. Finally, test after dark: trigger motion to confirm the spotlight brightness, siren volume, and color night video all behave the way you set them.
Installation Tips
Still stuck? This is usually the deeper cause below.
C320WS combines camera, spotlight, and siren for comprehensive security. Color night vision using integrated spotlight provides enhanced detail.
Before you go — these Tapo guides fix most remaining issues.
Most popular upgrades chosen by Tapo C320WS Spotlight Camera owners.
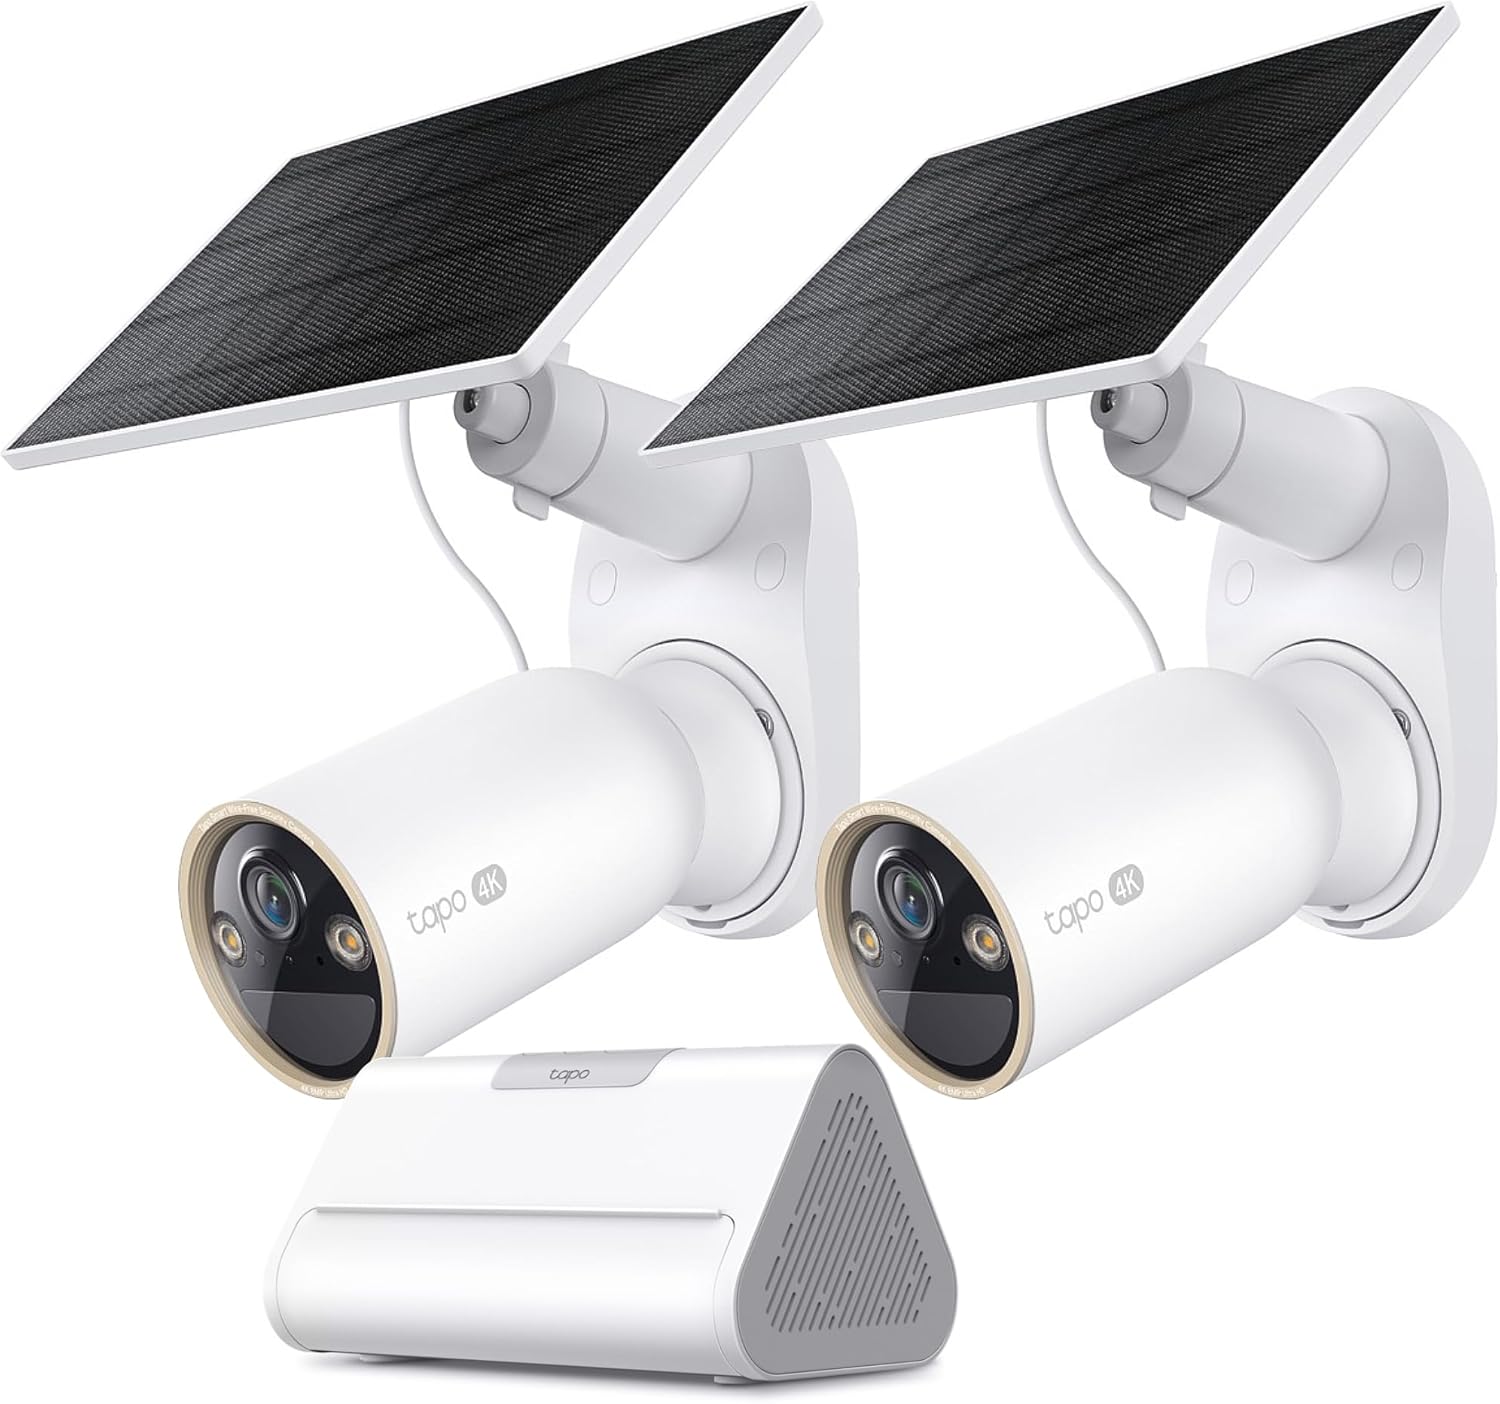
Tapo 4K Outdoor Solar-Powered Cameras C460 KIT x 2-Camera...

Tapo TP-Link 2K Pan/Tilt Security Camera for Baby Monitor...
As an Amazon Associate we earn from qualifying purchases.
Official Manufacturer Manual
Tapo provides official product documentation through their online manual rather than downloadable PDF. Access setup guides, troubleshooting steps, and product specifications for your Tapo C320WS Spotlight Camera.
Source: tapo.com
Need More Help? Tapo Support
Note: The contact information below connects you directly to Tapo's official customer support team, not Trunetto. They can help with warranty claims, device replacements, and advanced technical issues.
Accessories owners commonly pair with Tapo C320WS Spotlight Camera.

SANDISK 64GB Extreme microSDXC UHS-I Memory Card with Ada...

SANDISK 128GB Ultra microSDXC UHS-I Memory Card with Adap...

SANDISK 64GB Ultra microSDXC UHS-I Memory Card with Adapt...
As an Amazon Associate we earn from qualifying purchases.


