
How to Install Tapo Smart Camera
- Download Tapo App
- Check Camera
- Mount Camera
- Add to App
- Wi-Fi Connection
- Configure Features
Most users complete this in under 30 minutes
Overview
Tapo Tapo Smart Camera setup takes under 15 minutes for most users — if you're stuck, the steps below target the specific points where installs stall.
This guide covers the setup of the TP-Link Tapo Smart Camera including app pairing, motion detection zone configuration, and cloud or microSD recording setup. Tapo cameras connect directly to your 2.4GHz WiFi using the Tapo app without requiring a hub, and support Alexa and Google Home integration for live view on compatible displays.
Why This Happens in Real Homes
Tapo camera setup is quick once you know the two rules most models share. First, the older and mid-range cameras join 2.4GHz WiFi only (the newer WS models like the C320WS and C530WS are dual-band), so put your phone on the 2.4GHz network before you start, because pairing fails most often when the phone is on the 5GHz half of a combined SSID and hands the camera a network it cannot use. Second, Tapo pairing usually works by the app displaying a QR code that the camera reads through its lens, so screen brightness, distance, and a correct WiFi password all matter, and special characters in the password are a common stall point. After it is online, placement decides image quality: keep the camera off windows and mirrors so infrared does not bounce back at night, and if you are storing locally, format the microSD inside the Tapo app rather than on a PC, or use Tapo Care cloud instead.
What's Included
- Camera will not pair during Tapo app setup
- App finds the camera but the WiFi step fails
- Setup spins at connecting-to-WiFi then times out
- Camera cannot scan the QR code shown on the phone
- Weak or dropping WiFi after mounting
- microSD card not recognized for recording
- Night vision washed out or glaring
- Camera does not appear in Alexa or Google Home
Got your materials ready? Here's what to check first.
Before You Start
- Phone on 5GHz while the camera needs 2.4GHz (most Tapo cameras are 2.4GHz-only)
- WiFi password contains special characters the camera cannot parse
- Router on WPA3-only, band-steering, or AP isolation blocking setup
- Phone QR held too far away or screen brightness too low to scan
- Camera mounted beyond usable WiFi range
- microSD over the supported size or not formatted in the app
- Camera aimed at a window or wall, bouncing IR at night
- Tapo account not linked in the Alexa or Google skill
Don't skip this step — it breaks everything if you do
For doorbell installation, turn off doorbell power at breaker before connecting wires. Check doorbell transformer compatibility.
Tools & Requirements
These tools will help you complete this fix.

Drill optional
DEWALT 20V MAX Cordless Drill and Impact Driver, Pow...

Level
9 Inch Torpedo Level Magnetic, Shock-Proof Small Lev...

Screwdriver
STREBITO 155 in 1 Electric Screwdriver Set, Small El...
As an Amazon Associate we earn from qualifying purchases.
Installation Steps
Download Tapo App
Download Tapo app from App Store or Google Play Store. Create TP-Link ID account or sign in with existing account.
Prepare Camera
Remove camera from packaging. For outdoor models, make sure weather sealing. For doorbell, remove existing doorbell if replacing.
Mount Camera
Use included mounting hardware. For doorbell models, connect to existing doorbell wires. Make sure secure mounting and proper angle.
Power Up
Connect power adapter or use battery for wire-free models. LED should flash amber/blue indicating ready for setup.
Add to App
In Tapo app, tap + button. Select camera model from device list. Follow app instructions for Wi-Fi setup.
Wi-Fi Connection
Connect camera to your home Wi-Fi network. Enter network password when prompted. Wait for solid green LED.
Configure Features
Set up motion detection zones, two-way audio, night vision settings, and notification preferences.
Installation Tips
Still stuck? This is usually the deeper cause below.
For outdoor installation, use weatherproof mounting. Battery models need periodic charging. Ensure strong Wi-Fi signal at installation location.
Before you go — these Tapo guides fix most remaining issues.
Most popular upgrades chosen by Tapo Smart Camera owners.
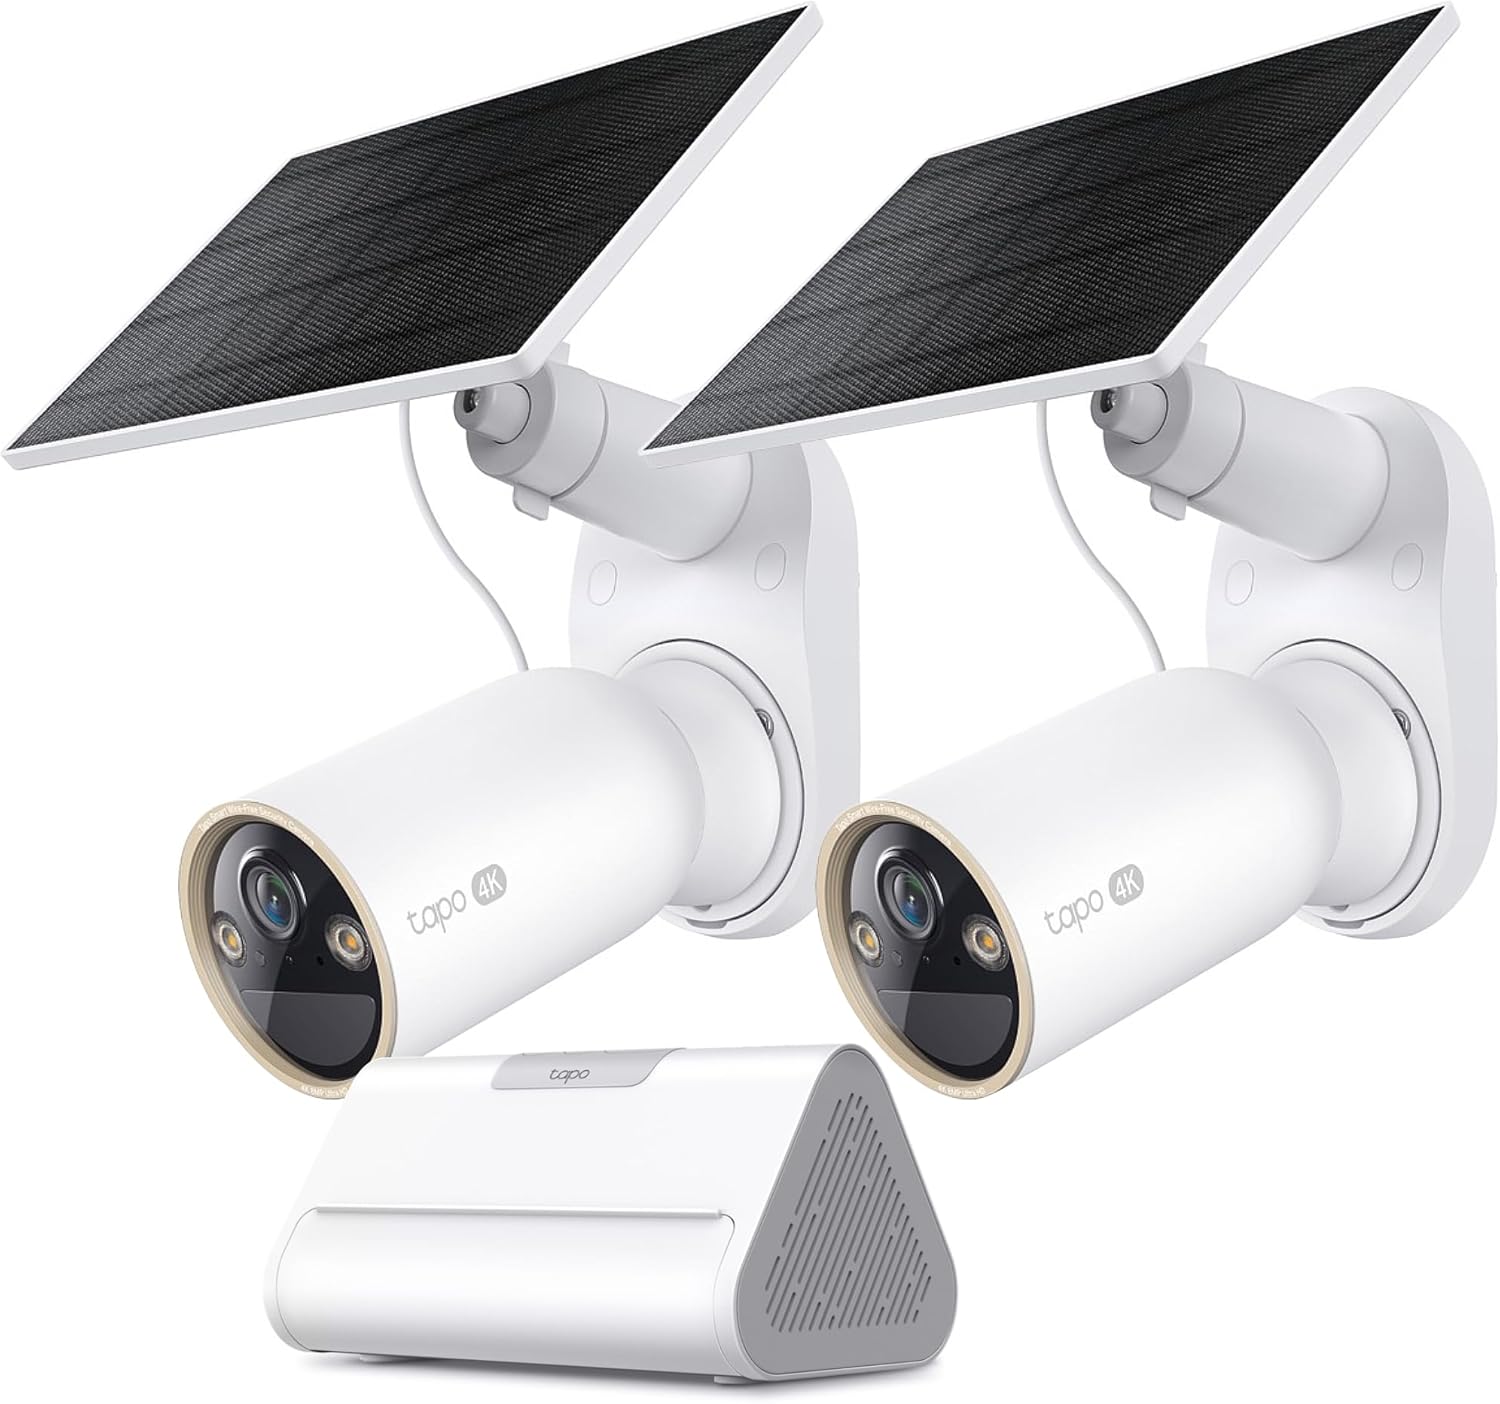
Tapo 4K Outdoor Solar-Powered Cameras C460 KIT x 2-Camera...

Tapo TP-Link 2K Pan/Tilt Security Camera for Baby Monitor...
As an Amazon Associate we earn from qualifying purchases.
Official Manufacturer Manual
Tapo provides official product documentation through their online manual rather than downloadable PDF. Access setup guides, troubleshooting steps, and product specifications for your Tapo Smart Camera.
Source: tapo.com
Need More Help? Tapo Support
Note: The contact information below connects you directly to Tapo's official customer support team, not Trunetto. They can help with warranty claims, device replacements, and advanced technical issues.


