
How to Install Tapo C200 Pan Tilt Camera
- Check mount location and power routing
- Power camera and wait for pairing indicator
- Onboard in Tapo app on 2.4GHz WiFi
- Set strong credentials and recording options
- Run pan/tilt, audio, and alert validation tests
Most users complete this in under 30 minutes
Overview
Tapo Tapo C200 Pan Tilt Camera setup takes under 15 minutes for most users — if you're stuck, the steps below target the specific points where installs stall.
This guide covers the installation and configuration of the TP-Link Tapo C200 indoor pan-tilt camera, including desk or ceiling mount setup, motorized rotation calibration, and Tapo app configuration for patrol routes, privacy mode, and motion-triggered recording. The C200 supports 360-degree horizontal and 114-degree vertical rotation for full room coverage.
Why This Happens in Real Homes
The C200's motorized head is the feature that sells it and also the thing people box in during install. Give it clearance: set it on an open shelf or a ceiling mount where the 360-degree pan and 114-degree tilt can sweep without hitting a wall, a lamp, or a shelf edge, or the motor strains and cannot reach the corners you wanted to cover. Preset positions and patrol are app settings that ship off, so save the spots you care about and enable patrol if you want it to cycle. Like the other indoor Tapo cameras it is 2.4GHz-only, so pair with your phone on the 2.4GHz network and let the camera read the QR the app shows. The usual placement rule applies: keep it off windows so infrared does not glare back at night, and format the microSD in the Tapo app if you are recording locally.
What's Included
- C200 will not pair during Tapo app setup
- Camera will not pan or tilt from the app
- Pan/tilt is noisy or does not reach full range
- Patrol or preset positions do not work
- Weak or dropping signal after placement
- microSD card not recognized for recording
- Night image glares off a nearby window
- Camera does not appear in Alexa or Google Home
Got your materials ready? Here's what to check first.
Before You Start
- Phone on 5GHz; the C200 needs a 2.4GHz network
- Pan/tilt head boxed in against a wall or object
- WiFi password with special characters, or WPA3/band-steering/AP isolation
- Preset positions not saved or patrol not enabled
- Camera placed beyond usable 2.4GHz range
- microSD over the supported size or not formatted in the app
- Camera aimed at a window, bouncing IR at night
- Tapo account not linked in the Alexa or Google skill
Don't skip this step — it breaks everything if you do
Requires stable mounting for motorized movement. Motor noise is normal during pan/tilt operation. Keep rotation path clear.
Tools & Requirements
These tools will help you complete this fix.

Drill optional
DEWALT 20V MAX Cordless Drill and Impact Driver, Pow...

Level
9 Inch Torpedo Level Magnetic, Shock-Proof Small Lev...

Screwdriver
STREBITO 155 in 1 Electric Screwdriver Set, Small El...
As an Amazon Associate we earn from qualifying purchases.
Installation Steps
Prepare mount location and power routing
Choose a stable indoor location with clear view and nearby outlet, avoiding glare and backlight sources. Good placement improves setup success and video quality.
Power camera and wait for pairing indicator
Connect power and confirm the device enters setup mode with expected LED pattern. If not in pairing mode, reset before app onboarding.
Onboard in Tapo app on 2.4GHz WiFi
Use the Tapo app to connect camera to a compatible 2.4GHz network with stable signal. Weak or incompatible WiFi settings cause setup failure loops.
Set strong credentials and recording options
Create secure camera password, configure motion events, and select SD/cloud recording preferences. Correct first-time security settings prevent later lockouts.
Run pan/tilt, audio, and alert validation tests
Test movement controls, talk/listen audio, and motion notifications after install. Final verification confirms full operational readiness.
Installation Tips
Still stuck? This is usually the deeper cause below.
C200 features 360-degree pan and 114-degree tilt. Motion tracking automatically follows moving objects. Supports preset positions.
Before you go — these Tapo guides fix most remaining issues.
Most popular upgrades chosen by Tapo C200 Pan Tilt Camera owners.
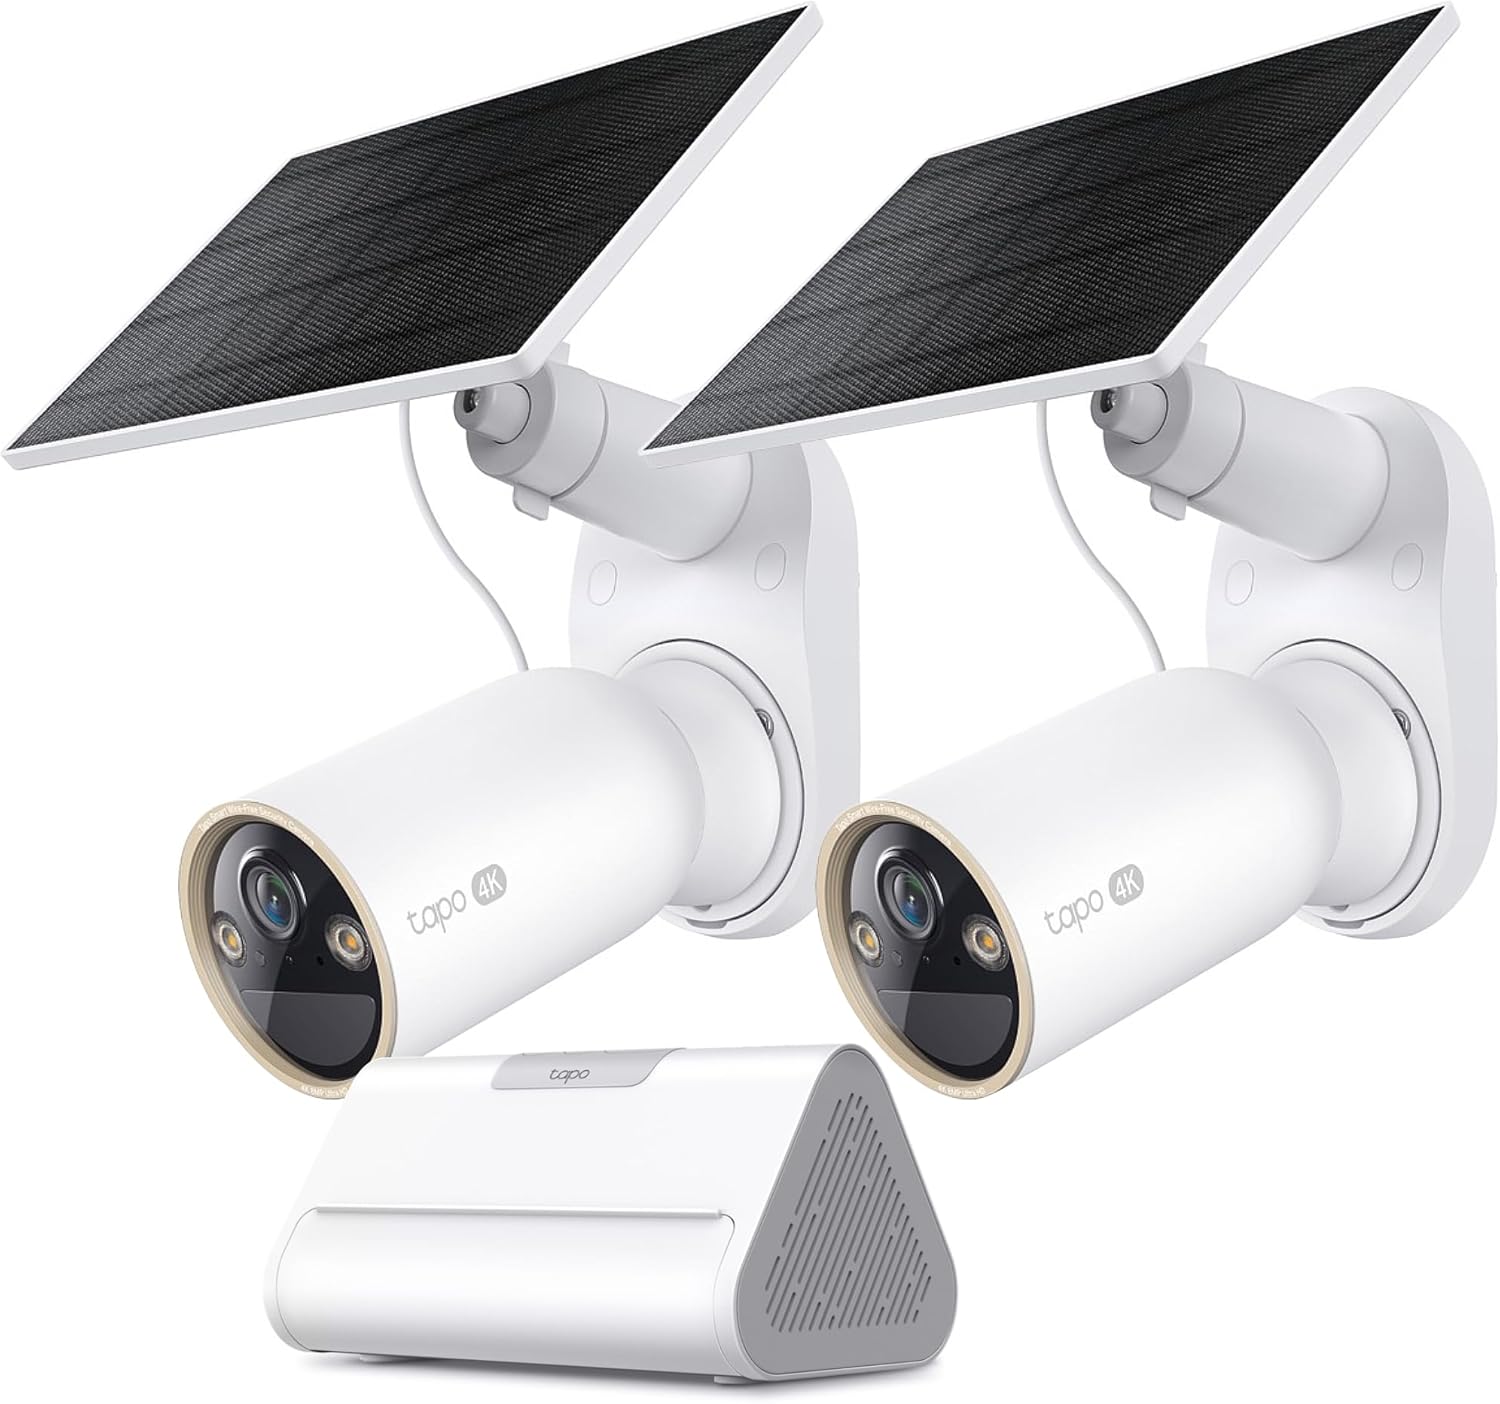
Tapo 4K Outdoor Solar-Powered Cameras C460 KIT x 2-Camera...

Tapo TP-Link 2K Pan/Tilt Security Camera for Baby Monitor...
As an Amazon Associate we earn from qualifying purchases.
Official Manufacturer Manual
Tapo provides official product documentation through their online manual rather than downloadable PDF. Access setup guides, troubleshooting steps, and product specifications for your Tapo C200 Pan Tilt Camera.
Source: tapo.com
Need More Help? Tapo Support
Note: The contact information below connects you directly to Tapo's official customer support team, not Trunetto. They can help with warranty claims, device replacements, and advanced technical issues.


