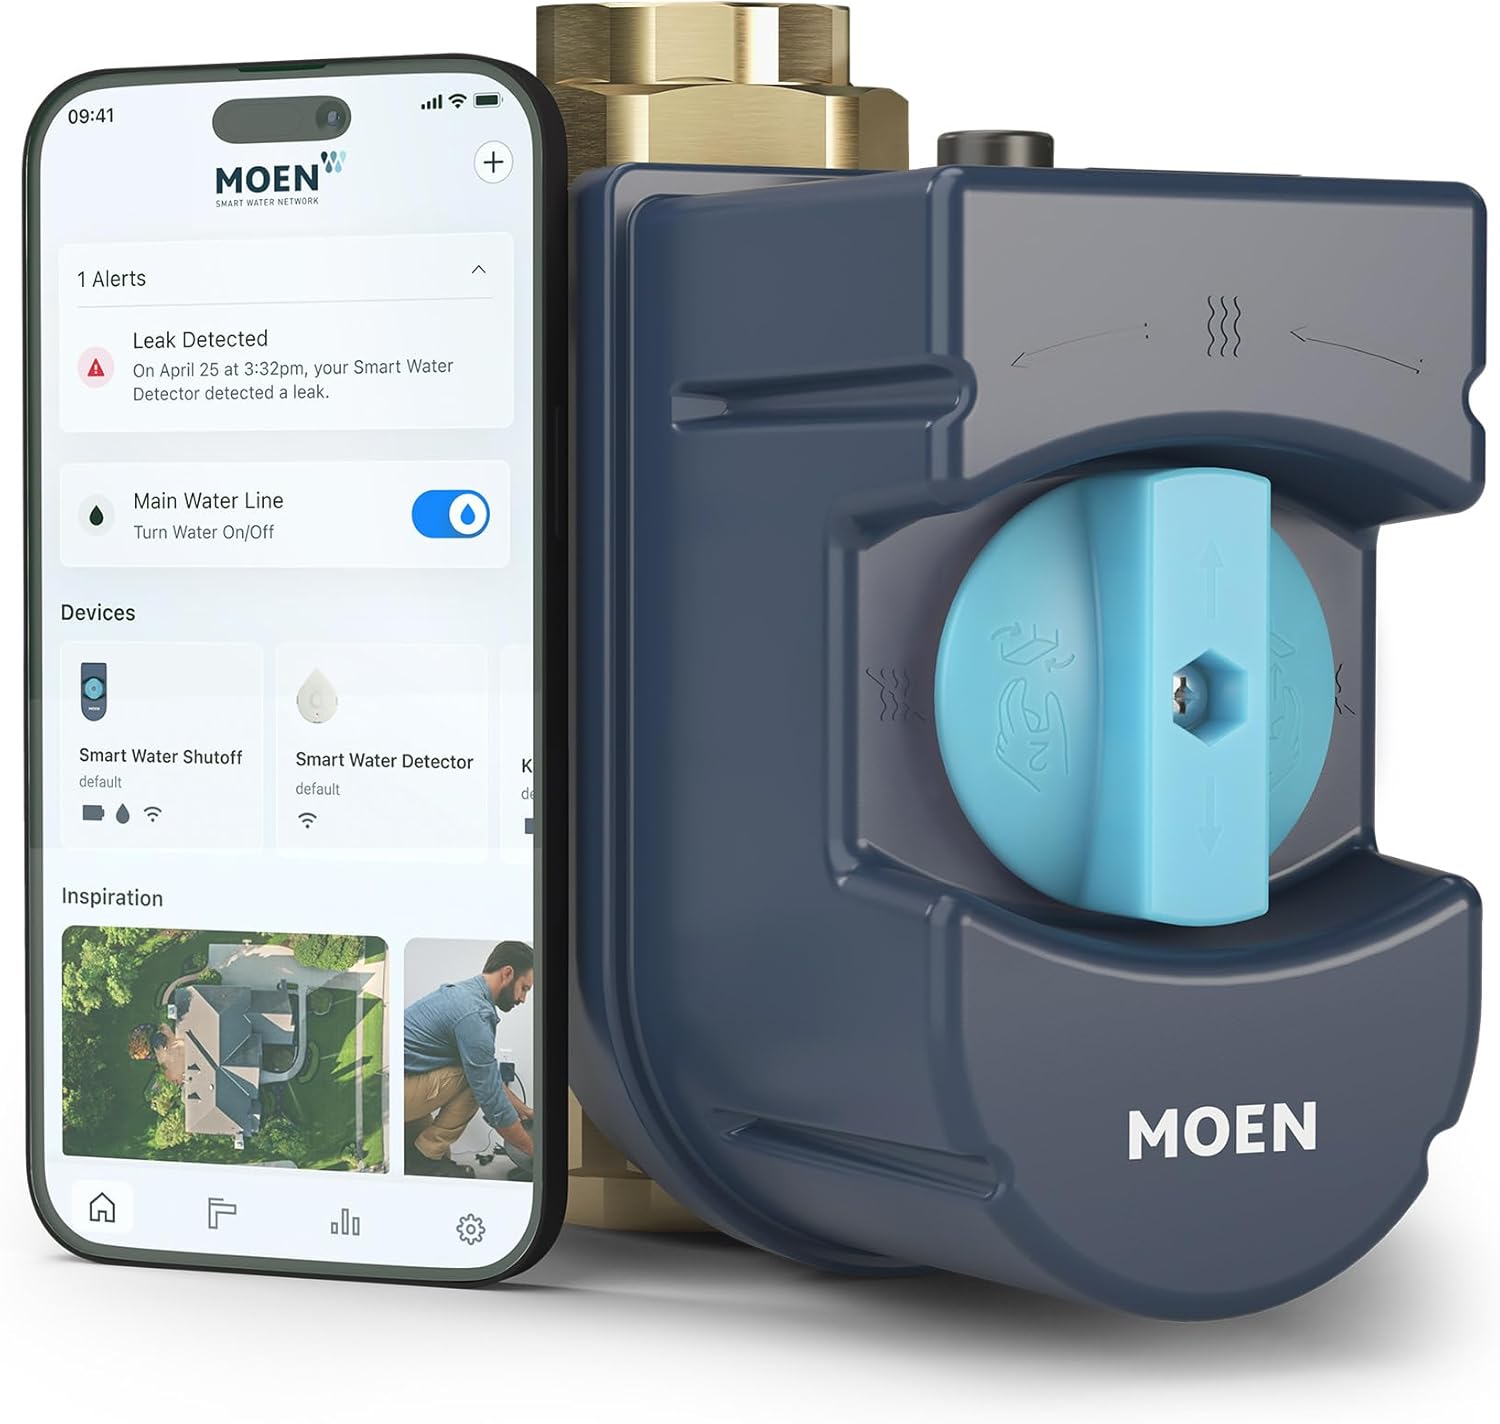
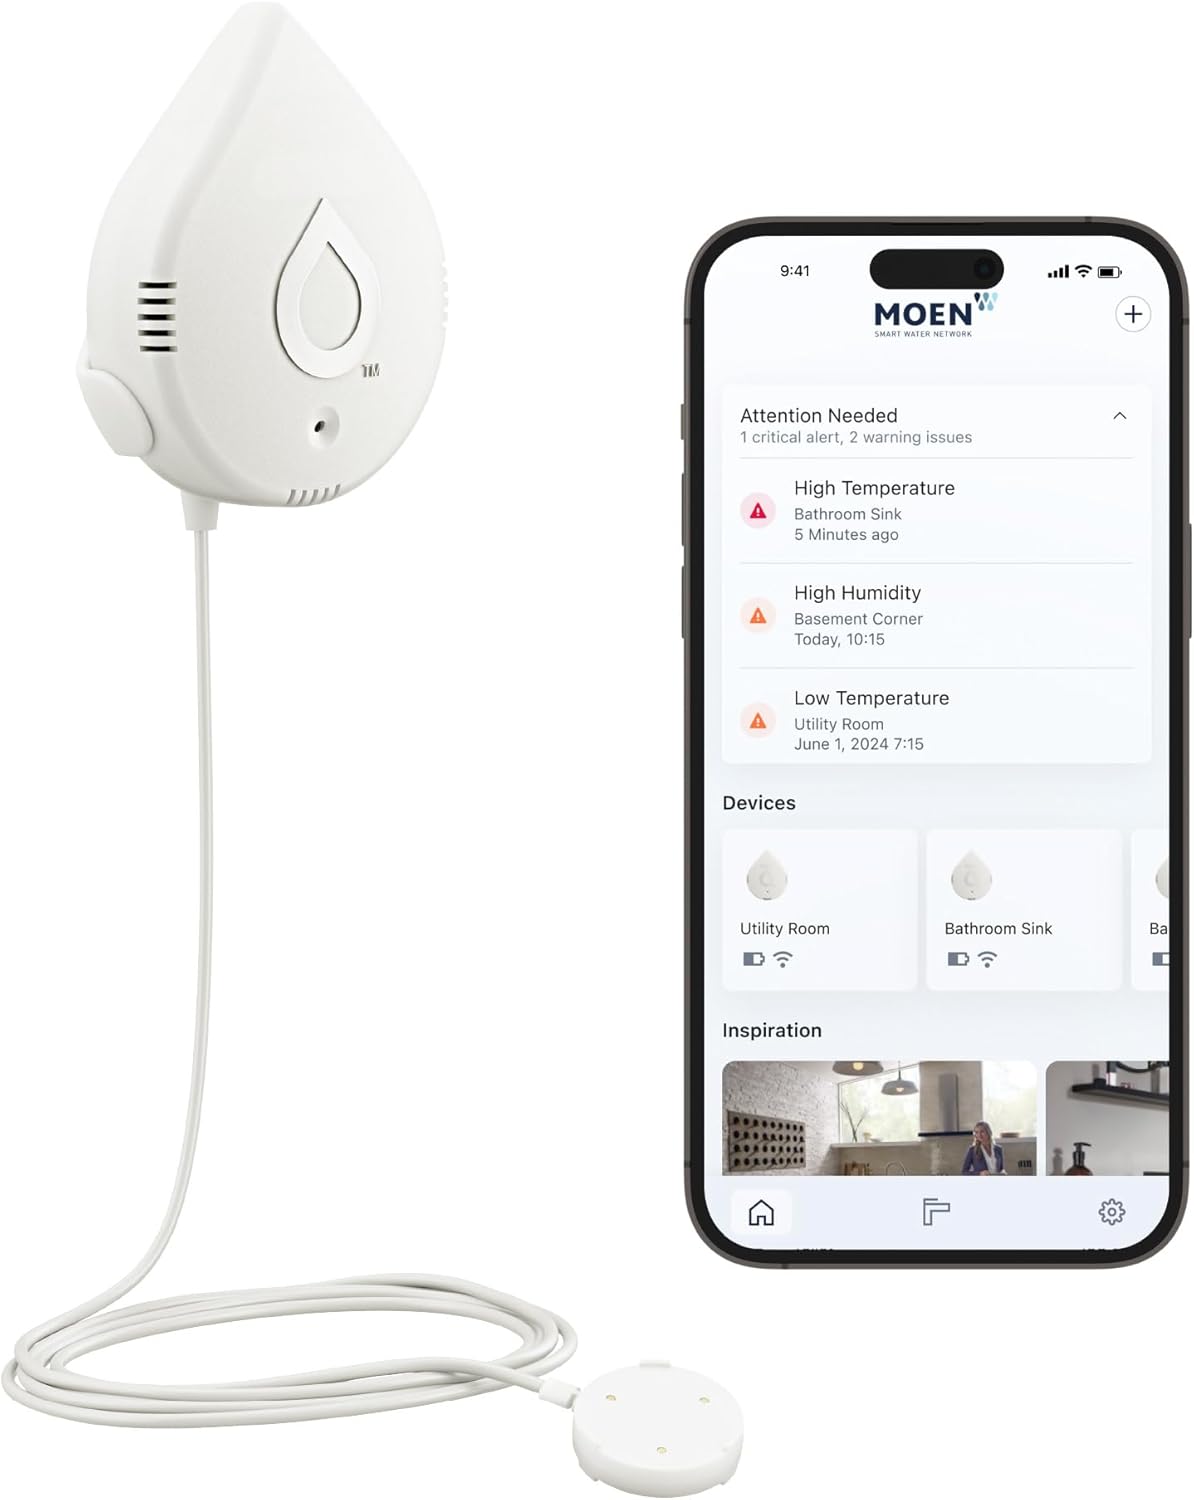
How to Install Moen Flo Smart Water Monitor on a 1-inch Main Line
- Shut Off and Drain
- Plan Orientation
- Cut, Deburr, and Fit
- Power and Pair
- Calibrate and Leak Test
Most users complete this in under 90 minutes
Overview
Install Moen Flo on a 1-inch home main water line, including shutting off supply, cutting pipe, mounting the unit, supplying power, and running first-time app calibration for leak protection.
Why This Happens in Real Homes
Installing a Moen Flo on a 1-inch main is a plumbing job with a smart-device finish, and getting both halves right matters. On the plumbing side, use the Flo sized for a 1-inch line, mount it on a straight horizontal section with room around it, and observe the flow-direction orientation — and of course shut the main off and drain down before you cut the pipe. Flush the line after cutting in so debris and air don't get trapped in the new fittings.
The device side is where protection actually begins. Flo needs power and a solid 2.4GHz WiFi signal, and mains are often in basements, garages, or crawlspaces where signal is weak, so plan for a mesh node nearby if needed. After it's plumbed and online, run the first-time calibration in the Flo by Moen app — this learns your system's baseline pressure and flow, and until it's done the leak protection isn't fully active. Correct size, a clean straight install, steady power and WiFi, and a completed calibration give you reliable whole-home monitoring and automatic shutoff.
What's Included
- Installing Flo on a 1-inch main
- Where to cut and mount
- Powering and pairing the unit
- First-time calibration
- Sizing/fit questions
- Unsure about orientation
- Setup won't complete
- Leak protection not active yet
Got your materials ready? Here's what to check first.
Before You Start
- Wrong Flo size for the 1-inch line
- No straight horizontal section for mounting
- Main supply not fully shut off before cutting
- Air/debris introduced during the cut-in
- No power or weak 2.4GHz at the install location
- First-run calibration not completed
- Valve orientation/flow direction wrong
- WiFi pairing failing at the main
Don't skip this step — it breaks everything if you do
Do not use an underrated fitting on 1-inch copper. Loose or undersized fittings can fail under pressure and flood your basement.
Tools & Requirements
These tools will help you complete this fix.
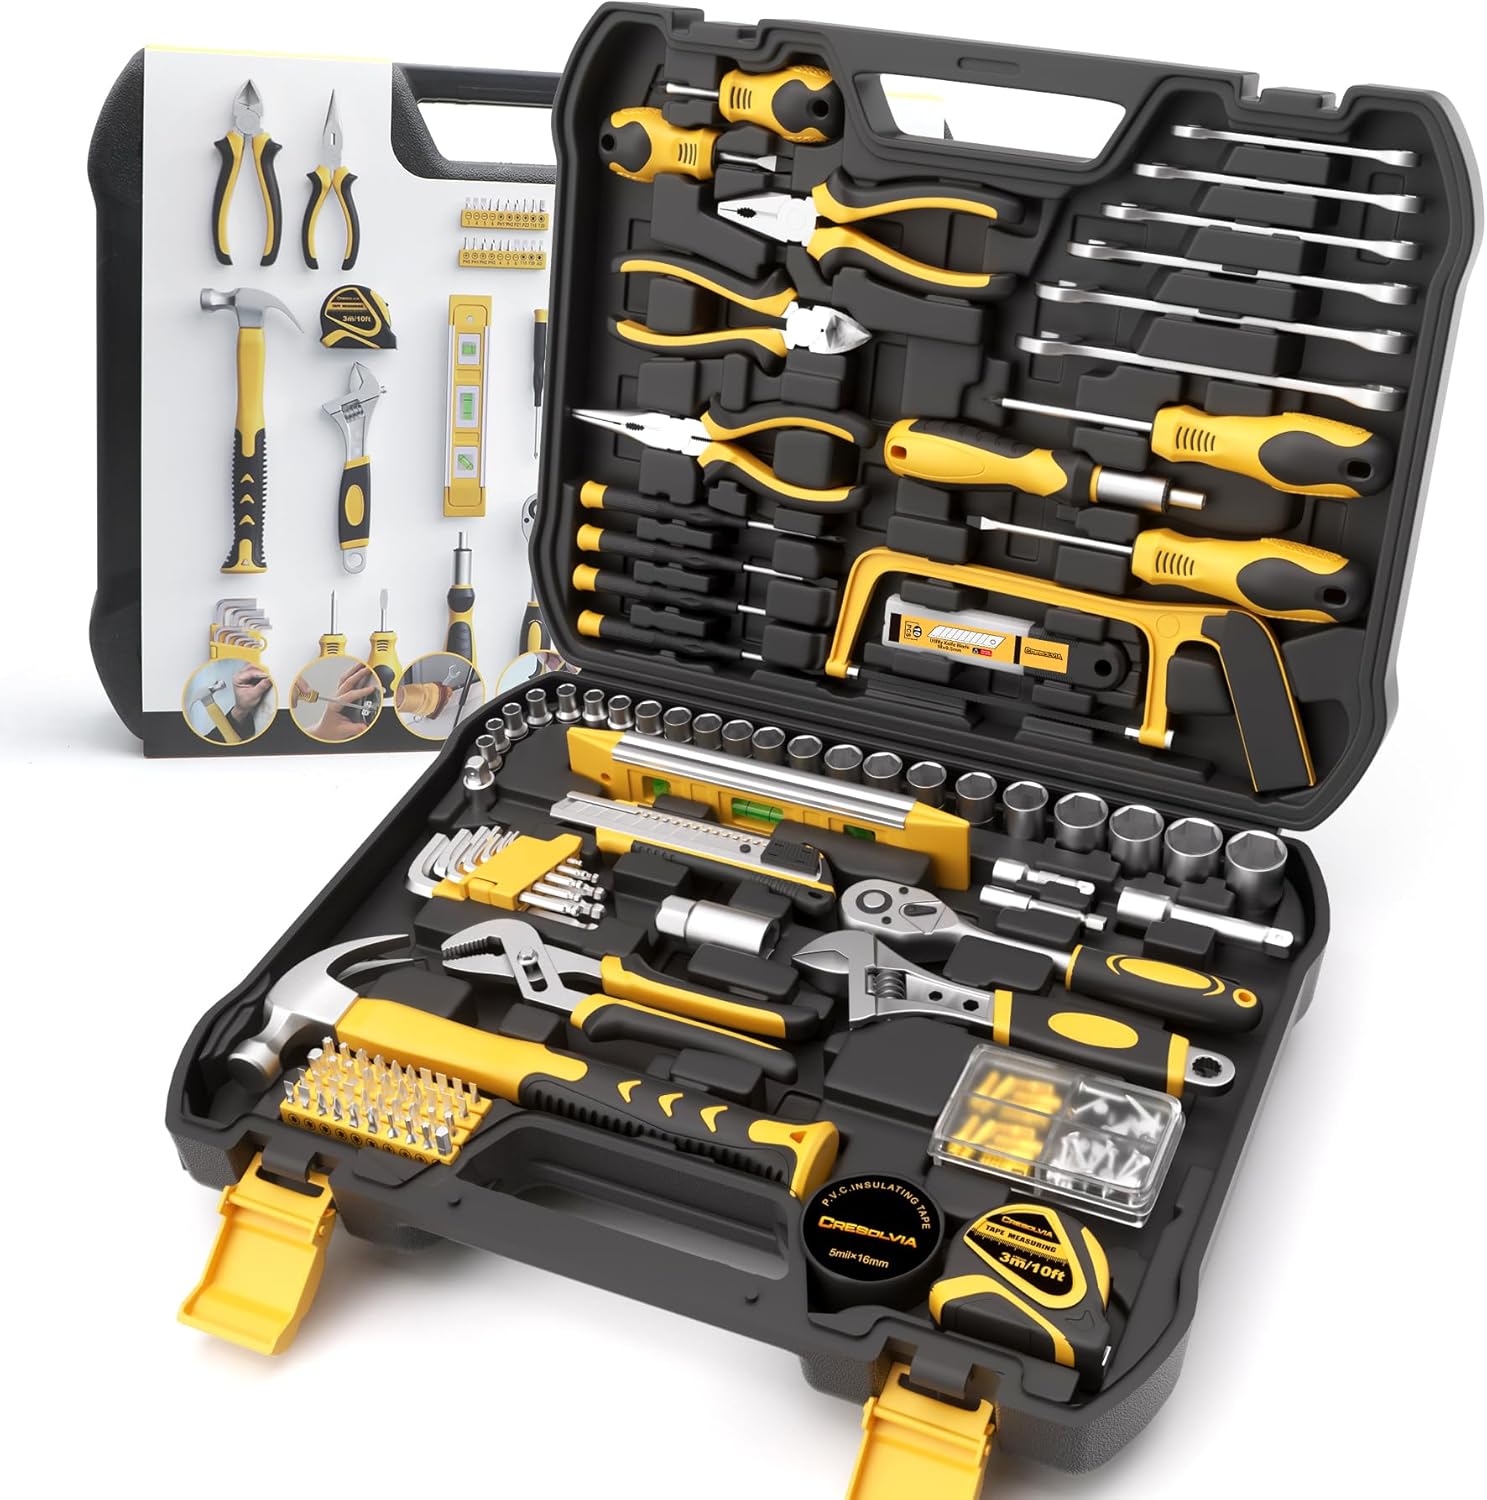
Adjustable wrench
199 Piece Tool Kit for Home,General Household/Auto R...
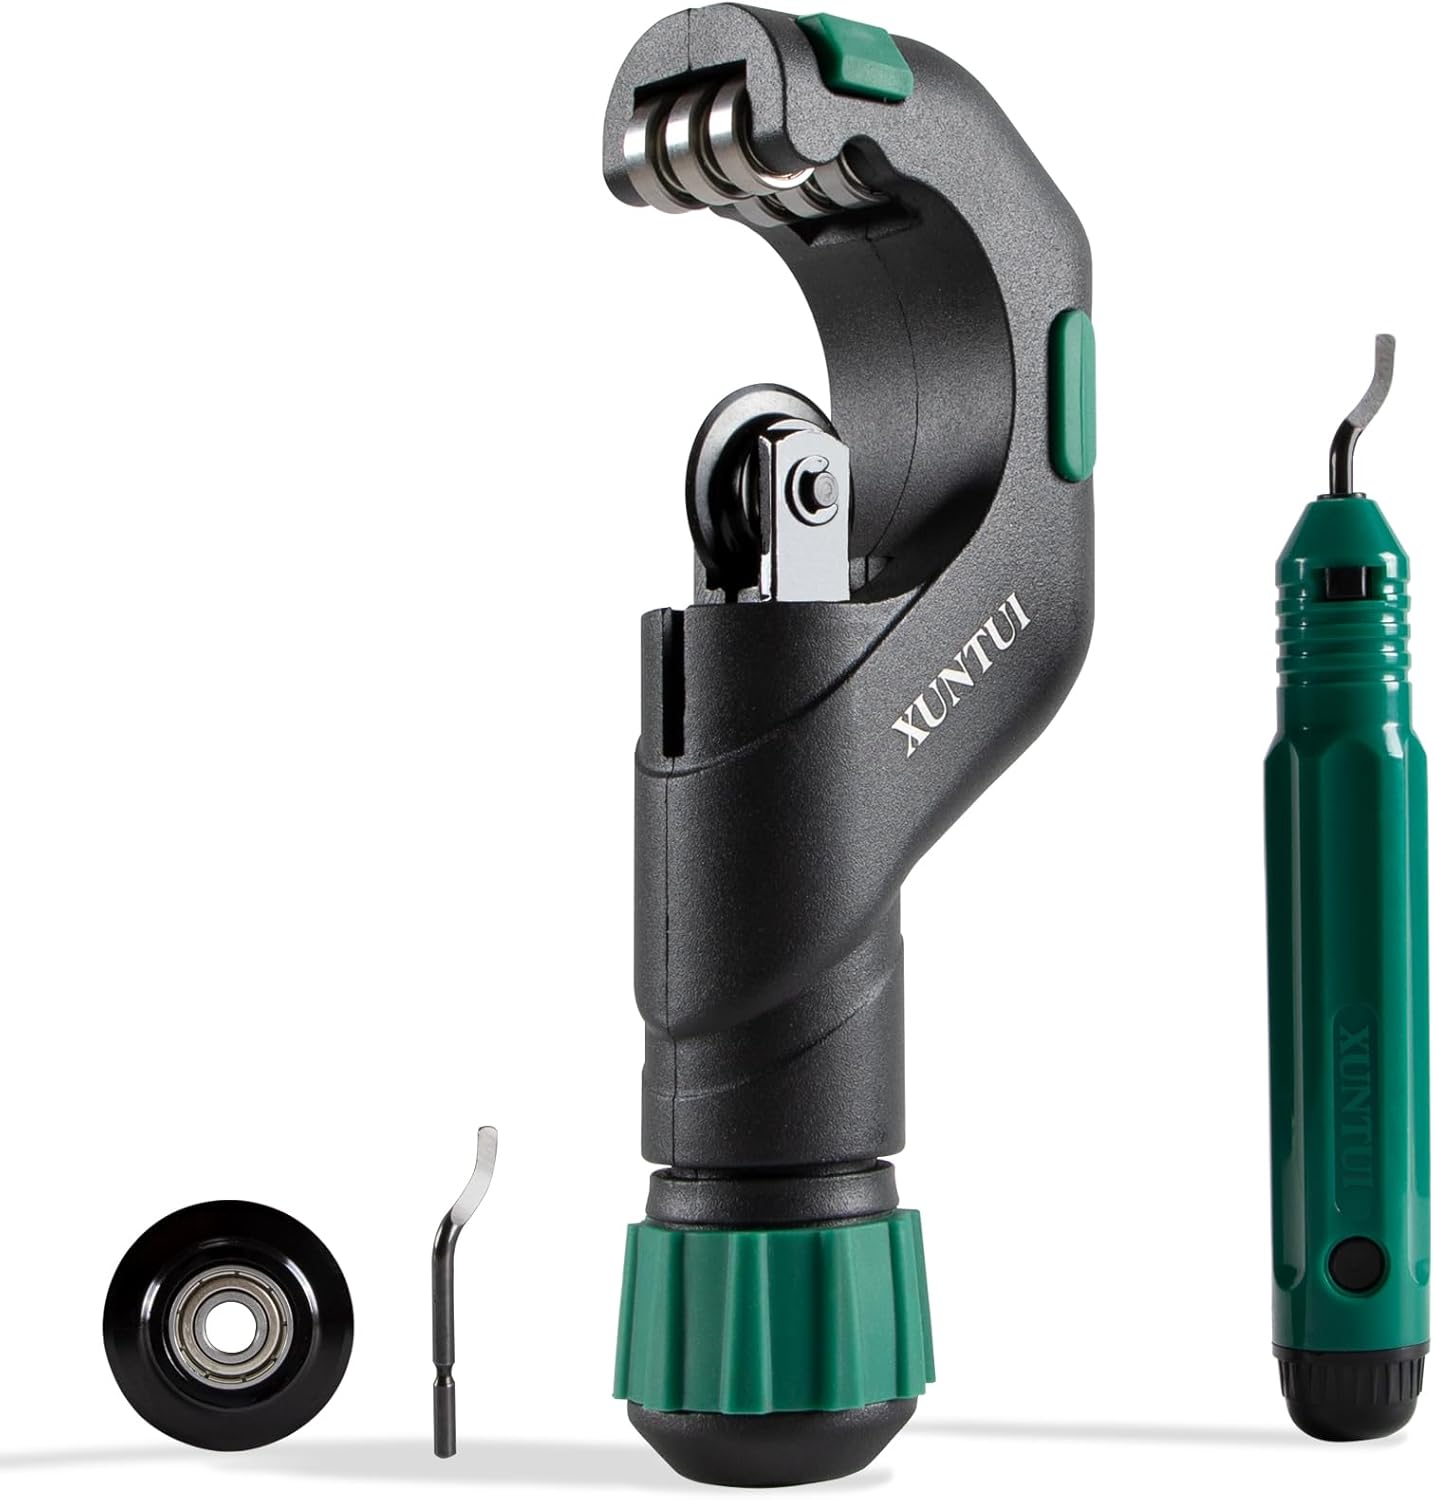
pipe cutter
Copper Pipe Cutter Tool Set 3/16"-2" Outer Diameter,...

deburring tool
AFA Tooling - Deburring Tool Micro-Polished & Anodiz...

towels
MR.SIGA Microfiber Cleaning Cloth, All-Purpose Micro...
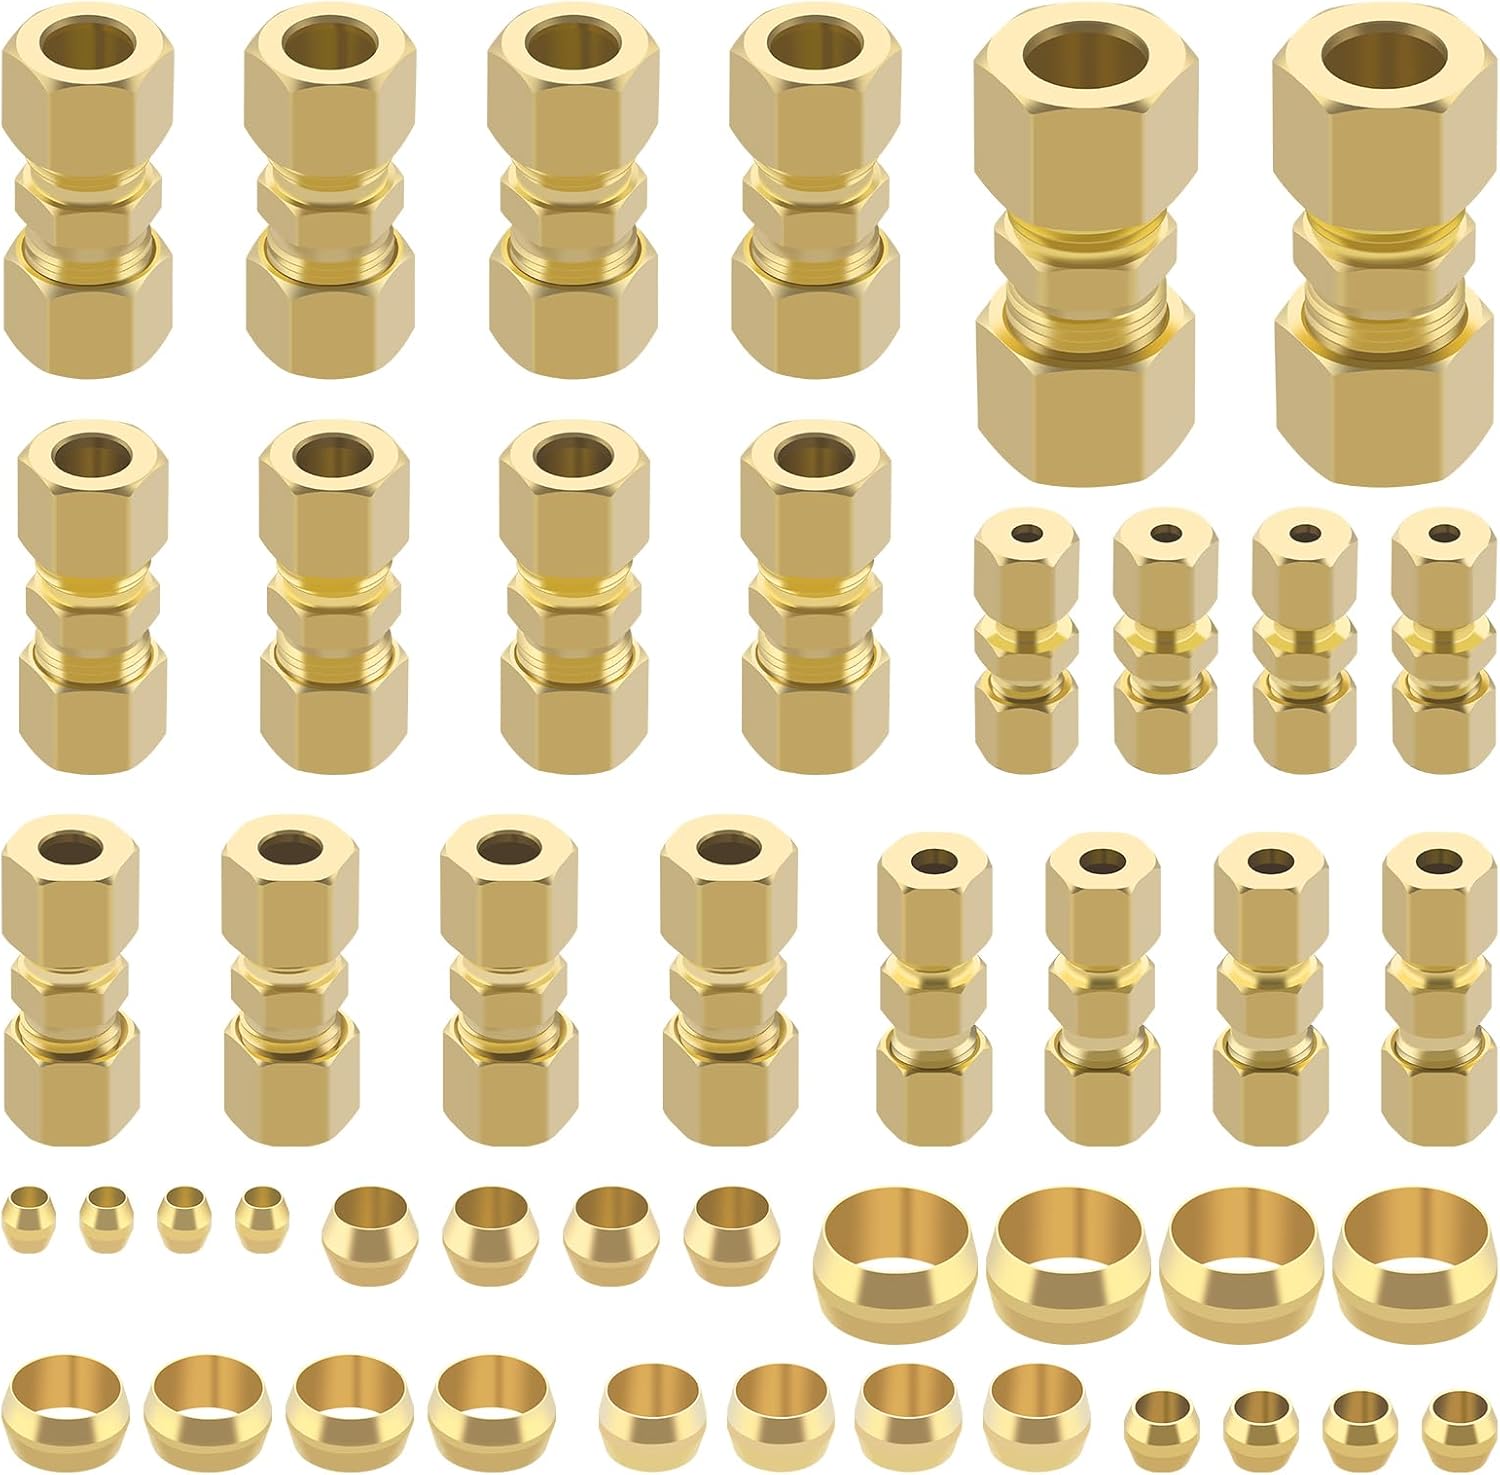
pipe fittings for 1-inch line
46pcs Brass Compression Tube Pipe Fittings Assortmen...
As an Amazon Associate we earn from qualifying purchases.
Installation Steps
Shut Off and Drain
Close the main water shutoff and open the lowest fixture to drain pressure. Keep a bucket and towels nearby. Confirm no flow continues before cutting. Proper draining prevents pressurized water from spraying during pipe cuts and fitting installation.
Needed for this step
Copper Pipe Cutter Tool Set 3/16"-2" Outer Diam...
This helps complete the fix you are currently reading.
$24.99Plan Orientation
Dry-fit the Flo unit along the chosen pipe section. Mark cut points so the unit sits with the flow arrow pointing downstream. Leave a few inches of working space on each side for fittings. Confirm the power cord reaches the outlet without strain.
Needed for this step
46pcs Brass Compression Tube Pipe Fittings Asso...
This helps complete the fix you are currently reading.
$29.99Cut, Deburr, and Fit
Use a pipe cutter to make two clean square cuts. Deburr inside and outside edges. Install fittings appropriate for your pipe type, either threaded adapters, compression unions, or push-to-connect. Hand-tighten then torque gently while preventing pipe twist.
Power and Pair
Plug Flo into the nearby GFCI outlet and wait for the indicator light to stabilize. Open the Moen Smart Water app, add the device, and connect to your 2.4GHz WiFi. Confirm the app displays online status before restoring water to the house.
Calibrate and Leak Test
Slowly reopen the main shutoff and watch for drips around both fittings. Run in-app calibration so Flo learns your household baseline flow. Complete the guided leak test to verify the shutoff valve actuates fully. Label the unit and share app access.
Installation Tips
Still stuck? This is usually the deeper cause below.
Install a main shutoff upgrade at the same time if your existing valve is older than 10 years. Reliable isolation saves this install and future service work.
Before you go — these Moen guides fix most remaining issues.
Most popular upgrades chosen by Moen Flo Smart Water Monitor and Shutoff owners.

Moen 7864EVBG Sleek Smart Faucet Touchless Pull Down Spra...

Moen Belfield Chrome Smart Faucet Touchless Pull Down Spr...

Moen Align Chrome Smart Faucet Touchless Kitchen Faucet w...
As an Amazon Associate we earn from qualifying purchases.
Official Manufacturer Manual
Moen provides official product documentation through their online manual rather than downloadable PDF. Access setup guides, troubleshooting steps, and product specifications for your Moen Flo Smart Water Monitor and Shutoff.
Source: moen.com
Need More Help? Moen Support
Note: The contact information below connects you directly to Moen's official customer support team, not Trunetto. They can help with warranty claims, device replacements, and advanced technical issues.