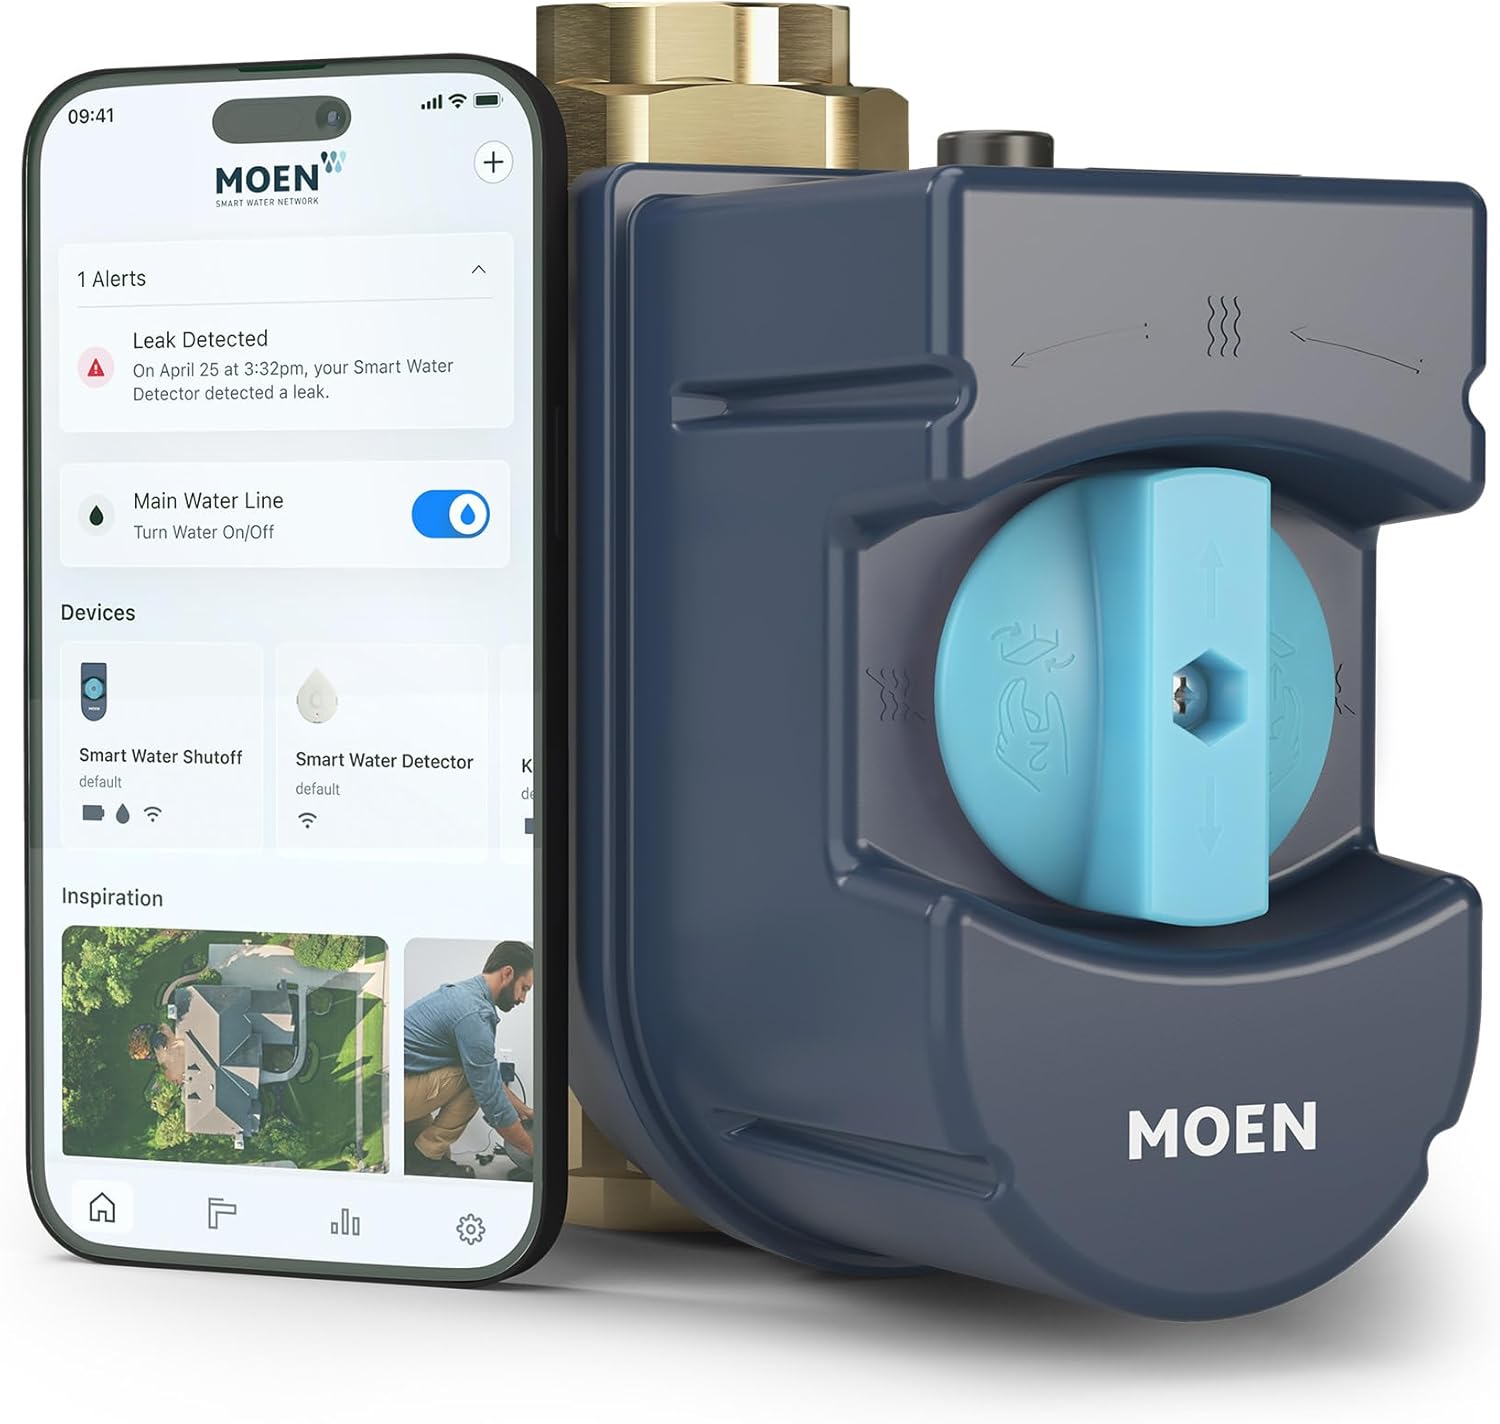
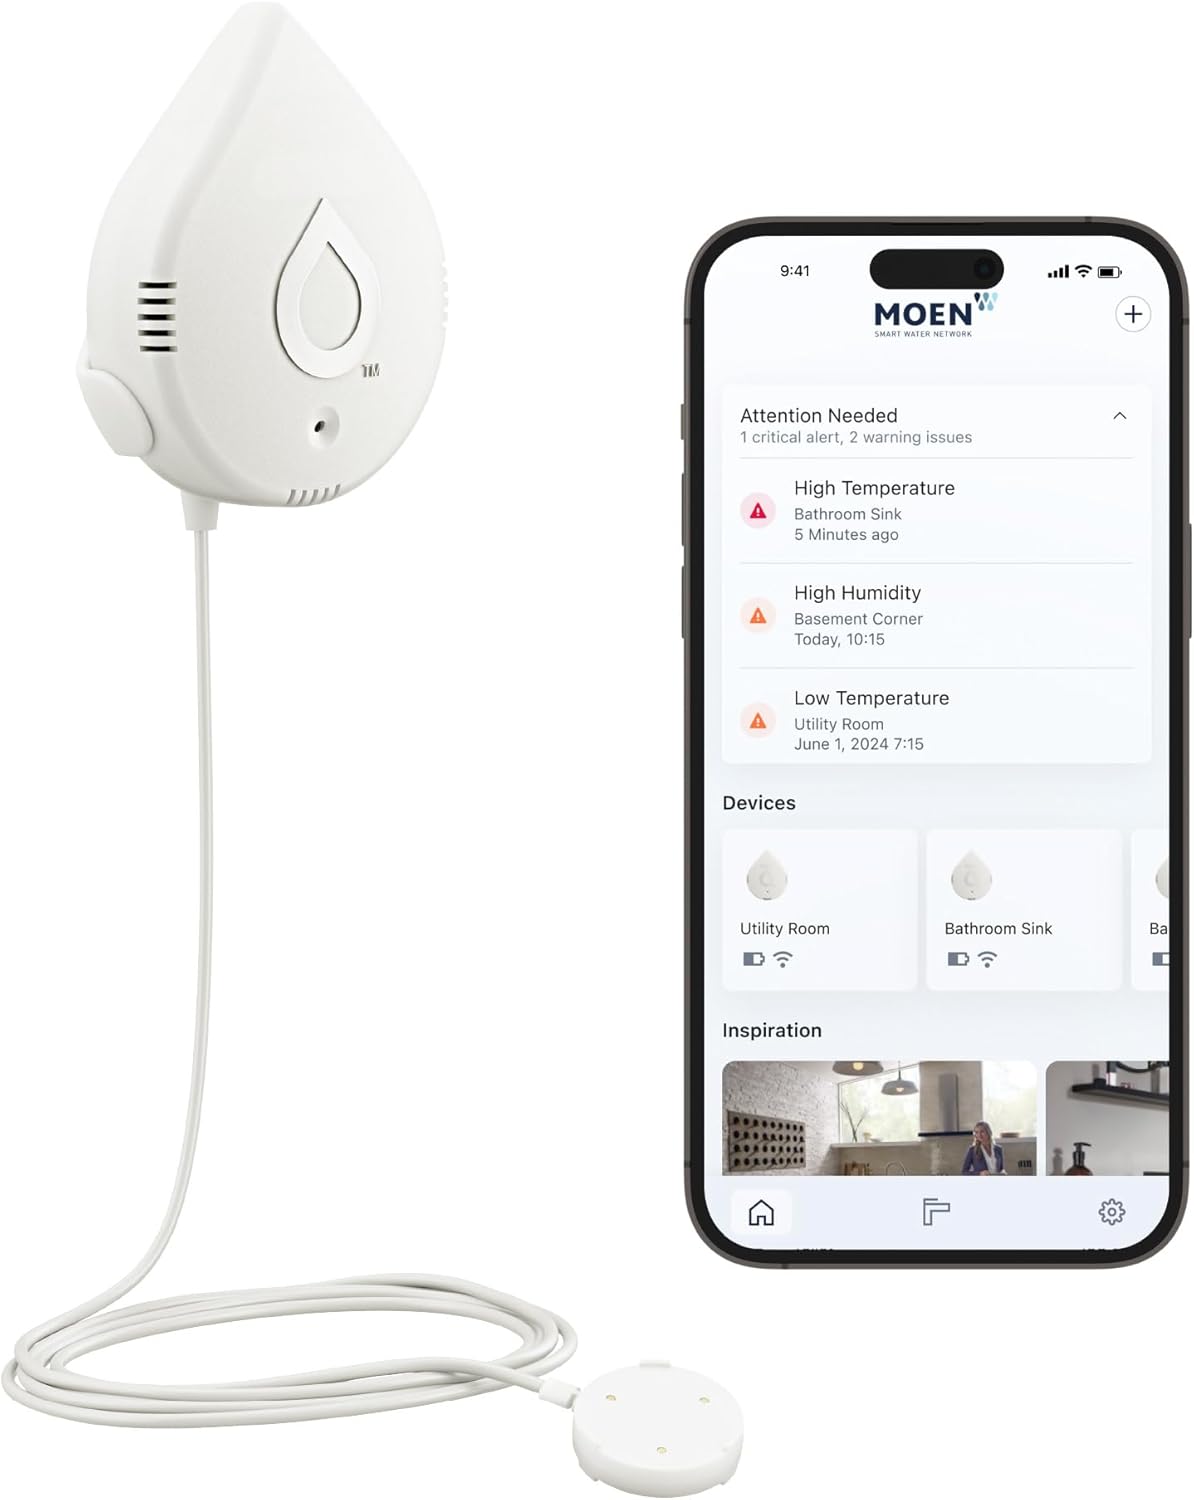
How Do I Install the Moen Flo Smart Water Shutoff?
- Wrong Flo size for the pipe diameter
- No suitable straight horizontal section
- Main not shut off/drained before cutting
Problem Description
You're installing the Moen Flo Smart Water Shutoff on your main water line. The Flo mounts on a straight horizontal section of the main, in the correct pipe size, and requires the main supply shut off and drained before cutting in — a licensed plumber is recommended for the plumbing connection. After it's plumbed, it needs power, a 2.4GHz WiFi connection to the Flo by Moen app, and a first-run calibration that learns your home's baseline pressure and flow before leak protection is active. This guide covers sizing, mounting, wiring, and app onboarding.
Why This Happens in Real Homes
Installing the Moen Flo Smart Water Shutoff is really two jobs: plumbing it into the main correctly, then getting it online and calibrated. The plumbing half calls for the right size Flo for your pipe, a straight horizontal mounting section with clearance, the correct flow-direction orientation, and — critically — shutting off and draining the main before you cut in. Because it's a cut-in on your main line, most people have a licensed plumber make the connection, and flushing the line afterward keeps trapped air and debris from fouling the new unit.
Once it's plumbed, the protection depends on the device being online and calibrated. Flo needs power and a reliable 2.4GHz WiFi signal, and since mains usually sit in a basement, garage, or crawlspace, weak signal is common — add a mesh node if the pairing struggles. Finish by running the first-time calibration in the Flo by Moen app, which learns your baseline pressure and flow; until that completes, the automatic leak protection isn't fully working. Right size, clean install, steady power and WiFi, and a completed calibration is the recipe for a Flo that actually guards the house.
Symptoms
- Installing the Flo shutoff
- Sizing and placement questions
- Won't power on after install
- Won't connect to WiFi
- Calibration won't complete
- Leak protection not active
- Unsure about pipe orientation
- Setup stalls in the app
Recognize these? Here's what usually causes it.
Common Causes
- Wrong Flo size for the pipe diameter
- No suitable straight horizontal section
- Main not shut off/drained before cutting
- Air or debris trapped after the cut-in
- No power or weak 2.4GHz at the location
- Wrong flow-direction orientation
- First-run calibration not completed
- WiFi pairing failing at the main
Most fixes happen in the first 3 steps.
Smart water sensors are early warning devices but cannot prevent all water damage. Know the location of your main water shutoff valve and how to operate it manually in an emergency. If you detect a major leak, shut off water manually first then troubleshoot. Never ignore a leak alert even if it might be a false alarm.
Tools & Requirements
These tools will help you complete this fix.

Compression fittings
Compression Fittings, 1/4 Compression Fitting Brass ...
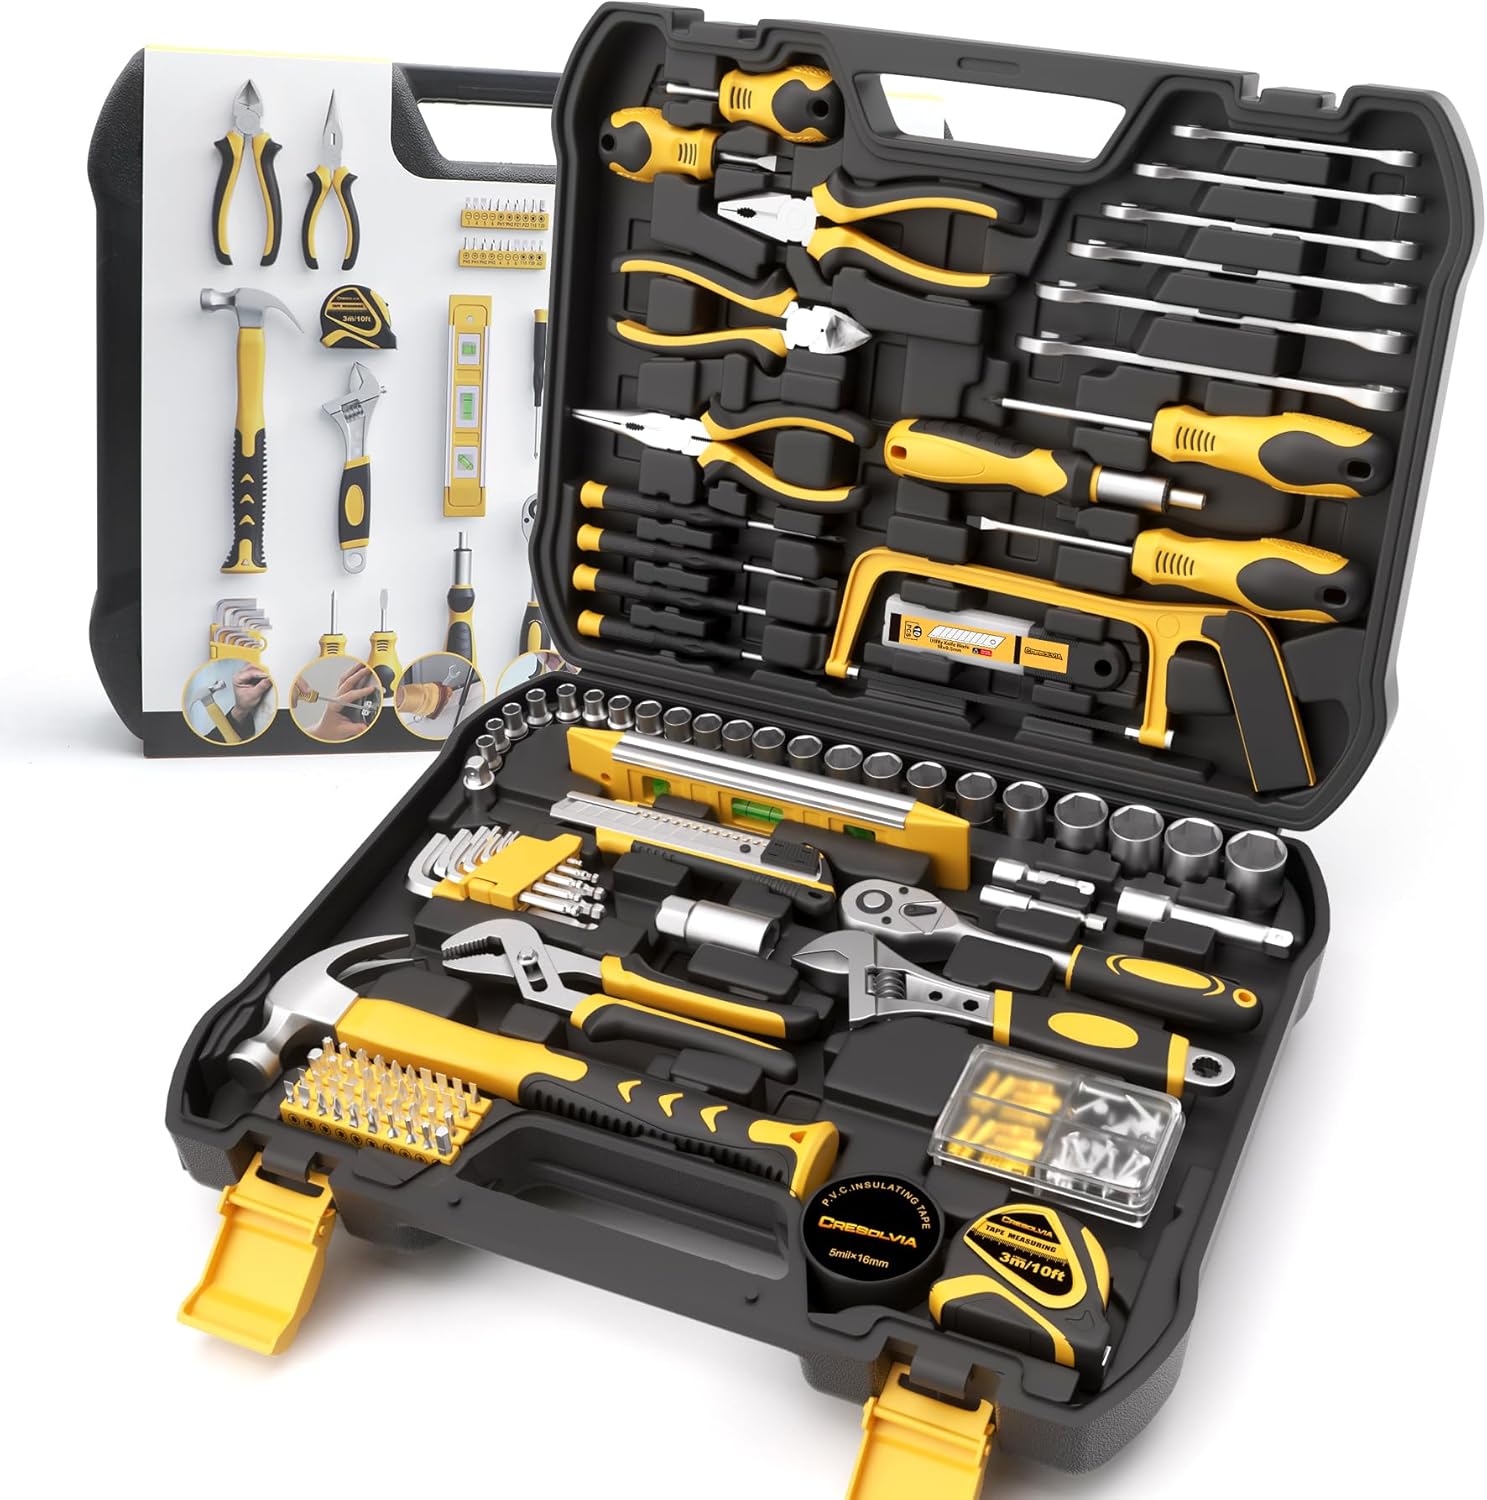
Wrench
199 Piece Tool Kit for Home,General Household/Auto R...
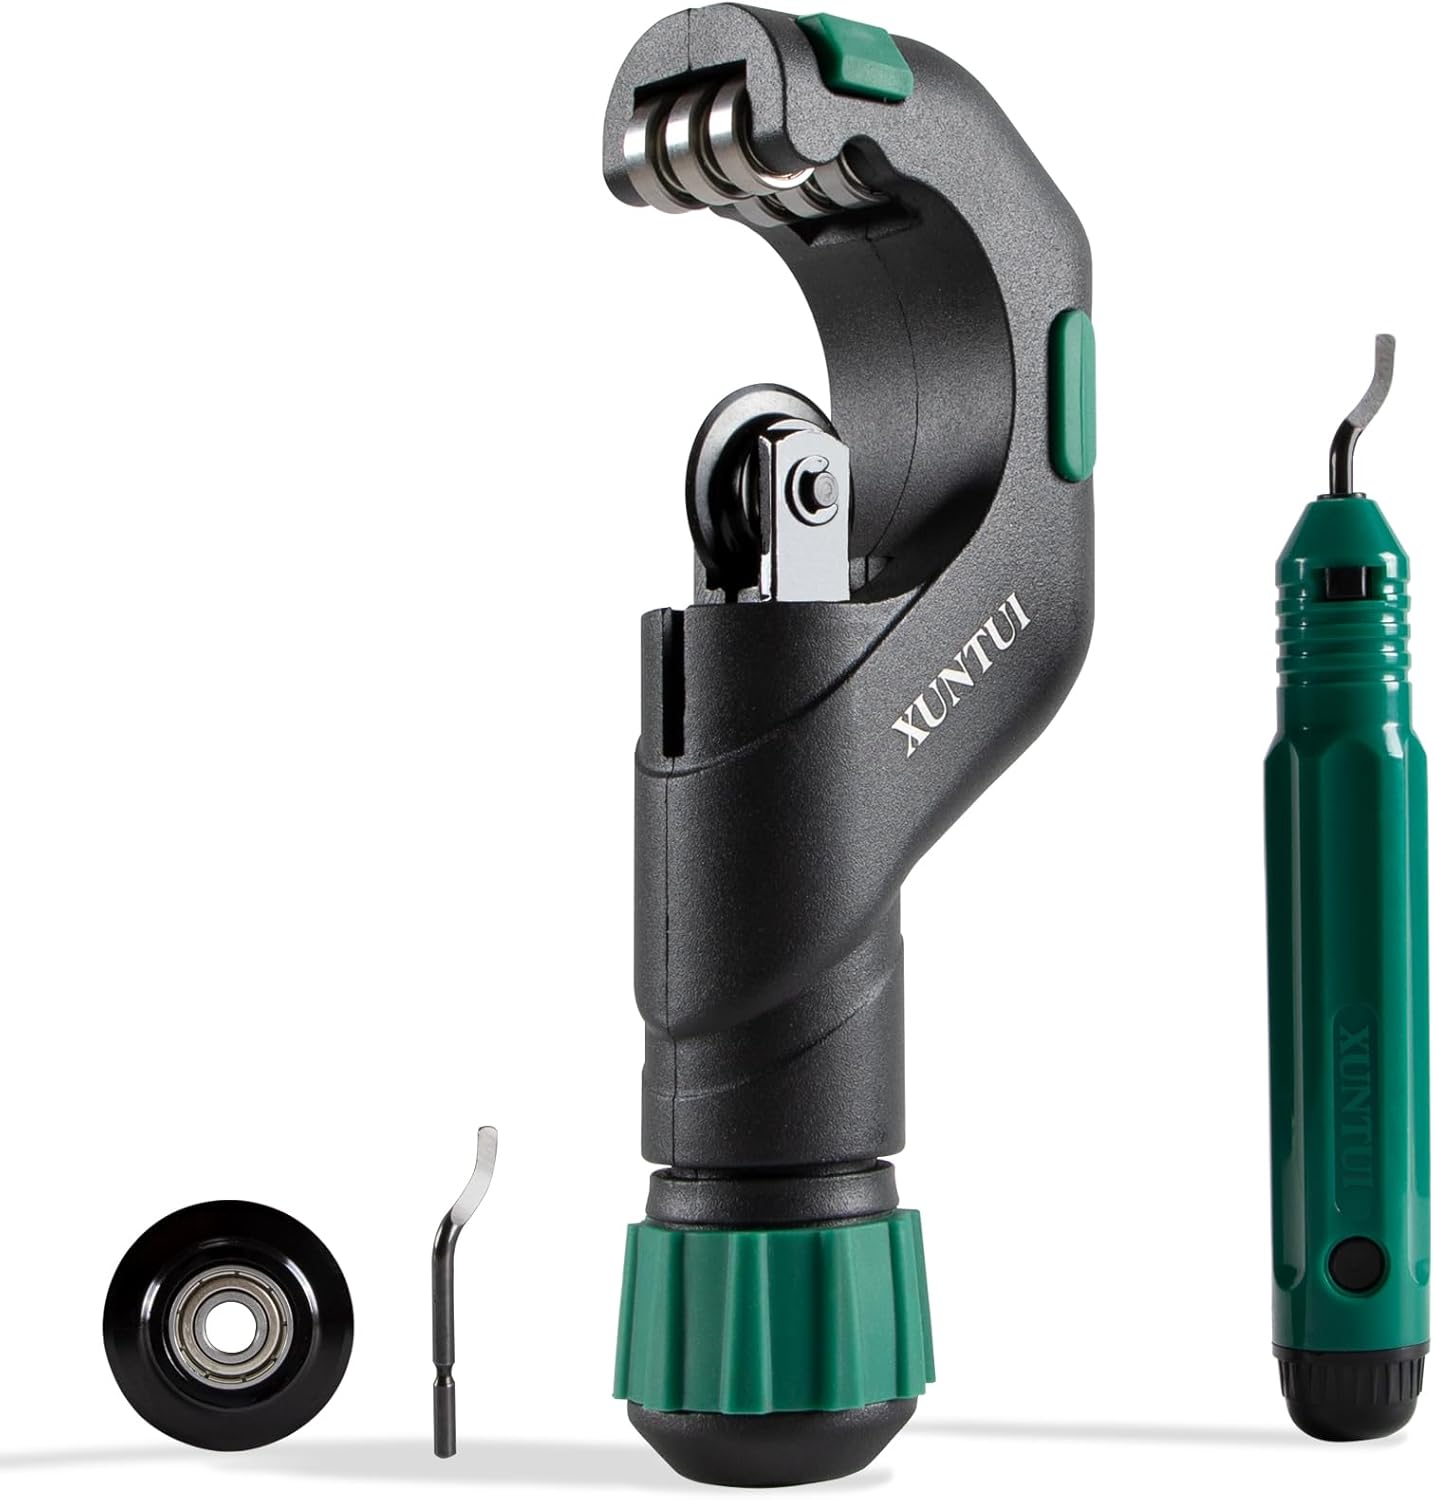
Pipe cutter
Copper Pipe Cutter Tool Set 3/16"-2" Outer Diameter,...
As an Amazon Associate we earn from qualifying purchases.
Step-by-Step Solution
Choose the installation location
The Flo by Moen Smart Water Shutoff installs on your main water supply line, after the main shut-off valve and water meter. This location monitors all water flowing into your home. The device needs access to a power outlet within 6 feet (it plugs into standard AC power) and WiFi coverage. Install indoors — the device is not rated for outdoor or freezing conditions. The installation location is usually in the basement, utility room, or garage near the main water entry point.
Check pipe size and type
The Flo Smart Water Shutoff is available in 3/4-inch and 1-inch models — measure your main water line pipe diameter. The device installs inline using threaded or push-fit connections depending on your pipe type. Copper, PEX, and CPVC pipes are compatible with appropriate fittings. If you have galvanic connections (copper to steel), use dielectric unions to prevent corrosion. If you are not comfortable with plumbing work, hire a licensed plumber.
Needed for this step
Compression Fittings, 1/4 Compression Fitting B...
This helps complete the fix you are currently reading.
$8.99Install the device inline
Turn off the main water supply. Drain the pipes by opening a low faucet. Cut the pipe at the installation location. Install the Flo device inline with the flow arrow pointing in the direction of water flow (toward your house, away from the meter). Use appropriate fittings for your pipe type. Tighten connections firmly. Slowly turn the water supply back on and check all connections for leaks. Even a small drip at a connection should be fixed immediately.
Needed for this step
Copper Pipe Cutter Tool Set 3/16"-2" Outer Diam...
This helps complete the fix you are currently reading.
$24.99Connect to the Flo app
Plug the Flo device into a power outlet. Download the Flo by Moen app. Create an account and follow the setup wizard. Connect the device to your 2.4GHz WiFi network. The app walks through initial configuration: set your home address, household size, and number of fixtures. This baseline helps the Flo device learn your normal water usage patterns and detect anomalies.
Run the initial health test
After installation, run a Health Test in the Flo app. The device briefly closes the valve and pressurizes the system to check for leaks. If the test passes: your plumbing holds pressure and no leaks are detected. If the test fails: there is a leak somewhere — check running toilets, dripping faucets, or the new connections you just made. Fix any leaks and rerun the test until it passes. Set up daily automatic health tests for ongoing monitoring.
Quick Solutions
Still having issues? This is usually the deeper cause below.
If this comes back after following these steps, check whether a recent app or firmware update reset a default setting — the fix works, but the setting gets reverted silently.
["Professional installation recommended", "Monitors all water usage", "Auto-shutoff on detected leaks"]
This issue almost always looks more complex than it is — the majority of cases trace back to a single setting, a stale credential, or a default that shipped wrong.
- Wrong Flo size for the pipe diameter
- No suitable straight horizontal section
- Main not shut off/drained before cutting
- Air or debris trapped after the cut-in
- No power or weak 2.4GHz at the location
Before you go — try one of these (they fix most cases).
Most popular upgrades chosen by Moen Flo owners.

Moen 7864EVBG Sleek Smart Faucet Touchless Pull Down Spra...

Moen Belfield Chrome Smart Faucet Touchless Pull Down Spr...

Moen Align Chrome Smart Faucet Touchless Kitchen Faucet w...
As an Amazon Associate we earn from qualifying purchases.
Official Manufacturer Manual
Moen provides official product documentation through their online manual rather than downloadable PDF. Access setup guides, troubleshooting steps, and product specifications for your Moen Flo.
Source: moen.com
Need More Help? Moen Support
Note: The contact information below connects you directly to Moen's official customer support team, not Trunetto. They can help with warranty claims, device replacements, and advanced technical issues.