Why Does My Moen Flo Water Pressure Drop After Installation
- Flo undersized for the main line
- Shutoff valve not fully open
- Air pockets trapped during installation
Problem Description
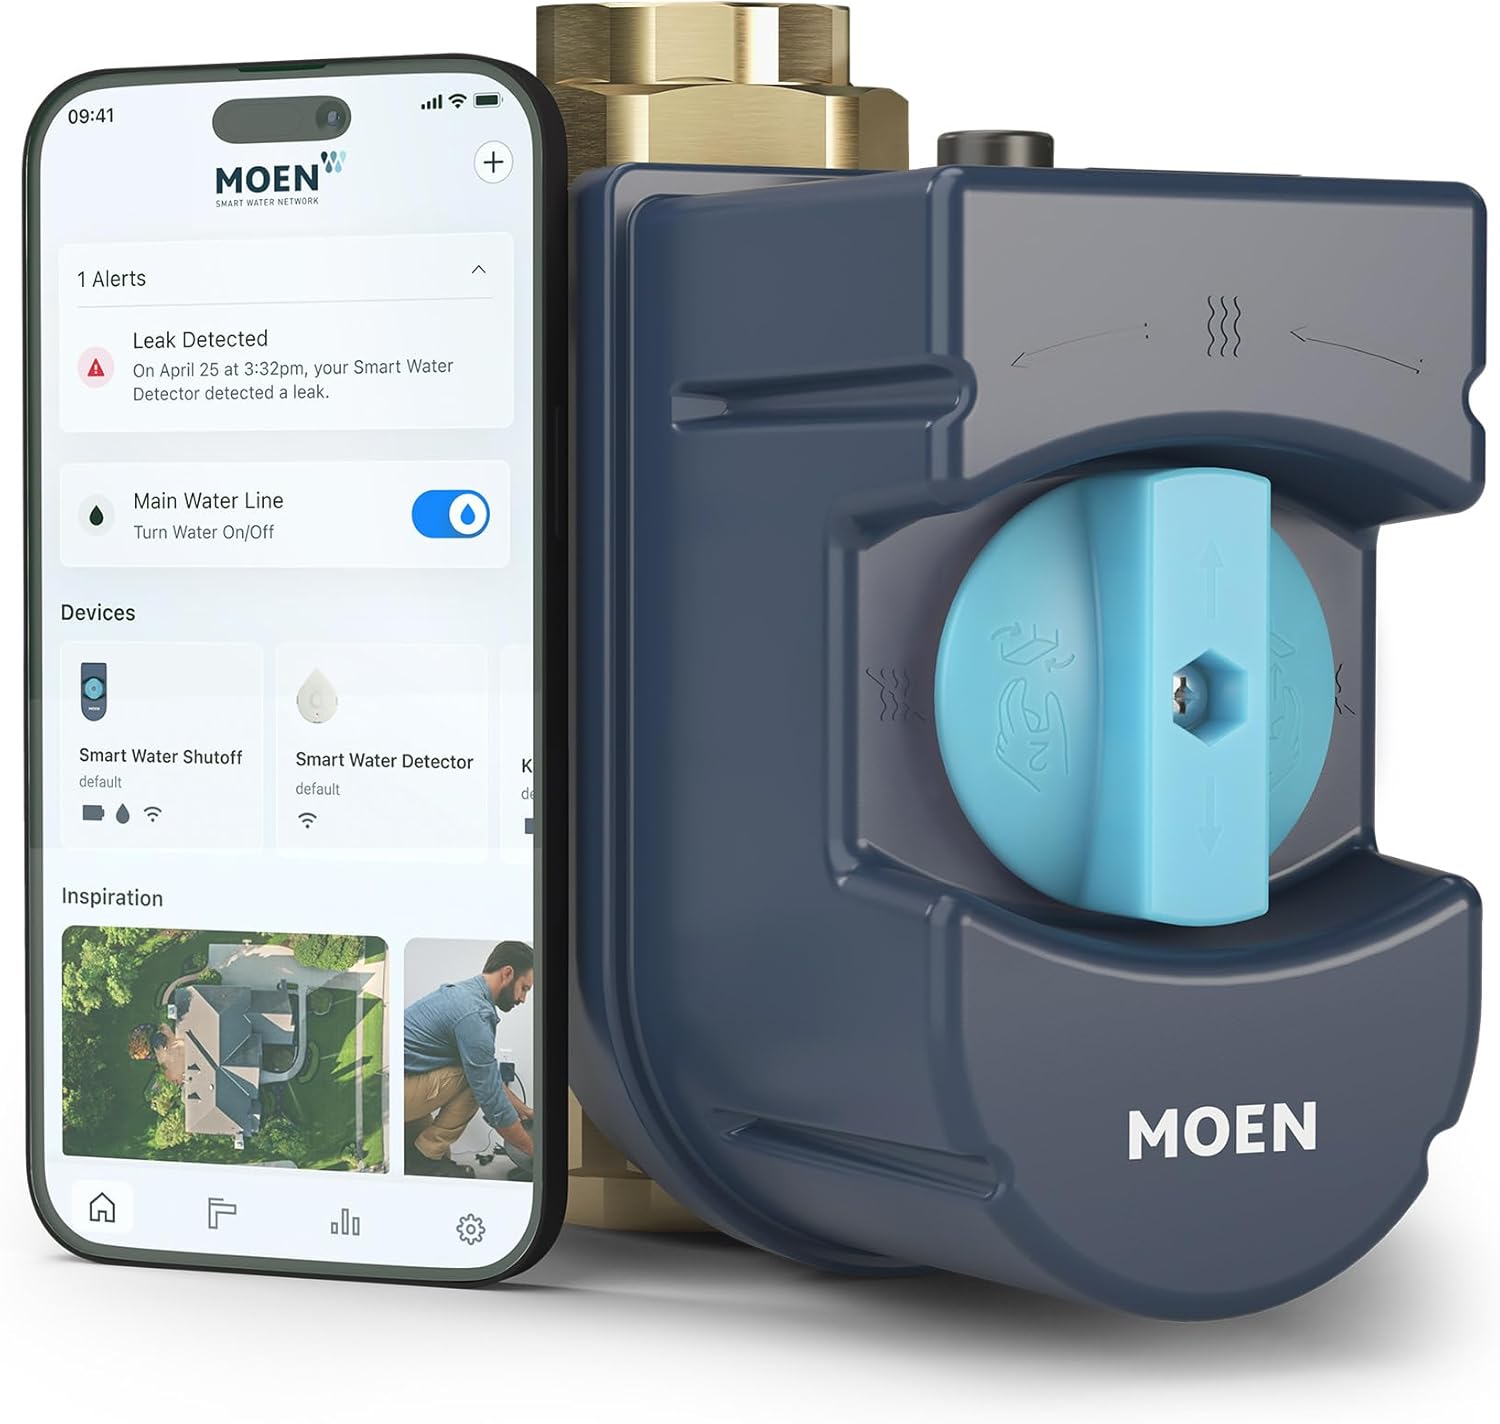
After installing the Moen Flo Smart Water Monitor you notice significantly lower water pressure throughout your home. Showers feel weak and faucets take longer to fill. The Flo device restricts flow if not properly sized or if installation introduced air pockets or debris that partially block the flow path through the device.
Why This Happens in Real Homes
A pressure drop right after a Moen Flo goes in is almost always about the install, not the device's normal operation — a correctly-sized Flo adds only minor restriction. The usual causes are an undersized unit for your main, a valve that isn't fully open, or air and debris that got introduced when the pipe was cut and the new fittings went on. Cutting into a main can dislodge sediment that then lodges in the flow path and chokes pressure throughout the house.
Work through the install: confirm the Flo matches your pipe size, make sure its valve is fully open (a partially-closed valve mimics a pressure problem), bleed any trapped air, and flush out debris stirred up during the cut-in. Watch for reducers or fittings that needlessly narrow the line at the unit. One subtle thing to check is your pressure-reducing valve — a Flo install can coincide with, or reveal, a failing PRV that was already dragging pressure down. If sizing, valve position, air, and debris all check out and pressure is still low, look upstream at the PRV and supply rather than the Flo itself.
Symptoms
- Low water pressure after installing Flo
- Weak showers post-install
- Faucets fill slowly now
- Noticeable pressure drop
- Pressure fine before, low after
- Whole-house pressure reduced
- Air/sputtering after install
- Restriction suspected at the Flo
Recognize these? Here's what usually causes it.
Common Causes
- Flo undersized for the main line
- Shutoff valve not fully open
- Air pockets trapped during installation
- Debris dislodged during the cut-in partially blocking flow
- Pre-existing PRV issue now noticeable
- Restriction from fittings/reducers at the install
- Kinked or reduced pipe near the unit
- Sediment collected at the device
Most fixes happen in the first 3 steps.
Always shut off the main water supply completely before removing any Flo fittings or filter screens. Attempting to service the Flo with water pressure in the line can cause flooding and water damage.
Tools & Requirements
These tools will help you complete this fix.

Drill optional
DEWALT 20V MAX Cordless Drill and Impact Driver, Pow...

Level
9 Inch Torpedo Level Magnetic, Shock-Proof Small Lev...

Screwdriver
STREBITO 155 in 1 Electric Screwdriver Set, Small El...
As an Amazon Associate we earn from qualifying purchases.
Step-by-Step Solution
Verify Correct Device Size
The Moen Flo comes in 3/4 inch 1 inch and 1-1/4 inch models. If you installed a 3/4 inch Flo on a 1 inch main water line it acts as a permanent restriction. Measure your main water line pipe diameter where the Flo is installed. The Flo model size should match or exceed your pipe diameter. If undersized you need to exchange for the correct size. This is the most common cause of pressure loss and no troubleshooting will fix an undersized unit.
Purge Air From the System
During installation air enters the pipes when water is shut off. Trapped air pockets compress and reduce effective flow. Go to the lowest faucet in your home and open both hot and cold fully. Let them run 2 to 3 minutes until flow is smooth with no sputtering. Then open every faucet starting from lowest floor working up. Flush each toilet. Run the washing machine on a short rinse. This forces all trapped air out of the plumbing system.
Clean the Inlet Filter Screen
The Moen Flo has a small mesh filter screen at the water inlet side to catch debris. During installation pipe dope tape fragments and sediment can break loose and clog this screen. Shut off the water main upstream of the Flo. Remove the inlet fitting carefully. Pull out the filter screen and rinse under running water. If packed with sediment clean with white vinegar and a soft brush. Reinstall and slowly open the main valve.
Run a Flo Health Test
Open the Moen app and tap Run Health Test. During the test the Flo fully closes and opens its internal ball valve while measuring pressure and flow. Normal household pressure is 40 to 80 PSI. If pressure during the test is significantly lower than street pressure the valve may not be opening fully. After the test check that status shows valve as Open. If it shows Partially Open there may be a mechanical issue requiring Moen support.
Check Installation Orientation
The Moen Flo has a flow direction arrow printed on the body. Water must enter from the arrow direction and exit the other side. If installed backwards the internal flow sensor and valve restrict flow. Turn off water and examine the unit. The arrow should point from the street side toward the house. If backwards the unit must be reinstalled correctly. Also verify union fittings on both sides are tight with no leaks as even small leaks reduce system pressure.
Quick Solutions
Still having issues? This is usually the deeper cause below.
If this comes back after following these steps, check whether a recent app or firmware update reset a default setting — the fix works, but the setting gets reverted silently.
After installing the Moen Flo run a health test immediately and record the baseline pressure. Compare to pre-installation pressure. A drop of more than 5 PSI indicates a sizing or installation issue to address right away.
This issue almost always looks more complex than it is — the majority of cases trace back to a single setting, a stale credential, or a default that shipped wrong.
- Flo undersized for the main line
- Shutoff valve not fully open
- Air pockets trapped during installation
- Debris dislodged during the cut-in partially blocking flow
- Pre-existing PRV issue now noticeable
Before you go — try one of these (they fix most cases).
Most popular upgrades chosen by Moen Flo Smart Water Monitor and Shutoff owners.

Moen 7864EVBG Sleek Smart Faucet Touchless Pull Down Spra...

Moen Belfield Chrome Smart Faucet Touchless Pull Down Spr...

Moen Align Chrome Smart Faucet Touchless Kitchen Faucet w...
As an Amazon Associate we earn from qualifying purchases.
Official Manufacturer Manual
Moen provides official product documentation through their online manual rather than downloadable PDF. Access setup guides, troubleshooting steps, and product specifications for your Moen Flo Smart Water Monitor and Shutoff.
Source: moen.com
Need More Help? Moen Support
Note: The contact information below connects you directly to Moen's official customer support team, not Trunetto. They can help with warranty claims, device replacements, and advanced technical issues.