

What Does Roborock Error 13 Mean and How Do I Fix Charging Contact Faults
- Charging contacts oxidized or dirty
- Dock power supply unstable or weak
- Robot not aligning flush on the dock
Problem Description
Roborock Error 13 indicates a charging failure where the robot docks but cannot maintain proper charging current. Users often see repeated docking attempts, then the robot backs off with a fault. The most common causes are dirty contacts, unstable dock power, or alignment issues at the charging pins.
Why This Happens in Real Homes
Roborock Error 13 means the robot docks but can't maintain a charging current - it makes contact, tries to charge, and then backs off with a fault. The most common and easily-fixed cause is dirty or oxidized charging contacts: the metal pads on the robot and the matching contacts on the dock accumulate a film or dust that breaks the electrical connection. Wiping both sets of contacts with a dry cloth restores charging in a large share of cases, and it's worth doing periodically as maintenance.
If clean contacts don't fix it, the issue is usually alignment or power. The robot has to seat flush on the dock for the contacts to meet, so a dock on carpet or an uneven/sloped floor, or debris under the robot, can leave the pads slightly apart - reposition the dock on level hard flooring and clear anything under the robot. Check that the spring-loaded pins on the dock move freely (a stuck pin won't reach the contact) and that the dock's power cable is fully seated at its input and the adapter is delivering stable power; power-cycling the dock clears a supply glitch. Test with a manual dock to confirm. If charging still fails with clean, aligned contacts and good power, the pins or power supply likely need service.
Symptoms
- Error 13 appears after docking attempts
- Robot touches the dock then backs away
- Battery level doesn't increase while docked
- Charging starts then stops within seconds
- Dock light looks normal but no charge
- Robot retries charging multiple times
- Robot dies overnight on the dock
- Intermittent charging
Recognize these? Here's what usually causes it.
Common Causes
- Charging contacts oxidized or dirty
- Dock power supply unstable or weak
- Robot not aligning flush on the dock
- Charging pins sticking / failed spring travel
- Floor slope shifting the docking position
- Connector cable seated loosely at the dock
- Dock on carpet or uneven flooring
- Debris under the robot blocking flush contact
Most fixes happen in the first 3 steps.
Do not sand charging contacts aggressively. Abrasive cleaning can remove protective plating and worsen long-term charging reliability over time.
Step-by-Step Solution
Clean the charging contacts on the robot
Flip the robot over and locate the two metal charging pads on the underside near the front edge. Wipe them with a dry microfiber cloth to remove dust, hair, and oxidation. If the contacts look tarnished or have a dark film, clean them with a pencil eraser — rub gently until the metal is shiny. Do not use water or cleaning sprays on the contacts. Hair wrapped around the contacts is common and prevents a solid connection with the dock. After cleaning, place the robot on the dock and check if the charging indicator appears on the display or in the Roborock app.
Clean the charging pins on the dock
The charging dock has two spring-loaded metal pins that press against the robot contacts. These pins also accumulate dust and grime. Unplug the dock, then wipe the pins with a dry cloth. Press each pin in and release — they should spring back smoothly. If a pin is stuck or does not spring back, debris is lodged behind it. Use a dry cotton swab to clean around the base of each pin. If the pins are corroded, clean with a pencil eraser. Plug the dock back in and the pins should have a small LED light near them when power is on.
Check the dock power connection
Error 13 can appear when the dock itself has no power, so the robot detects the dock but cannot charge. Make sure the dock power adapter is plugged into a working outlet. Check the adapter cable for damage — pets commonly chew robot vacuum dock cables. Try a different outlet. The dock should have a small indicator light when powered. If there is no light, the adapter may have failed. Roborock sells replacement adapters, or you can use any adapter with matching voltage and polarity (check the label on the original adapter for specs).
Reposition the dock on a flat surface
If the dock is on carpet, uneven flooring, or tilted, the robot may not align properly with the charging pins. The robot approaches the dock straight-on and backs into it. If the dock shifts during docking (common on smooth floors without the included adhesive pad), the contacts misalign. Place the dock on a hard, level surface. Use the included adhesive strips to prevent the dock from sliding. Make sure there is at least 0.5 meters of clear space on each side and 1.5 meters in front of the dock for the approach.
Check for damage to the charging contacts
If Error 13 persists after cleaning both the robot contacts and dock pins, inspect for physical damage. On the robot, check if either contact pad is recessed, cracked, or bent — a damaged pad cannot make contact with the dock pin. On the dock, check if either spring pin is broken or permanently stuck in the depressed position. Damaged contacts on the robot require a bottom plate replacement (available on the Roborock parts store). Damaged dock pins require a dock replacement. Test by placing the robot on the dock and gently pressing down — if charging starts with pressure but stops when you let go, the spring pins are too weak.
Quick Solutions
Still having issues? This is usually the deeper cause below.
If drain continues after replacing batteries, check the event history — a stuck-open sensor or rapid polling loop burns through batteries in days.
A monthly contact wipe prevents most recurring Error 13 events, especially in homes with dust, pet hair, or humid conditions that accelerate oxidation.
Battery-related failures are almost always flagged too late — the device degrades silently for days before the app catches up to what's actually happening.
- Charging contacts oxidized or dirty
- Dock power supply unstable or weak
- Robot not aligning flush on the dock
- Charging pins sticking / failed spring travel
- Floor slope shifting the docking position
Before you go — try one of these (they fix most cases).
Most popular upgrades chosen by Roborock Robot Vacuum owners.

roborock 2 Pack Microfiber Mop Cloths for Q7 M5, Q7 M5+, ...
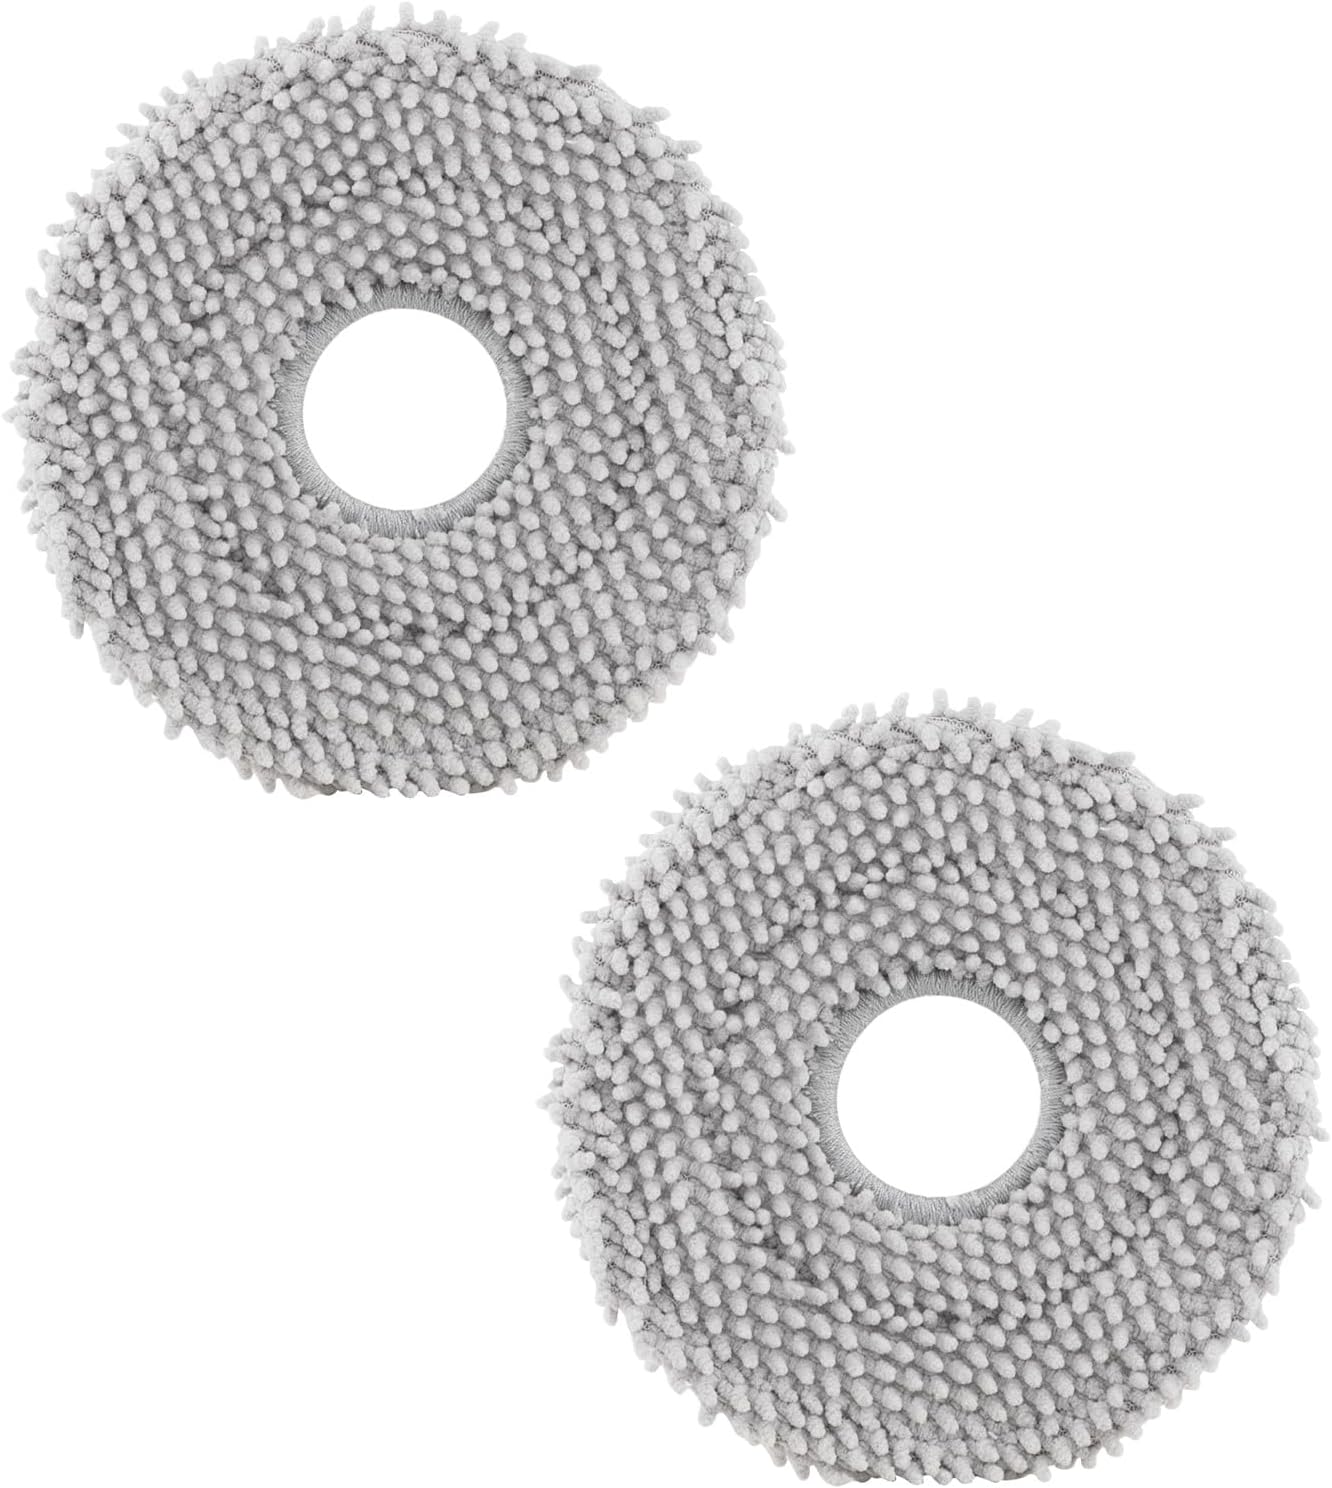
roborock 4 Pack Microfiber Mop Cloths for Q Revo, Qrevo M...

roborock 4 Pack Microfiber Mop Cloths for QV 35A/QV 35S/Q...
As an Amazon Associate we earn from qualifying purchases.
Official Manufacturer Manual
Roborock provides official product documentation through their online manual rather than downloadable PDF. Access setup guides, troubleshooting steps, and product specifications for your Roborock Robot Vacuum.
Source: support.roborock.com
Need More Help? Roborock Support
Note: The contact information below connects you directly to Roborock's official customer support team, not Trunetto. They can help with warranty claims, device replacements, and advanced technical issues.
How Does Roborock Compare?
Before replacing your Roborock device, see how it stacks up against alternatives in our full comparison guides.


