

What Does Roborock Error 15 Mean and How Do I Fix a Dirty Wall Sensor?
- Dust on the wall-following sensor window
- A smudge or film over the sensor
- Hair covering the side sensor
Problem Description
Your Roborock is reporting Error 15, a dirty wall sensor. The wall-following sensor on the side of the robot is dusty or blocked, so it cannot track along walls correctly - a quick wipe usually clears it.
Why This Happens in Real Homes
Roborock Error 15 comes from the wall-following sensor - the small window on the side of the robot that lets it hug walls and clean edges. When dust, a smudge, or a strand of hair covers it, the robot cannot track the wall and stops. The fix is a quick wipe of that side window with a dry cloth and clearing anything lodged in its recess; never use liquid, which smears the window. Very dark or glossy walls can occasionally fool it too. Clean this sensor on the same schedule as your cliff sensors and Error 15 rarely returns; if it does with a clean sensor, that is a support case.
Symptoms
- The robot announces Error 15
- It says the wall sensor is dirty
- It no longer follows walls closely
- It bumps walls harder than usual
- Cleaning near edges is uneven
- The error keeps returning
- It misses the edges of rooms
- It errors soon after starting
Recognize these? Here's what usually causes it.
Common Causes
- Dust on the wall-following sensor window
- A smudge or film over the sensor
- Hair covering the side sensor
- Sensor blocked by residue after mopping
- A scratched sensor window
- The sensor is reading a dark or glossy wall
- Debris lodged in the sensor recess
- A sensor fault
Most fixes happen in the first 3 steps.
No safety risk. Use only a dry cloth on the sensor - liquids or abrasives can smear or scratch the window and make navigation worse.
Tools & Requirements
These are for the steps in this guide, prioritized by fit, rating, availability, and current value.
As an Amazon Associate we earn from qualifying purchases.
Step-by-Step Solution
Locate the wall sensor
The wall-following sensor is a small window on the side of the robot (usually the right-hand side), the side it hugs walls with. Error 15 is about this sensor, not the front bumper.
Wipe it clean
Use a soft, dry cloth to wipe the sensor window and clear any dust, film, or smudge. Dust build-up here is the top cause of Error 15.

Needed for this step
WHOOSH! Pro 16.9 fl oz Refillable TV Screen Cle...
This helps complete the fix you are currently reading.
$19.99Clear hair from the recess
Check the small recess around the sensor for hair or debris lodged over it, and pick it out so nothing blocks the sensor's view of the wall.
Keep liquids off the window
Do not use water or cleaner on the sensor. On mopping models, make sure splashed water or residue is dried off the side sensor.
Still stuck? Ask Trunetto about this exact issue.
Restart the robot
Power the robot off and on, or restart from the app, after cleaning so it clears the Error 15 state and re-checks the sensor.
Rule out the wall surface
Very dark or high-gloss walls can occasionally confuse the wall sensor. If the error only happens along one such wall, that surface is the cause rather than dirt.
Clean it on a schedule
Add the side wall sensor to your regular maintenance wipe along with the cliff sensors, since dust collects on it faster than people expect.
Contact support if it persists
If the sensor is clean and dry but Error 15 continues, the sensor may be faulty. Contact Roborock with your model name and the error number.
Quick Solutions
Still having issues? This is usually the deeper cause below.
If this comes back after following these steps, check whether a recent app or firmware update reset a default setting — the fix works, but the setting gets reverted silently.
Do you work with smart-home systems?
Create a Trunetto business profile, list the brands and services you support, and make it easier for customers to find your business.
List Your BusinessError 15 is simply a dusty wall sensor - wipe the small window on the side of the robot with a dry cloth. Add it to your routine cleaning alongside the cliff sensors and it rarely comes back.
This issue almost always looks more complex than it is — the majority of cases trace back to a single setting, a stale credential, or a default that shipped wrong.
- Dust on the wall-following sensor window
- A smudge or film over the sensor
- Hair covering the side sensor
- Sensor blocked by residue after mopping
- A scratched sensor window
Before you go — try one of these (they fix most cases).
Official Manufacturer Manual
Roborock provides official product documentation through their online manual rather than downloadable PDF. Access setup guides, troubleshooting steps, and product specifications for your Roborock Robot Vacuum.
Source: support.roborock.com
Need More Help? Roborock Support
Note: The contact information below connects you directly to Roborock's official customer support team, not Trunetto. They can help with warranty claims, device replacements, and advanced technical issues.
How Does Roborock Compare?
Before replacing your Roborock device, see how it stacks up against alternatives in our full comparison guides.
Compatible accessories that support the setup in this guide, not random checkout recommendations.

roborock 4 Pack Microfiber Mop Cloths for QV 35A/QV 35S/Q...
Useful add-on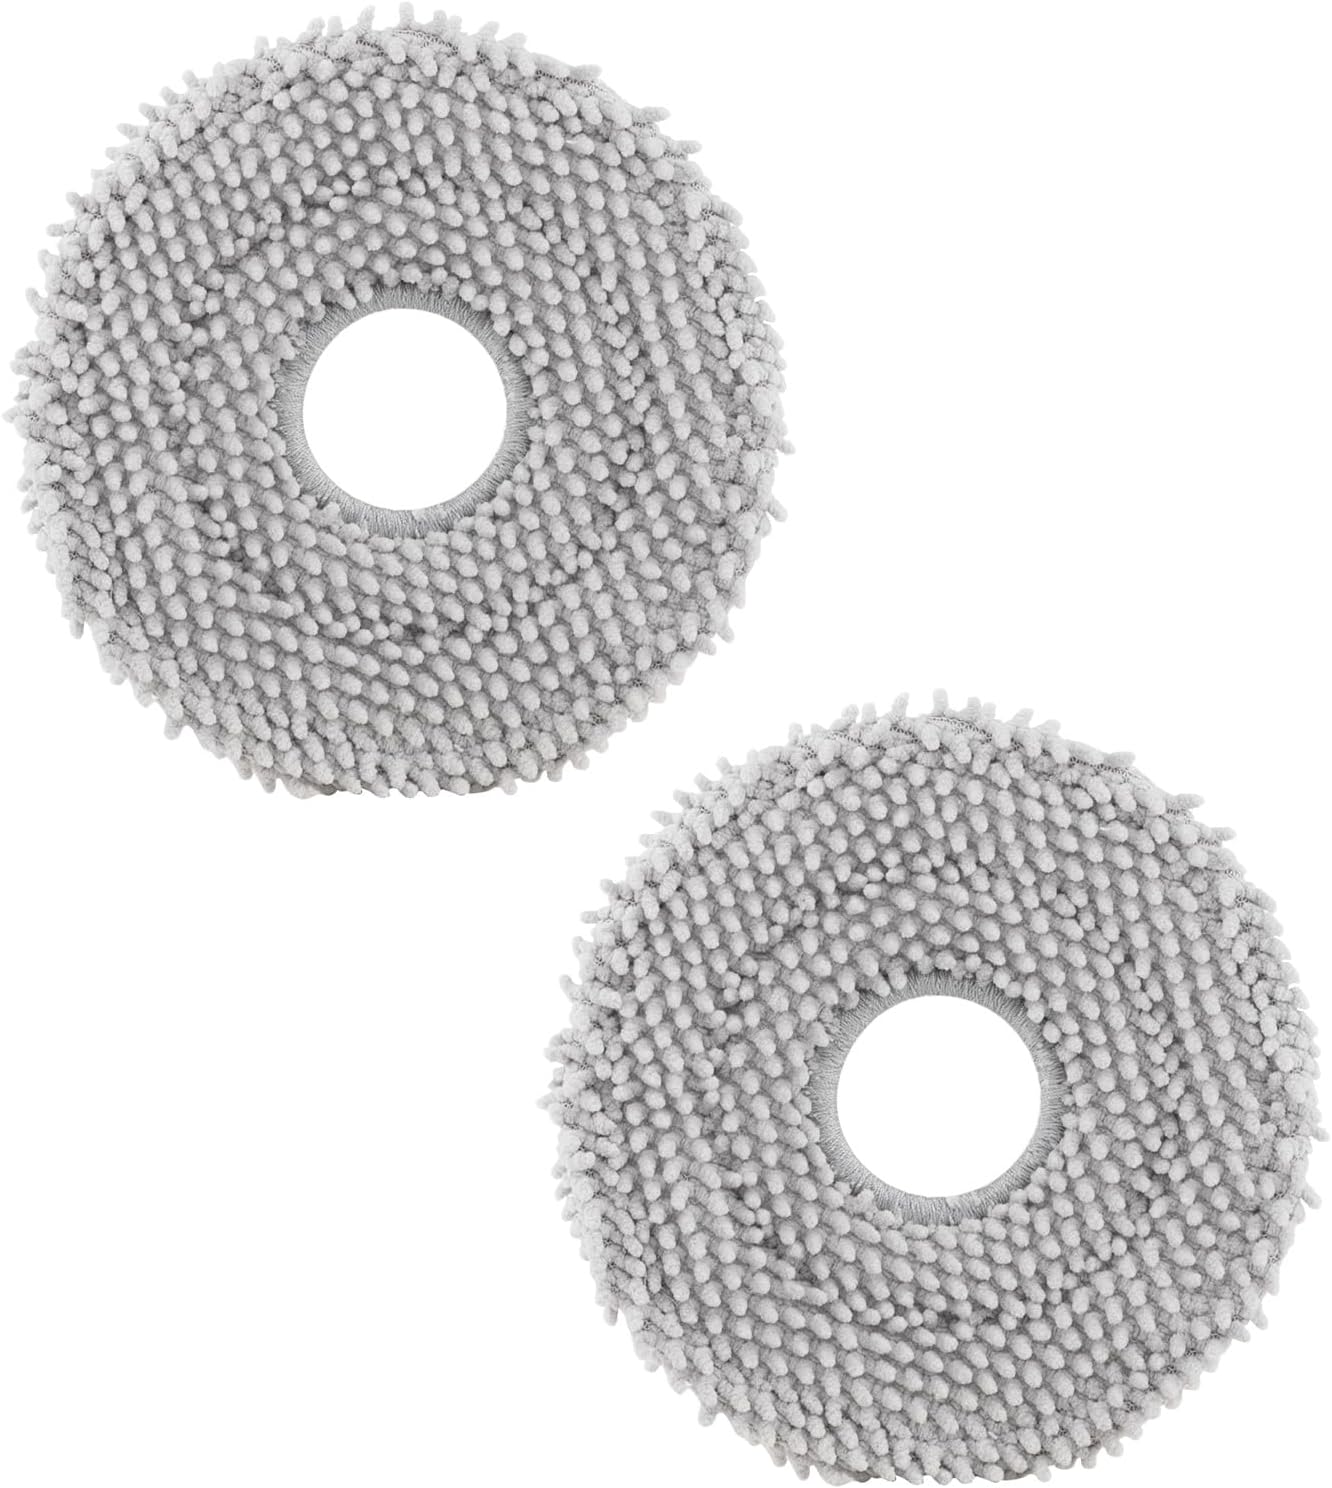
roborock 4 Pack Microfiber Mop Cloths for Q Revo, Qrevo M...
Useful add-onAs an Amazon Associate we earn from qualifying purchases.


