

Why Is My Roborock Main Brush Not Spinning?
- Hair, string, or thread wrapped tightly around the brush ends and bearing caps
- Brush bearing caps cracked or missing — brush shifts and loses motor coupling alignment
- Brush cover not properly latched — safety interlock stops the brush motor
Problem Description
Your Roborock robot vacuum runs but the main brush underneath is not spinning. The robot moves across the floor and suction may work, but the rubber or bristle roller brush does not rotate. This dramatically reduces cleaning performance because the main brush agitates carpet fibers and feeds debris into the suction path. Roborock models use different brush types: the S7 and S8 series use a full rubber brush (easier to maintain, no hair tangles), while the S5, S6, and Q5 use a bristle-and-rubber combination brush that tangles more easily. The brush is driven by a dedicated motor through a side coupling — the most common cause of brush failure is hair wrapping around the brush ends and bearings until the motor cannot overcome the resistance.
Why This Happens in Real Homes
Your Roborock robot vacuum runs but the main brush underneath does not spin. You may notice poor cleaning performance, debris left behind, or the brush sitting motionless. The app may show a brush error or the robot announces main brush tangled. This dramatica.. In real usage this appears as Main brush visibly not rotating, Poor pickup even on hard floors, and App shows main brush error
The pattern in this case points to Hair and debris wrapped around brush, Brush bearings clogged with dirt, and Brush module not seated properly. The repair usually holds when done in order: Remove the Main Brush, then Clean Hair and Debris, then Clear the Brush Bearings. After applying the fix, validate behavior with repeated command tests and at least one full automation cycle to confirm stability.
Symptoms
- Main brush does not spin when robot is cleaning — visible through the transparent brush cover
- Robot app shows Main Brush Error or error code 10
- Brush starts spinning then stops after a few seconds
- Grinding or clicking noise from the brush area during cleaning
- Brush spins freely by hand but does not spin during a cleaning cycle
- Robot leaves visible debris trails on hard floors that it normally picks up
- Carpet cleaning performance has noticeably degraded over weeks
- Brush cover keeps popping open during cleaning
Recognize these? Here's what usually causes it.
Common Causes
- Hair, string, or thread wrapped tightly around the brush ends and bearing caps
- Brush bearing caps cracked or missing — brush shifts and loses motor coupling alignment
- Brush cover not properly latched — safety interlock stops the brush motor
- Debris jammed in the brush motor coupling where the motor gear meets the brush end
- Brush motor burned out from extended operation with heavy hair tangles
- Firmware error holding the brush motor in a stopped state after a previous jam
- Wrong brush type installed — aftermarket brush does not fit the motor coupling
- Worn brush rubber fins that no longer contact the floor or agitate debris
Most fixes happen in the first 3 steps.
Do not run the robot without the main brush installed — the suction motor draws debris directly into the dustbin without the brush to guide it, which can jam the suction fan. Do not use the robot with the brush cover unlatched as a workaround for a stuck latch — the exposed brush can catch on rug tassels and damage both the brush and the rug. If the motor makes a burning smell, stop the robot immediately and unplug it — the motor winding may be shorting.
Tools & Requirements
These tools will help you complete this fix.

Cleaning tool or scissors
Miller KS-1 Yellow Fiber Optic Kevlar Scissors, Easi...

Dry cloth
WHOOSH! Pro 16.9 fl oz Refillable TV Screen Cleaner ...
As an Amazon Associate we earn from qualifying purchases.
Step-by-Step Solution
Remove and inspect the main brush
Flip the robot over and locate the main brush cover — it runs across the center of the underside. On S7 and S8 models, press the two tabs on the sides of the brush cover to release it. On S5 and S6 models, slide the latch and lift. Pull the brush straight out. Examine both ends: the bearing cap end (the end without the motor gear) often collects the most wrapped hair. Look at the rubber fins on the brush — on a new brush they are raised and flexible; on a worn brush they are flat and stiff. The S7/S8 full rubber brush should last 6-12 months; the S5/S6 bristle combo brush clogs faster and may need cleaning weekly in homes with long-haired occupants or pets.
Needed for this step
Miller KS-1 Yellow Fiber Optic Kevlar Scissors,...
This helps complete the fix you are currently reading.
$23.37Clear wrapped hair from the brush ends and bearings
Hair wraps around the brush at both ends, especially behind the bearing caps. Pop off the small bearing cap on the non-motor end of the brush — it pulls straight off. There will be a packed ring of hair wound around the brush shaft. Use scissors to cut the hair perpendicular to the shaft (be careful not to cut the rubber brush surface), then pull the hair ring off. On the motor coupling end, hair wraps around the square or hexagonal drive peg. Use tweezers to pull out packed hair. For S5/S6 bristle brushes, use a seam ripper to cut through hair tangled in the bristle rows. This cleaning step alone resolves the majority of brush-not-spinning issues.
Check and clean the brush motor coupling area
With the brush removed, look into the brush cavity at the motor coupling — this is the small square or hexagonal socket where the brush drive peg inserts. On S7 and S8 models, the coupling is a hexagonal socket. On S5 and S6, it is a square socket. Shine a flashlight into the socket and check for packed debris, a broken drive peg, or melted plastic. If debris is packed inside, use a thin tool or compressed air to clear it. Spin the motor coupling by hand (gently, with a toothpick or similar tool in the socket) — it should rotate with light resistance. If it does not rotate at all or grinds, the motor gearing may be stripped.
Reinstall the brush and confirm cover latch engagement
Insert the brush back into the cavity, making sure the motor coupling end goes into the motor side (marked with an arrow on most models). The bearing cap end drops into the opposite slot. Press the brush down and reinstall the cover. Push the cover firmly until both tabs click — you should hear two distinct clicks on S7/S8 models. The brush motor has a safety interlock that prevents spinning when the cover is not fully seated. This is a common gotcha: the cover feels like it is in place but one tab is not engaged, so the brush does not spin. After clicking the cover, try to wiggle it — it should not move.
Replace the bearing caps if cracked or worn
The bearing caps on the non-motor end of the brush are a wear item. They are small plastic sleeves that keep the brush centered in the cavity. If a bearing cap is cracked, the brush shifts to one side and the motor coupling disengages. Replacement bearing caps come included with new Roborock main brushes, or you can buy them separately from Roborock or Amazon. When installing a new bearing cap, push it on until it seats flush — do not force it. If the brush wobbles side-to-side with the cover on, the bearing cap is not seated correctly or is the wrong size for your model.
Reboot the robot and test brush operation
After cleaning and reassembly, reboot the robot: hold the power button for 5 seconds until it turns off, wait 10 seconds, then press the power button to turn it back on. The reboot clears any firmware brush error states that persist from a previous jam event. Start a cleaning cycle on a hard floor surface and flip the robot briefly to visually confirm the brush is spinning (the brush is visible through the translucent brush cover on most models). Listen for smooth rotation — grinding or clicking indicates debris still in the motor area. If the brush starts and stops repeatedly, a motor overload protection circuit is triggering, which means either the brush is still too tight or the motor itself is weakening.
Replace the brush or motor if hardware failure is confirmed
If the brush does not spin after thorough cleaning, confirmed cover latch, and reboot, either the brush or the motor has failed. First try a new brush — a fresh brush with new bearing caps rules out brush-side issues. Genuine Roborock brushes for the S7/S8 rubber type cost around $15-20 and are available from the Roborock website or Amazon. If a new brush still does not spin, the motor or its control board has failed. Roborock covers the motor under the 2-year warranty. Out-of-warranty motor replacement is possible as a DIY repair — the motor module is accessible by removing the bottom plate with a Phillips screwdriver. Replacement motors are available from Roborock parts suppliers.
Quick Solutions
Still having issues? This is usually the deeper cause below.
If this comes back after following these steps, check whether a recent app or firmware update reset a default setting — the fix works, but the setting gets reverted silently.
The S7 and S8 full rubber brush is a significant upgrade over the older bristle brush for maintenance — hair does not tangle into it nearly as much. If you have an S5 or S6 and are constantly battling hair tangles, Roborock sells the rubber brush as a compatible aftermarket upgrade for some models. Check compatibility before ordering. For any model, running the robot daily actually reduces hair tangles because there is less hair per session to accumulate.
This issue almost always looks more complex than it is — the majority of cases trace back to a single setting, a stale credential, or a default that shipped wrong.
- Hair, string, or thread wrapped tightly around the brush
- Brush bearing caps cracked or missing — brush shifts
- Brush cover not properly latched — safety interlock stops
- Debris jammed in the brush motor coupling where the
- Brush motor burned out from extended operation with heavy
Before you go — try one of these (they fix most cases).
Most popular upgrades chosen by Roborock Robot Vacuum owners.

roborock 2 Pack Microfiber Mop Cloths for Q7 M5, Q7 M5+, ...
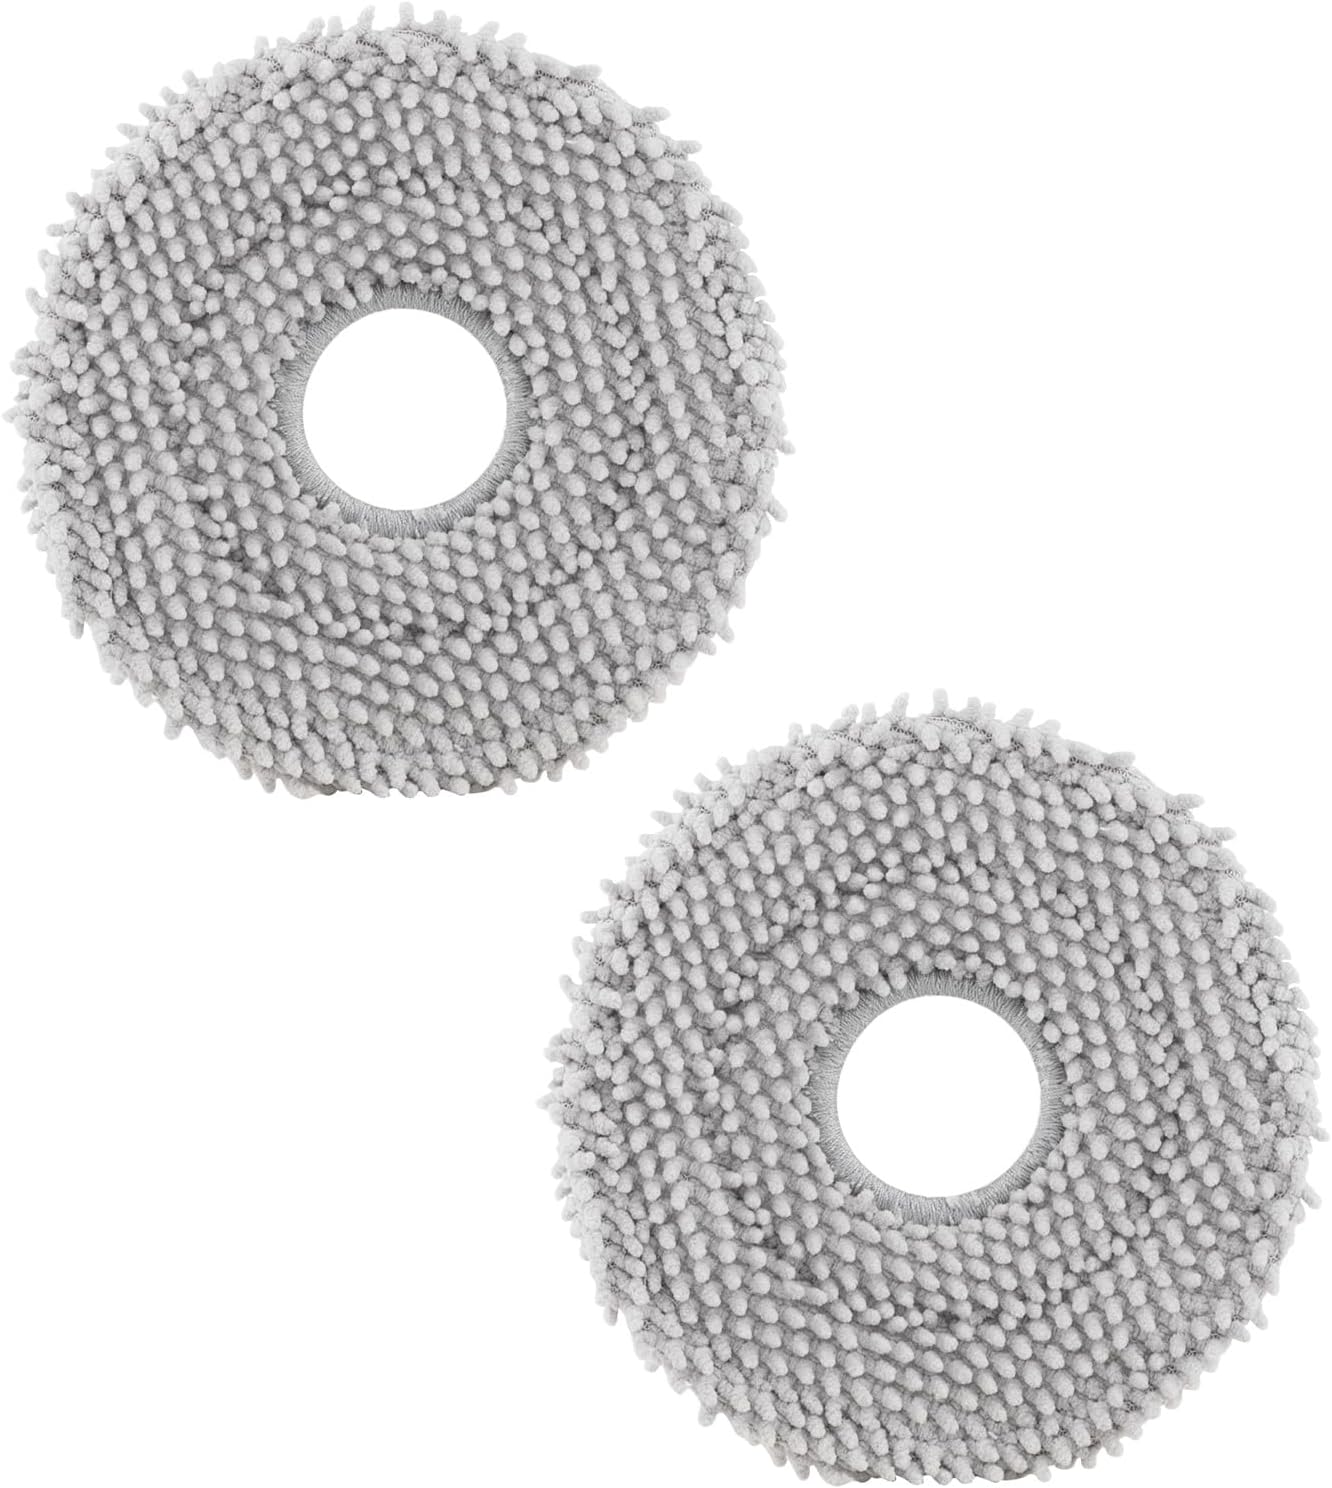
roborock 4 Pack Microfiber Mop Cloths for Q Revo, Qrevo M...

roborock 4 Pack Microfiber Mop Cloths for QV 35A/QV 35S/Q...
As an Amazon Associate we earn from qualifying purchases.
Official Manufacturer Manual
Roborock provides official product documentation through their online manual rather than downloadable PDF. Access setup guides, troubleshooting steps, and product specifications for your Roborock Robot Vacuum.
Source: support.roborock.com
Need More Help? Roborock Support
Note: The contact information below connects you directly to Roborock's official customer support team, not Trunetto. They can help with warranty claims, device replacements, and advanced technical issues.
How Does Roborock Compare?
Before replacing your Roborock device, see how it stacks up against alternatives in our full comparison guides.
Guide Improvements
- Updated June 18, 2026
Expanded from 5 generic steps to 7 detailed steps with model-specific brush types (S7/S8 rubber vs S5/S6 bristle), bearing cap replacement, motor coupling diagnosis, and brush cover safety interlock explanation
Source: SEO content depth improvement


