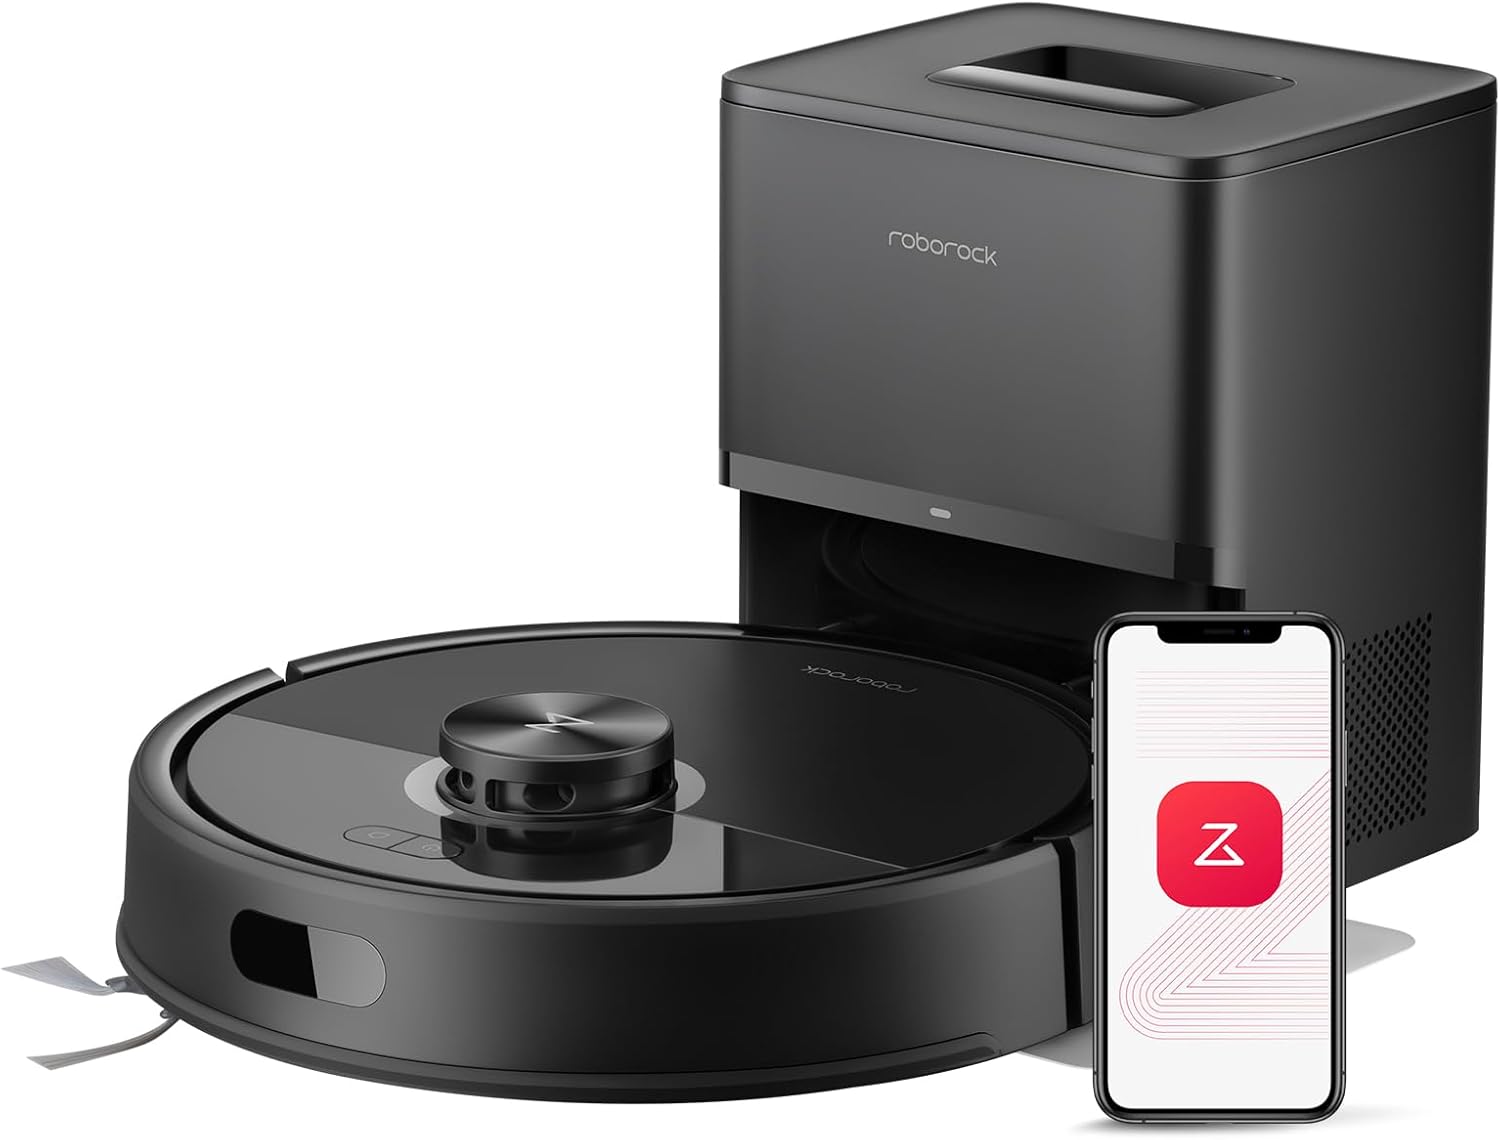
How Do I Set Up Multi-Floor Mapping on My Roborock Q7 Max?
- Floors not each fully mapped and saved separately
- Exceeded the 4 saved-map limit
- Robot can't auto-identify the floor (similar layouts)
Problem Description
You want to set up multi-floor mapping on your Roborock Q7 Max so the robot uses the correct map on each floor of your home. The Q7 Max supports up to 4 saved maps. You need to run a complete mapping run on each floor, then save each one. The robot auto-detects which floor it's on based on the map layout.
Why This Happens in Real Homes
The Roborock Q7 Max supports multi-floor mapping - up to 4 saved maps - so it can clean a multi-story home and load the right map for each level. The setup is deliberate: you run a complete mapping run on each floor and save each map individually, and after that the robot auto-detects which floor it's on by matching what it sees to the saved layouts. The most common setup mistake is not completing and saving a run for each floor, or interrupting a run before it finishes, which leaves you with one map instead of several.
A few practical details make multi-floor reliable. Open all interior doors during each mapping run so the robot captures the full floor - areas behind closed doors get left out and cause mismatches later. Because the robot identifies the floor from the layout, very similar floor plans can occasionally confuse auto-detection, in which case placing it on the correct floor's dock before it starts helps it orient. Stay within the 4-map limit, keep the firmware current, and make sure maps are backed up to the cloud so a firmware update or re-pair doesn't wipe your room divisions and no-go zones. Set up floor by floor with doors open, and the Q7 Max switches maps on its own.
Symptoms
- Robot uses the wrong map on a floor
- Only one map saved / can't add more
- Robot doesn't auto-detect the current floor
- Map won't save after a mapping run
- Rooms/no-go zones missing on a floor
- Robot re-maps instead of loading a saved map
- Carried to another floor, gets lost
- Multi-floor setup unclear
Recognize these? Here's what usually causes it.
Common Causes
- Floors not each fully mapped and saved separately
- Exceeded the 4 saved-map limit
- Robot can't auto-identify the floor (similar layouts)
- Mapping run interrupted before saving
- Robot placed at a different start point than mapped
- Doors closed during mapping, leaving areas out
- Firmware out of date
- Map not backed up to the cloud
Most fixes happen in the first 3 steps.
Keep small objects, loose cables, and thin rugs with fringe off the floor before running the vacuum. These can tangle in the brush roll and damage the motor. Do not use the vacuum to pick up liquids, sharp objects, or fine construction dust as this can permanently damage internal components.
Tools & Requirements
Step-by-Step Solution
Save each floor as a separate map
The Roborock Q7 Max supports multi-floor mapping (up to 4 maps). To create a map for each floor: carry the robot to the new floor and start a cleaning session. The robot recognizes it is in a new environment (the LiDAR scan does not match any saved map) and creates a new map. After the first full cleaning on each floor, save the map. The robot now switches between maps automatically when it detects which floor it is on.
Carry the robot correctly between floors
When moving the robot to a different floor: pick it up and carry it (do not drag). Place it in the center of the room on the new floor. Start cleaning. The robot's LiDAR scans the room and matches it against saved maps. If it matches a saved map, it resumes that floor's map. If no match, it creates a new map. Do not start the robot in a stairwell or closet — it needs to scan enough of the room to identify which floor it is on.
Edit room boundaries on each floor map
After the robot maps each floor, edit the maps in the Roborock app. Go to Map Management > select a floor map. Adjust room boundaries (the robot's auto-division may not match your room layout). Merge or split rooms as needed. Name each room ('Master Bedroom,' 'Kids Room'). Set per-room cleaning preferences: suction level, mop intensity, and cleaning passes. These settings are floor-specific.
Set no-go zones per floor
In the map editor, add no-go zones and virtual walls for each floor independently. Common zones to exclude: pet feeding areas, floor vents, loose rug edges, and areas with cables. No-go zones from one floor map do not affect other floors. Also add no-mop zones for carpeted areas on floors where you use the mop attachment — the Q7 Max lifts the mop on carpet, but no-mop zones provide extra protection.
Fix the robot not recognizing a floor
If the robot creates a new map instead of recognizing an existing floor: it could not match the LiDAR scan to a saved map. This happens if: furniture was significantly rearranged (causing the scan to look different), the robot was placed in a small room it has not thoroughly mapped, or lighting changes affected sensor readings. Place the robot in the largest room on that floor and start cleaning. After scanning enough area, it should match the saved map.
Quick Solutions
Still having issues? This is usually the deeper cause below.
If this comes back after following these steps, check whether a recent app or firmware update reset a default setting — the fix works, but the setting gets reverted silently.
["Up to 4 floor maps supported", "Do not dock between floors during mapping", "Each floor needs complete mapping run"]
This issue almost always looks more complex than it is — the majority of cases trace back to a single setting, a stale credential, or a default that shipped wrong.
- Floors not each fully mapped and saved separately
- Exceeded the 4 saved-map limit
- Robot can't auto-identify the floor (similar layouts)
- Mapping run interrupted before saving
- Robot placed at a different start point than mapped
Before you go — try one of these (they fix most cases).
Most popular upgrades chosen by Roborock Q7 Max owners.

roborock 2 Pack Microfiber Mop Cloths for Q7 M5, Q7 M5+, ...
roborock 4 Pack Microfiber Mop Cloths for Q Revo, Qrevo M...

roborock 4 Pack Microfiber Mop Cloths for QV 35A/QV 35S/Q...
As an Amazon Associate we earn from qualifying purchases.
Official Manufacturer Manual
Roborock provides official product documentation through their online manual rather than downloadable PDF. Access setup guides, troubleshooting steps, and product specifications for your Roborock Q7 Max.
Source: support.roborock.com
Need More Help? Roborock Support
Note: The contact information below connects you directly to Roborock's official customer support team, not Trunetto. They can help with warranty claims, device replacements, and advanced technical issues.
How Does Roborock Compare?
Before replacing your Roborock device, see how it stacks up against alternatives in our full comparison guides.