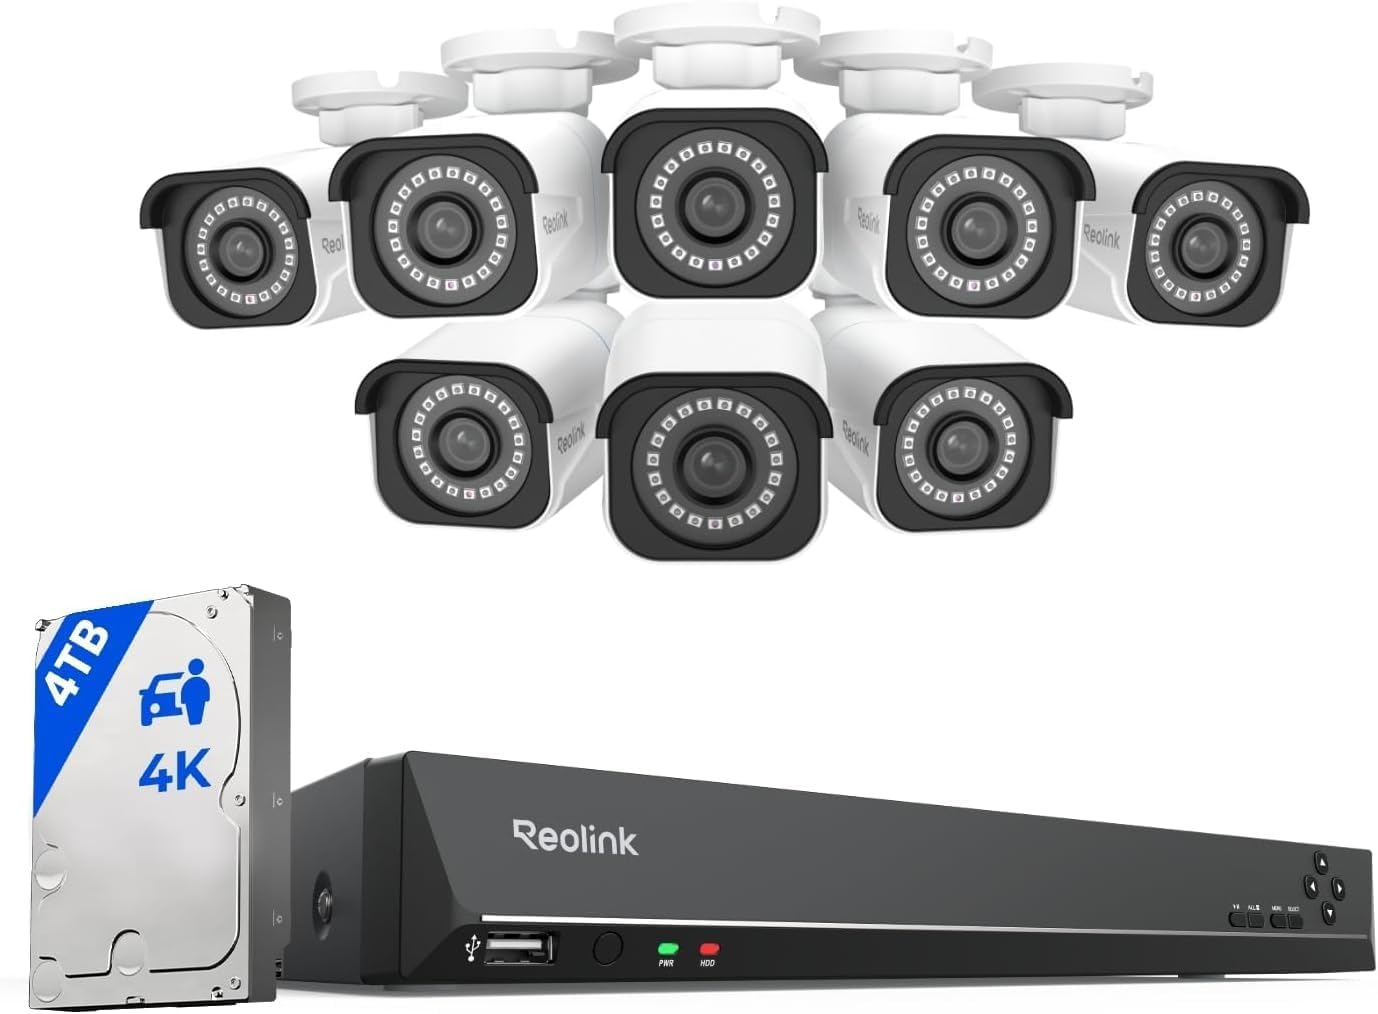
Why Is My Reolink Camera Night Vision Blurry?
- IR light reflecting off nearby wall eave or surface
- Camera lens dirty with dust water spots or spider webs
- Camera mounted too close to a reflective surface
Problem Description
Your Reolink camera produces blurry washed out or completely dark images at night when infrared night vision activates. Daytime quality is fine but nighttime images are unusable with white blobs unrecognizable faces and foggy overexposed footage. Typically caused by IR reflection off nearby surfaces a dirty lens or incorrect night vision settings.
Why This Happens in Real Homes
Your Reolink camera produces blurry washed out or completely dark images at night when infrared night vision activates. Daytime quality is fine but nighttime images are unusable with white blobs unrecognizable faces and foggy overexposed footage. Typically cau.. In real usage this appears as Night vision image is blurry while daytime is sharp, Entire image appears washed out with white fog at night, and IR LEDs create bright spots or glare in night footage
The pattern in this case points to IR light reflecting off nearby wall eave or surface, Camera lens dirty with dust water spots or spider webs, and Camera mounted too close to a reflective surface. The repair usually holds when done in order: Clean the Camera Lens, then Check for IR Reflection, then Remove Protective Film. After applying the fix, validate behavior with repeated command tests and at least one full automation cycle to confirm stability.
Symptoms
- Night vision image is blurry while daytime is sharp
- Entire image appears washed out with white fog at night
- IR LEDs create bright spots or glare in night footage
- Camera shows completely black image after dark
- Objects close to camera are overexposed at night
- Night vision switches on and off repeatedly at dusk
Recognize these? Here's what usually causes it.
Common Causes
- IR light reflecting off nearby wall eave or surface
- Camera lens dirty with dust water spots or spider webs
- Camera mounted too close to a reflective surface
- Night vision mode set to off instead of auto
- IR LED intensity too high for mounting distance
- Protective film still on camera lens from factory
Most fixes happen in the first 3 steps.
Never use glass cleaner or household spray on the lens. Chemical residue leaves a film that worsens night vision. Use only a dry or very slightly damp microfiber cloth.
Tools & Requirements
These tools will help you complete this fix.
As an Amazon Associate we earn from qualifying purchases.
Step-by-Step Solution
Clean the Camera Lens
Use a soft dry microfiber cloth to clean the lens thoroughly. Spider webs are the most common cause of blurry night vision on outdoor cameras. Check and clean regularly especially in warmer months when spiders build webs near the warm camera housing.
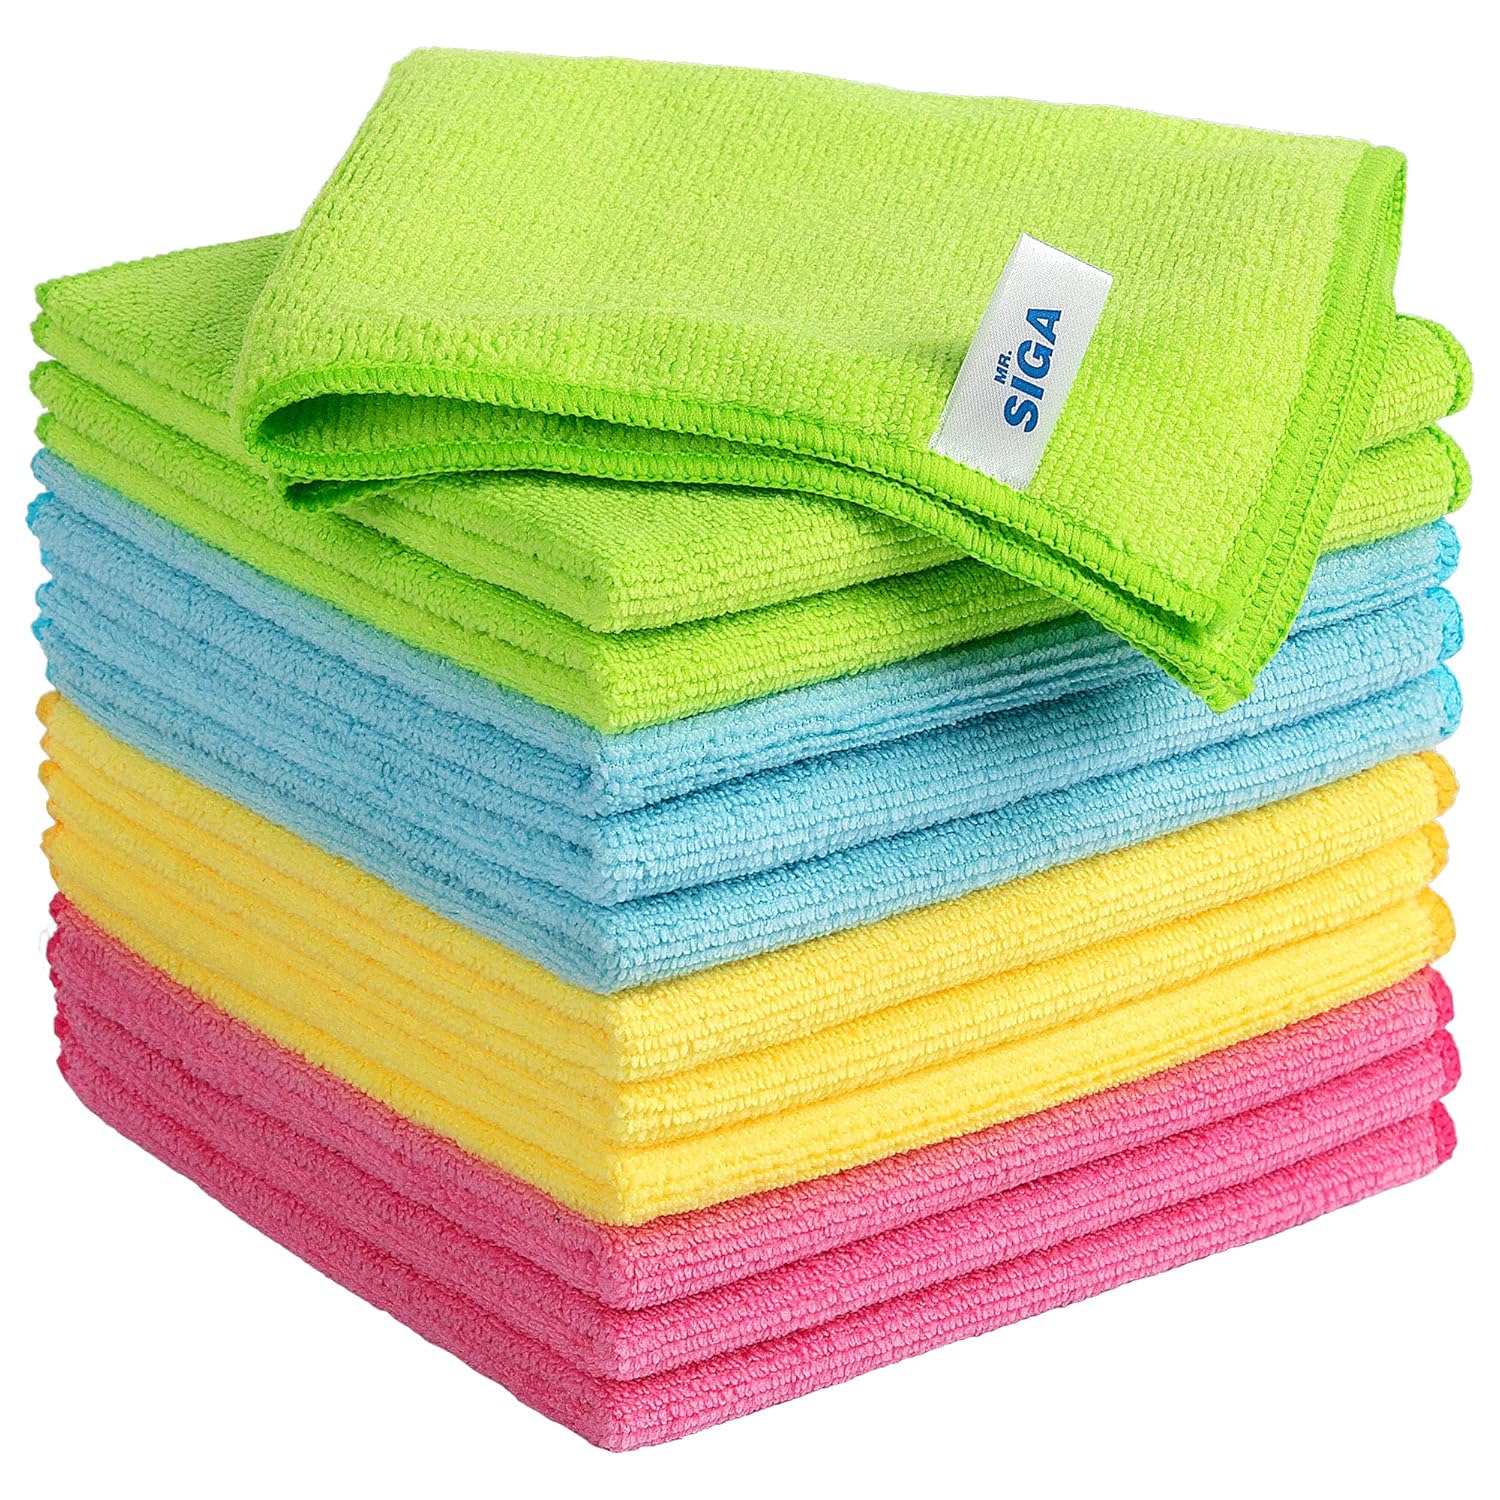
Needed for this step
MR.SIGA Microfiber Cleaning Cloth,Pack of 12,Si...
This helps complete the fix you are currently reading.
$13.99Check for IR Reflection
Identify any surfaces within 6 inches of the lens. Walls eaves and mounting brackets reflect IR light creating white glare that washes out the image. Reposition the camera so no surface is within the IR beam path. Even a 2-inch overhang can cause severe night vision problems.
Remove Protective Film
Some Reolink cameras ship with thin transparent protective film over the lens. Nearly invisible in daytime but scatters IR light at night causing extreme blur. Check closely for any film edge and peel off carefully.
Adjust Night Vision Settings
In the Reolink app go to camera settings then Display. Set night vision to Auto. Adjust IR LED brightness to Medium if close objects are overexposed. For spotlight models switch to color night vision for much clearer full color images at night.
Fine-Tune Camera Angle
View the live feed at night from the app. If specific areas are washed out tilt the camera down slightly to move the IR beam away from reflective surfaces above. Angling down 15 to 20 degrees typically produces the clearest night image.
Quick Solutions
Still having issues? This is usually the deeper cause below.
Camera issues that start suddenly almost always trace back to an upload bandwidth drop — run a speed test before assuming hardware failure.
Apply petroleum jelly around the outside ring of the lens housing to deter spiders from building webs over the lens. This is a widely used trick for outdoor security cameras.
Live view problems that start suddenly usually trace back to an upload speed drop — the camera itself is fine, the bandwidth path to the cloud isn't.
- IR light reflecting off nearby wall eave or surface
- Camera lens dirty with dust water spots or spider
- Camera mounted too close to a reflective surface
- Night vision mode set to off instead of auto
- IR LED intensity too high for mounting distance
Before you go — try one of these (they fix most cases).
Most popular upgrades chosen by Reolink Camera owners.

REOLINK Home Hub Pro with 2X TrackMix WiFi Bundle, 4K PTZ...

REOLINK 4K Dual-Lens Solar Security Cameras Wireless Outd...
REOLINK Wired 4G LTE Cellular Security Camera Outdoor, PT...
As an Amazon Associate we earn from qualifying purchases.
Official Manufacturer Manual
Reolink provides official product documentation through their online manual rather than downloadable PDF. Access setup guides, troubleshooting steps, and product specifications for your Reolink Camera.
Source: reolink.com
Need More Help? Reolink Support
Note: The contact information below connects you directly to Reolink's official customer support team, not Trunetto. They can help with warranty claims, device replacements, and advanced technical issues.