
How to Install Tapo C310 Outdoor Camera
- Outdoor Installation Planning
- Weatherproof Mounting
- Outdoor Power Setup
- Wi-Fi Range Testing
- Weatherproof App Setup
- Outdoor Motion Detection
Most users complete this in under 45 minutes
Overview
Tapo Tapo C310 Outdoor Camera setup takes under 15 minutes for most users — if you're stuck, the steps below target the specific points where installs stall.
This guide covers the outdoor installation of the TP-Link Tapo C310 IP66 weatherproof security camera, including weatherproof mounting, 2.4GHz WiFi pairing in the Tapo app, and setup for motion detection, night vision, and local microSD or Tapo Care cloud recording. The C310 connects over 2.4GHz WiFi and is powered by its included AC adapter; there is no PoE option, so plan the run to a weatherproof outlet.
Why This Happens in Real Homes
The C310 is an IP66 outdoor camera, and the first thing to get right is power: it runs on its AC adapter and does not support PoE, so you need to reach a weatherproof outlet rather than pulling a network cable for power. It connects over 2.4GHz WiFi only, and the outdoor mounting spot is usually the weakest signal in the house, so pair it inside first and confirm it holds a solid connection at the eave before you commit the mount, adding a mesh node if the bars are marginal. Weatherproofing is where outdoor cameras fail months later: seal the cable entry and the adapter connection, run a drip loop so water does not track back into the housing, and site the camera under an eave. Point it down and away from walls so the infrared does not glare straight back at night, and format the microSD in the Tapo app if you are recording locally.
What's Included
- C310 will not pair during Tapo app setup
- App finds the camera but the WiFi step fails
- Weak or dropping signal at the outdoor mounting spot
- Water or condensation inside the housing after rain
- microSD card not recognized for recording
- Night image glares or washes out near a wall or eave
- Camera does not appear in Alexa or Google Home
- Camera loses power at the mounting location
Got your materials ready? Here's what to check first.
Before You Start
- Phone on 5GHz; the C310 needs a 2.4GHz network
- WiFi password with special characters, or WPA3/band-steering/AP isolation
- Camera mounted beyond usable 2.4GHz range from the router
- Cable entry or the AC adapter connection not sealed against weather
- microSD over the supported size or not formatted in the app
- Camera aimed too close to a wall or eave reflecting IR at night
- Tapo account not linked in the Alexa or Google skill
- Outdoor outlet on a tripped GFCI or the run not reaching a weatherproof outlet
Don't skip this step — it breaks everything if you do
Ensure all connections are weatherproofed. Check Wi-Fi range before mounting. Use outdoor-rated extension cords if needed.
Tools & Requirements
These tools will help you complete this fix.

Drill optional
DEWALT 20V MAX Cordless Drill and Impact Driver, Pow...

Level
9 Inch Torpedo Level Magnetic, Shock-Proof Small Lev...

Screwdriver
STREBITO 155 in 1 Electric Screwdriver Set, Small El...
As an Amazon Associate we earn from qualifying purchases.
Installation Steps
Outdoor Installation Planning
Plan C310 installation considering weather exposure, Wi-Fi range, and power access. C310 is rated IP66 for outdoor use.
Weatherproof Mounting
Use included weatherproof mounting bracket. Make sure all connections are properly sealed against moisture penetration.
Outdoor Power Setup
Connect power through weatherproof connection. If using extension cord outdoors, make sure outdoor-rated and properly protected.
Wi-Fi Range Testing
Test Wi-Fi signal strength at installation location before permanent mounting. Outdoor installations may have weaker signals.
Weatherproof App Setup
Complete Tapo app setup considering outdoor conditions. C310 may take longer to connect due to distance from router.
Outdoor Motion Detection
Configure motion detection for outdoor use. Adjust sensitivity to avoid false alerts from weather, animals, or vegetation movement.
Night Vision for Outdoors
Configure outdoor night vision settings. C310 infrared range is optimized for outdoor distances and conditions.
Weather Resistance Test
Verify all connections are weatherproof. Test camera operation in various weather conditions if possible.
Installation Tips
Still stuck? This is usually the deeper cause below.
C310 is IP66 rated for outdoor use. Optimized for outdoor distances with enhanced night vision range. Weatherproof connections essential.
Before you go — these Tapo guides fix most remaining issues.
Most popular upgrades chosen by Tapo C310 Outdoor Camera owners.
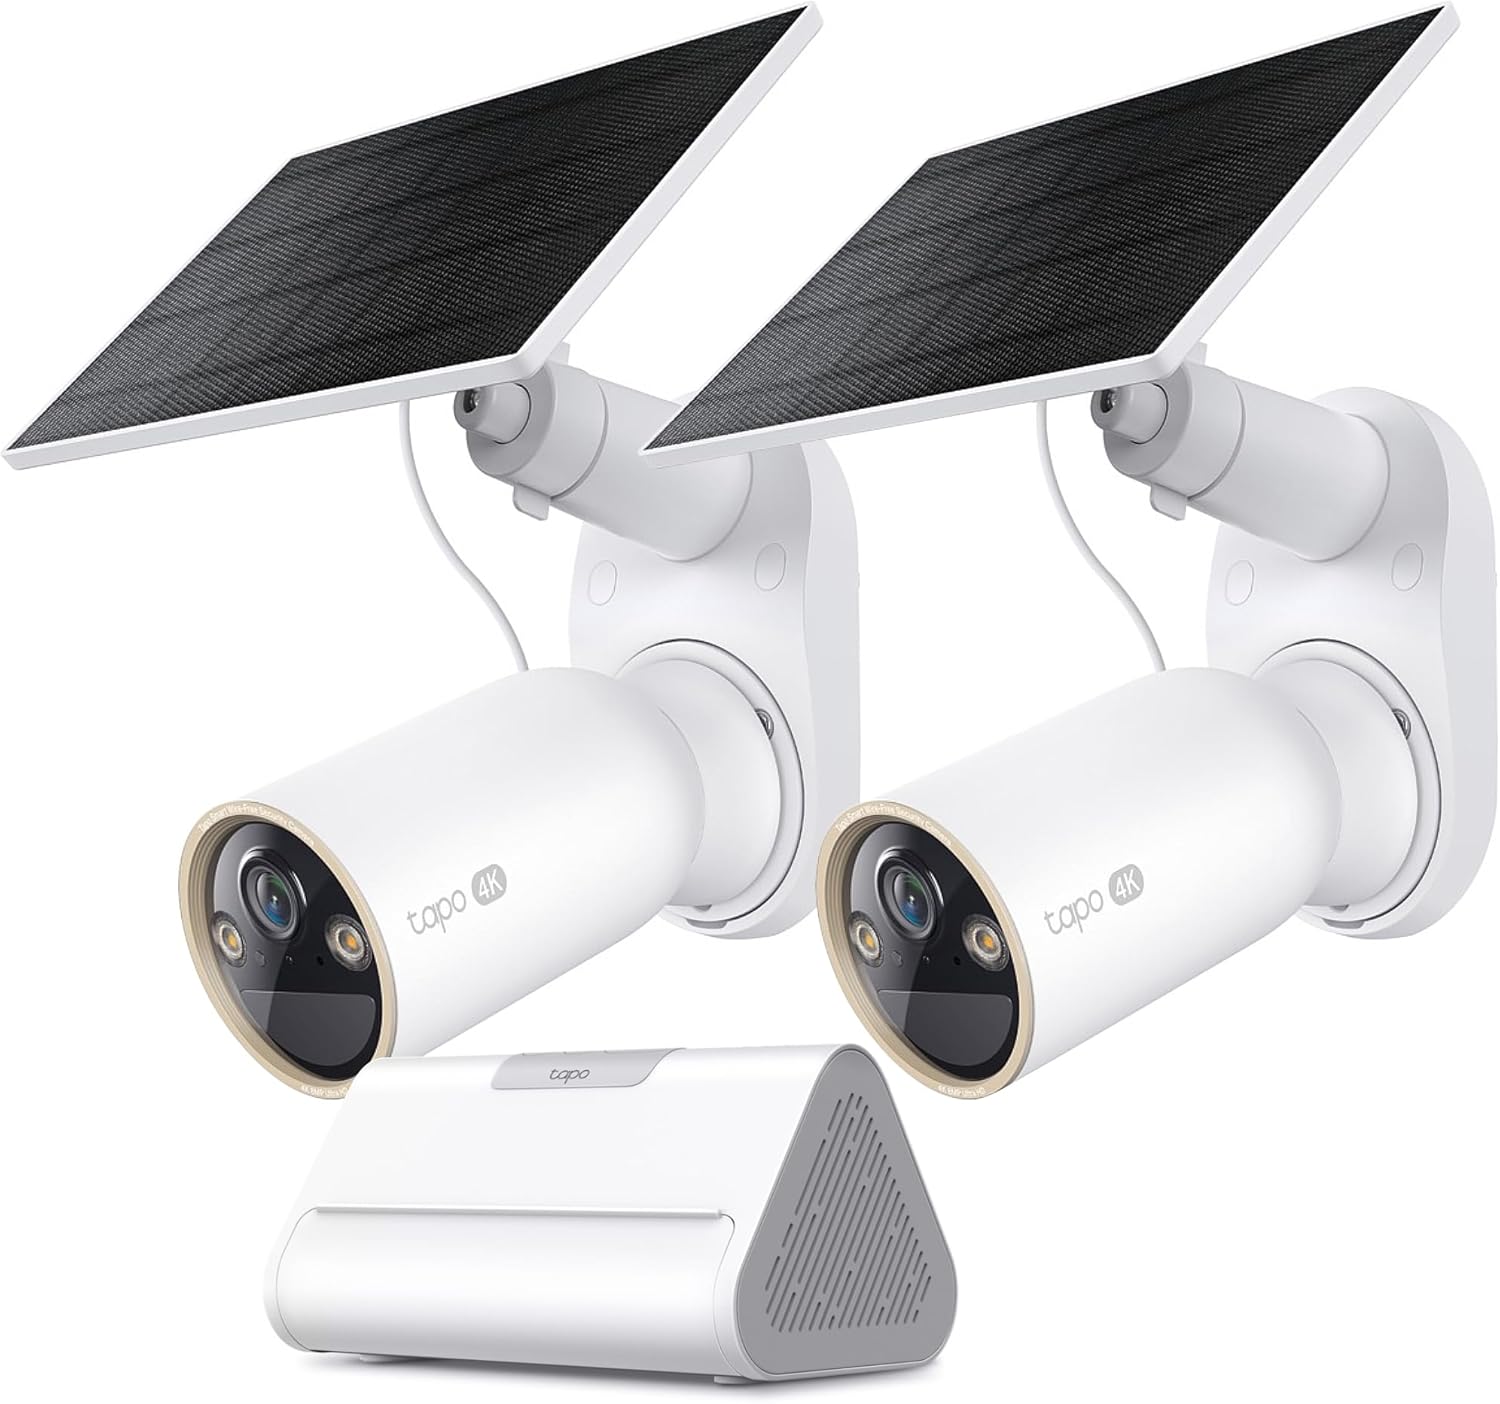
Tapo 4K Outdoor Solar-Powered Cameras C460 KIT x 2-Camera...

Tapo TP-Link 2K Pan/Tilt Security Camera for Baby Monitor...
As an Amazon Associate we earn from qualifying purchases.
Official Manufacturer Manual
Tapo provides official product documentation through their online manual rather than downloadable PDF. Access setup guides, troubleshooting steps, and product specifications for your Tapo C310 Outdoor Camera.
Source: tapo.com
Need More Help? Tapo Support
Note: The contact information below connects you directly to Tapo's official customer support team, not Trunetto. They can help with warranty claims, device replacements, and advanced technical issues.


