
How to Install Lutron Smart Bridge
- Bridge Placement Planning
- Network Connection
- Lutron App Setup
- Device Discovery
- Smart Home Integration
- System Testing
Most users complete this in under 30 minutes
Overview
Lutron Lutron Smart Bridge setup takes under 15 minutes for most users — if you're stuck, the steps below target the specific points where installs stall.
This guide covers the installation of the Lutron Smart Bridge and Smart Bridge Pro, the required hub for Lutron Caseta and RA2 Select wireless switches, dimmers, and accessories. The Smart Bridge connects to your router via Ethernet and enables app control, scheduling, and integration with Alexa, Google Home, and Apple HomeKit for all paired Lutron devices.
Why This Happens in Real Homes
The Smart Bridge is the Caseta hub, and two placement facts matter: it connects to your router by Ethernet (not WiFi), and it reaches dimmers, Picos, and shades over Clear Connect RF, so it should sit centrally, roughly within 30 feet of your devices. The Bridge Pro adds pro integrations (telnet, third-party control).
Cable it to a router LAN port, power it, and add it in the Lutron app on your main network. If the app can't find it, check the Ethernet, that your phone isn't on a guest network, and that the router isn't blocking device discovery; then add each Caseta device by tapping its button.
What's Included
- Bridge will not be found
- Will not connect to router
- Range to devices
- Ethernet questions
- Setup stalls
- Devices will not add
- App cannot find it
- Bridge vs Bridge Pro
Got your materials ready? Here's what to check first.
Before You Start
- Ethernet not connected to the router
- Bridge out of RF range of devices
- Phone on a different network during setup
- Router blocking discovery (AP isolation/mDNS)
- Wrong Bridge for the need (Pro for integrations)
- Power not connected
- Firmware pending
- Guest network used
Don't skip this step — it breaks everything if you do
Ethernet connection required for bridge. Position centrally for optimal wireless range. One bridge supports entire home Caseta system.
Tools & Requirements
These tools will help you complete this fix.

Drill optional
DEWALT 20V MAX Cordless Drill and Impact Driver, Pow...

Level
9 Inch Torpedo Level Magnetic, Shock-Proof Small Lev...

Screwdriver
STREBITO 155 in 1 Electric Screwdriver Set, Small El...
As an Amazon Associate we earn from qualifying purchases.
Installation Steps
Bridge Placement Planning
Position Smart Bridge within range of Caseta devices (typically 30+ feet) and near router for ethernet connection. Central location best for coverage.
Network Connection
Connect Smart Bridge to router using included ethernet cable and plug into power outlet. Bridge requires wired internet connection for operation.
Lutron App Setup
Download Lutron app and create account. Follow setup wizard to add Smart Bridge and establish connection to Caseta wireless network.
Device Discovery
Add Caseta dimmers, switches, and accessories to Smart Bridge through app pairing process. Bridge will discover and connect compatible devices.
Smart Home Integration
Configure Smart Bridge with platforms like Apple HomeKit, Amazon Alexa, Google Assistant, or SmartThings for voice control and automation.
System Testing
Test app control of all connected devices, voice commands, and automation features. Verify Smart Bridge is properly managing Caseta network.
Installation Tips
Still stuck? This is usually the deeper cause below.
Smart Bridge required for app control and remote access to Caseta devices. Supports up to 50 Caseta wireless devices per bridge.
Before you go — these Lutron guides fix most remaining issues.
Most popular upgrades chosen by Lutron Smart Bridge owners.

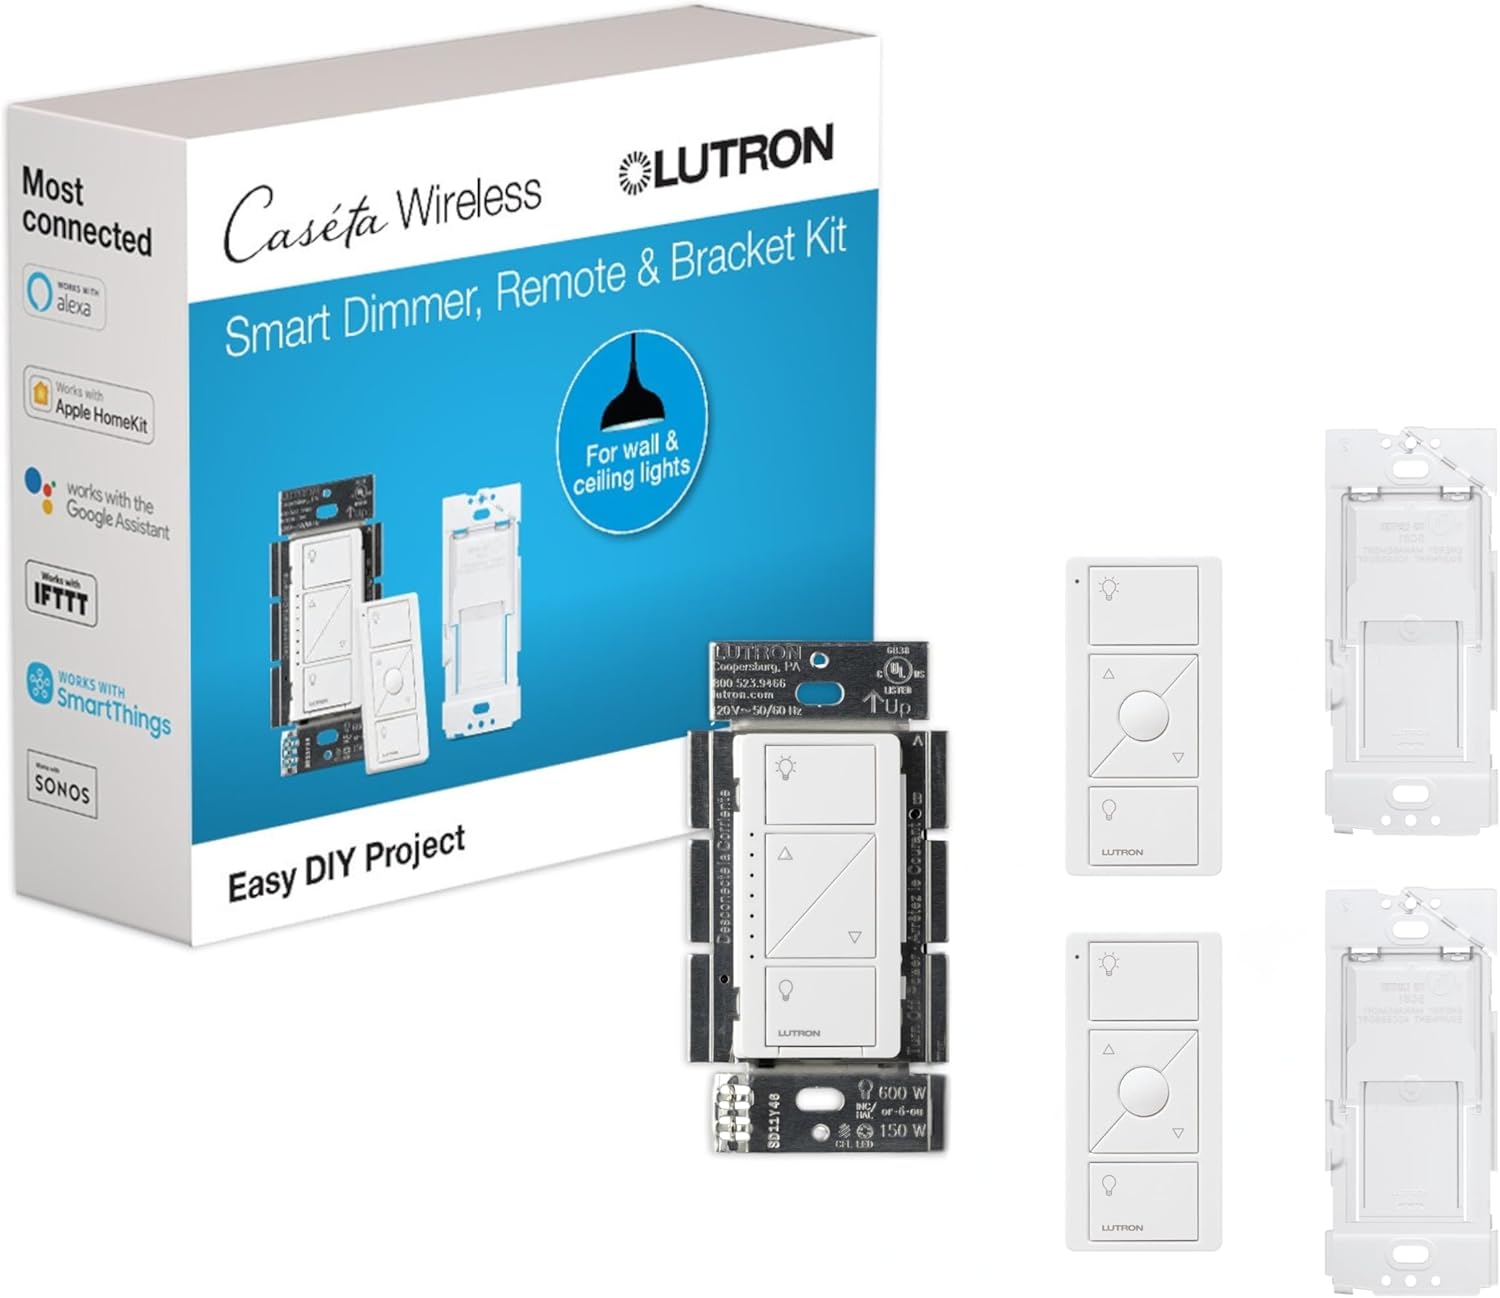
Lutron Deluxe Diva Smart Dimmer Kit for Caseta Lighting w...
Lutron Caseta Smart Lighting Kit w/ Original Switch, 2 Pi...
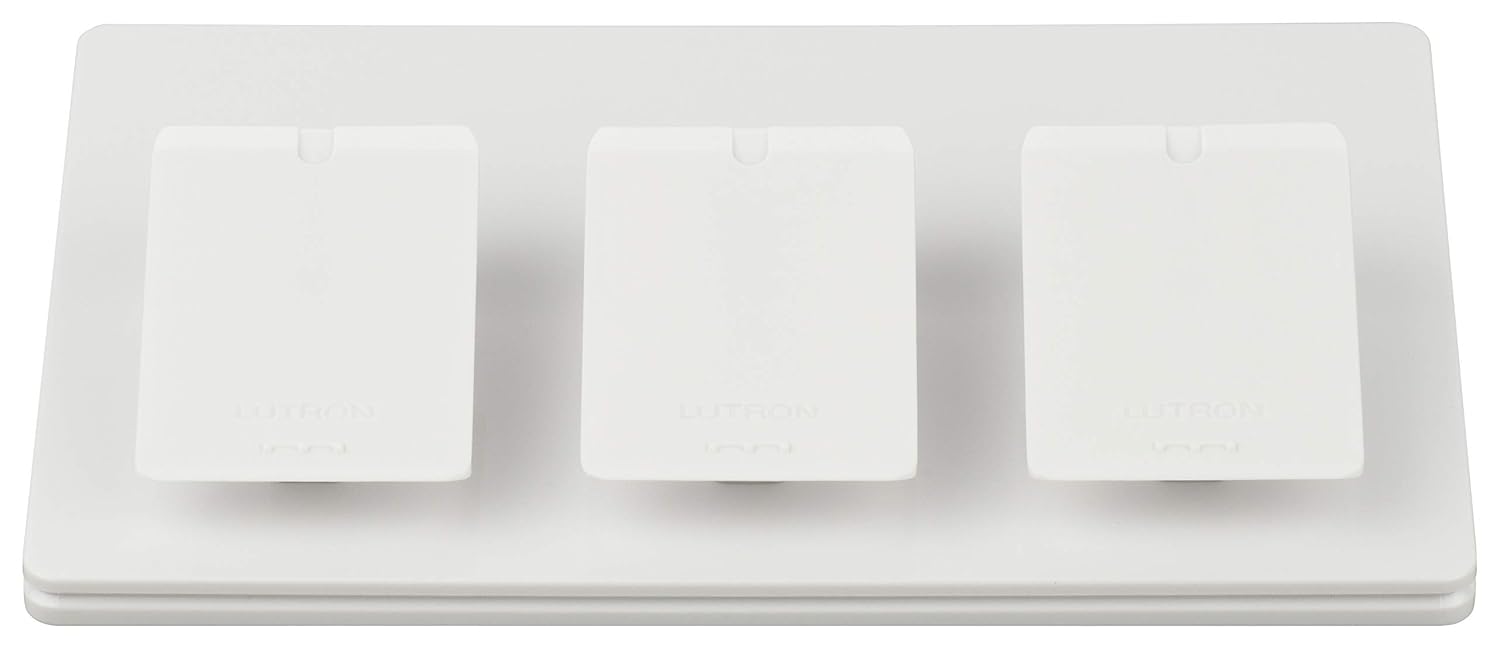
Lutron Caseta Smart Lighting Triple Pedestal for Pico Rem...
As an Amazon Associate we earn from qualifying purchases.
Official Manufacturer Manual
If you need the complete manufacturer documentation for advanced setup, wiring diagrams, or detailed specifications, you can download the official manual below. The manual includes full technical instructions directly from the manufacturer and may help if your issue requires deeper troubleshooting.
Download the Official Lutron Smart Bridge ManualSource: lutron.com
Need More Help? Lutron Support
Note: The contact information below connects you directly to Lutron's official customer support team, not Trunetto. They can help with warranty claims, device replacements, and advanced technical issues.
Accessories owners commonly pair with Lutron Smart Bridge.

Lutron Caseta Smart Lighting Vacancy Motion Sensor, Manua...

Lutron Caseta Smart Lighting Auto On/Off Motion Sensor, L...

Lutron Caséta Motion Sensor, Occupancy/Multi-Location, wi...
As an Amazon Associate we earn from qualifying purchases.


