How Do I Adjust the Minimum Brightness on My Lutron Caseta Dimmer?
- Low-end trim not set for the bulbs
- LEDs flicker below their stable minimum
- Incompatible bulbs
Problem Description
You want to set or fix the minimum brightness (low-end trim) on your Lutron Caseta dimmer — the bulbs flicker, buzz, or shut off at the lowest levels, or won't dim as low as you'd like. The low-end trim sets how dim the bulbs can go before they misbehave, and it's adjustable per dimmer.
Why This Happens in Real Homes
LEDs each have a point below which they flicker, buzz, or drop out, so the Caseta dimmer's low-end trim (minimum brightness) exists to set the bottom of the range above that point. If your bulbs misbehave at the lowest levels, the trim is set too low for them.
Start by adjusting the low-end trim — in the Lutron app or via the dimmer's tap sequence — raising the minimum until the flicker or buzz stops at the bottom. Compatible dimmable LEDs dim lower cleanly; with mixed bulbs, set the trim to satisfy the worst performer, since one dimmer drives them all together.
Symptoms
- Bulbs flicker/buzz at low brightness
- Bulbs cut off before minimum
- Cannot dim low enough
- Dims too low and flickers
- Low-end trim question
- Uneven low-level dimming
- Different bulbs, different minimums
- Will not hold at low levels
Recognize these? Here's what usually causes it.
Common Causes
- Low-end trim not set for the bulbs
- LEDs flicker below their stable minimum
- Incompatible bulbs
- Bulbs shut off before true minimum
- Mixed bulbs with different minimums
- Load too small
- Firmware out of date
- Bulb drivers limiting the range
Most fixes happen in the first 3 steps.
Do not attempt to open or modify the light hardware. Smart lights contain electronic components that can be damaged by moisture or physical tampering. Always power off at the wall switch before removing or repositioning a smart light.
Tools & Requirements
Step-by-Step Solution
Understand why minimum brightness adjustment matters
LED bulbs at very low brightness levels can flicker, buzz, or turn off entirely because the power the dimmer delivers is too low for the bulb driver to operate. The Caseta dimmer lets you set a minimum brightness floor so the dimmer never goes below the point where your specific bulbs start misbehaving. This is called the low-end trim.
Enter low-end trim programming mode
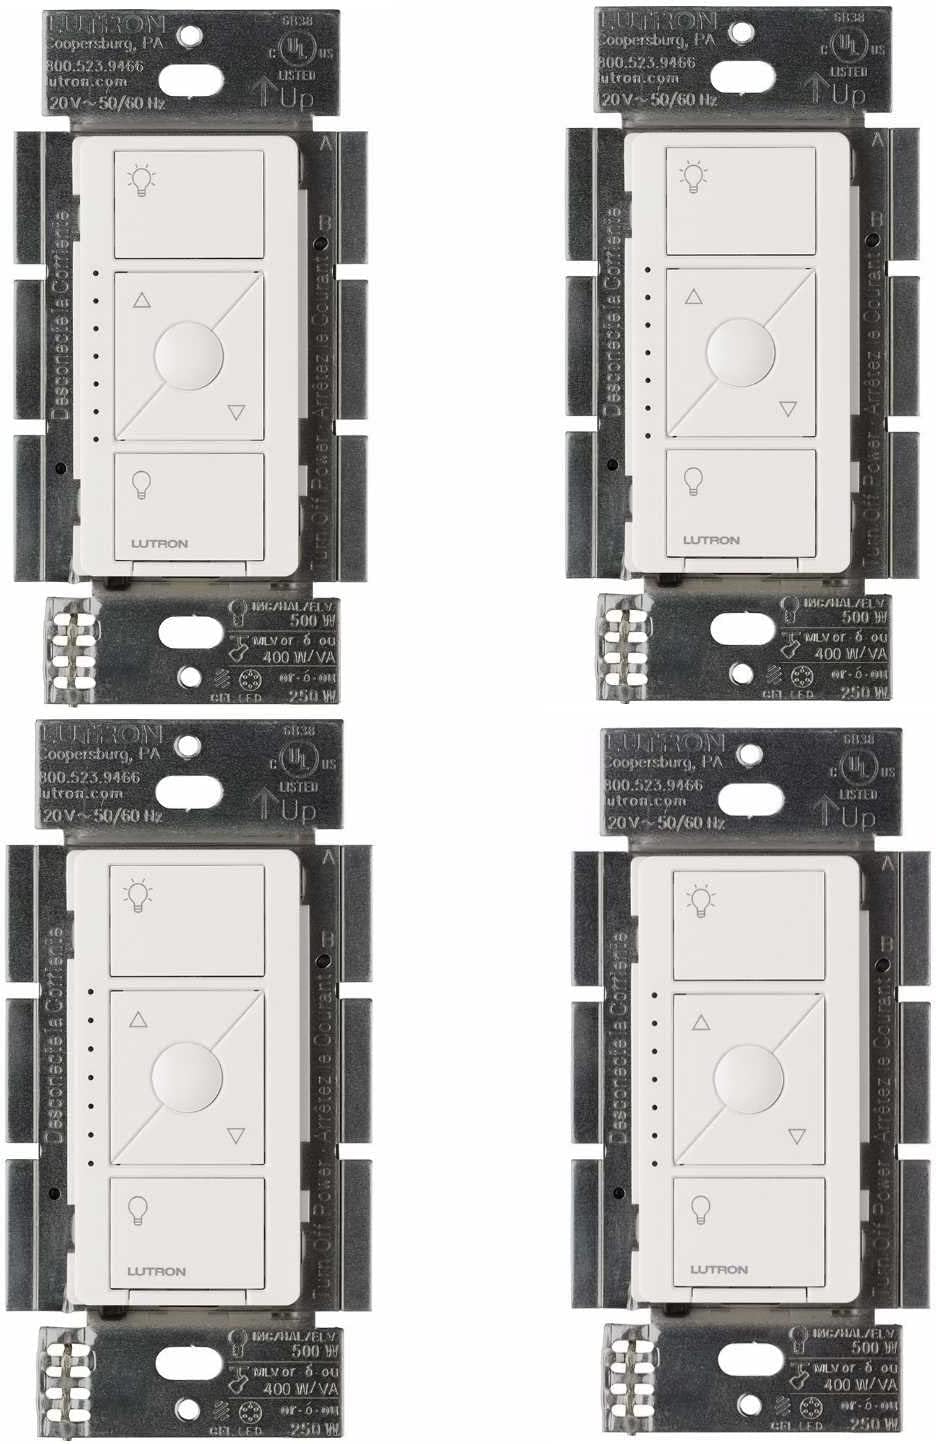
Tap the Caseta dimmer down arrow until the light is at its lowest level. Then press and hold the OFF button for about 6 seconds until the LED indicator bar on the dimmer starts blinking. You are now in low-end trim mode. The light is at the current minimum brightness setting.
Raise the minimum until flickering stops
While in trim mode, tap the UP arrow to raise the minimum brightness. Watch the light fixture — tap up until the light is stable with no flickering or buzzing. Each tap raises the minimum slightly. You want the lowest stable point, not higher than necessary, because setting it too high reduces your usable dimming range.
Save the setting
When you have found the stable minimum brightness level, tap the OFF button once to save. The LED bar stops blinking, confirming the new setting is stored. From now on, dimming the light all the way down stops at this new minimum instead of going lower. The setting persists through power outages — it is stored in the dimmer, not the bridge.
Adjust the high-end trim if needed
The Caseta also supports a high-end trim to cap the maximum brightness. This is less commonly needed but useful if your bulbs produce harsh glare at full power. To set it: tap the dimmer up to maximum, then press and hold the ON button for 6 seconds until the LED bar blinks. Tap the DOWN arrow to lower the maximum. Tap ON to save. Most people only need the low-end trim.
Quick Solutions
Still having issues? This is usually the deeper cause below.
If flickering only happens on dimming, the issue is almost always the dimmer's minimum-load setting, not the bulb — it's drawing less current than the dimmer expects.
Group your smart lights by room in the app and assign clear names like Kitchen Ceiling and Bedroom Lamp. This makes voice commands more reliable and lets you create scenes that control multiple lights at once with a single command. **Product Intelligence:** - Requires Caseta Smart Bridge - Clear Connect RF (not WiFi) - HomeKit/Alexa/Google compatible
This issue almost always looks more complex than it is — the majority of cases trace back to a single setting, a stale credential, or a default that shipped wrong.
- Low-end trim not set for the bulbs
- LEDs flicker below their stable minimum
- Incompatible bulbs
- Bulbs shut off before true minimum
- Mixed bulbs with different minimums
Before you go — try one of these (they fix most cases).
Most popular upgrades chosen by Lutron Caseta Dimmer owners.
Lutron Deluxe Diva Smart Dimmer Kit for Caseta Lighting w...

Lutron Diva Smart Dimmer Switch with Wallplate and Pico S...

Lutron Caseta Deluxe Smart Dimmer Switch Kit, Compatible ...
As an Amazon Associate we earn from qualifying purchases.
Official Manufacturer Manual
If you need the complete manufacturer documentation for advanced setup, wiring diagrams, or detailed specifications, you can download the official manual below. The manual includes full technical instructions directly from the manufacturer and may help if your issue requires deeper troubleshooting.
Download the Official Lutron Caseta Dimmer ManualSource: lutron.com
Need More Help? Lutron Support
Note: The contact information below connects you directly to Lutron's official customer support team, not Trunetto. They can help with warranty claims, device replacements, and advanced technical issues.
Accessories owners commonly pair with Lutron Caseta Dimmer.

Lutron Caseta Smart Lighting Smart Hub Repeater, Expands ...

Lutron Pico Remote for Audio, Works with Sonos (Caseta Sm...

LXLO Remote Wallplate Bracket, Perfectly Compatible with ...
As an Amazon Associate we earn from qualifying purchases.