How to Install Your Lutron Caseta Dimmer
- Turn Off Power and Remove Old Switch
- Disconnect and Connect Wires
- Mount the Dimmer
- Power On and Pair
Most users complete this in under 45 minutes
Overview
This guide provides instructions for installing a Lutron Caseta in-wall dimmer switch. It covers the electrical wiring for single-pole or 3-way setups, mounting the dimmer, and pairing it with a Pico remote or the Lutron Smart Bridge for smart control.
Why This Happens in Real Homes
The headline fact for a Caseta dimmer install: the standard Caseta dimmer does not require a neutral wire, which is why it drops into older boxes with only line, load, and ground. Confirm you're replacing a single-pole or 3-way switch and that your bulbs are dimmable and on Lutron's compatibility list.
Cut power at the breaker, connect line and load (and ground) per the diagram — no neutral needed on the standard Caseta dimmer — then pair it to the Smart Bridge in the app. For a 3-way, replace the main switch and use a Pico as the wireless companion (remove the old companion). Flickering afterward usually means a non-compatible LED, not a wiring fault.
What's Included
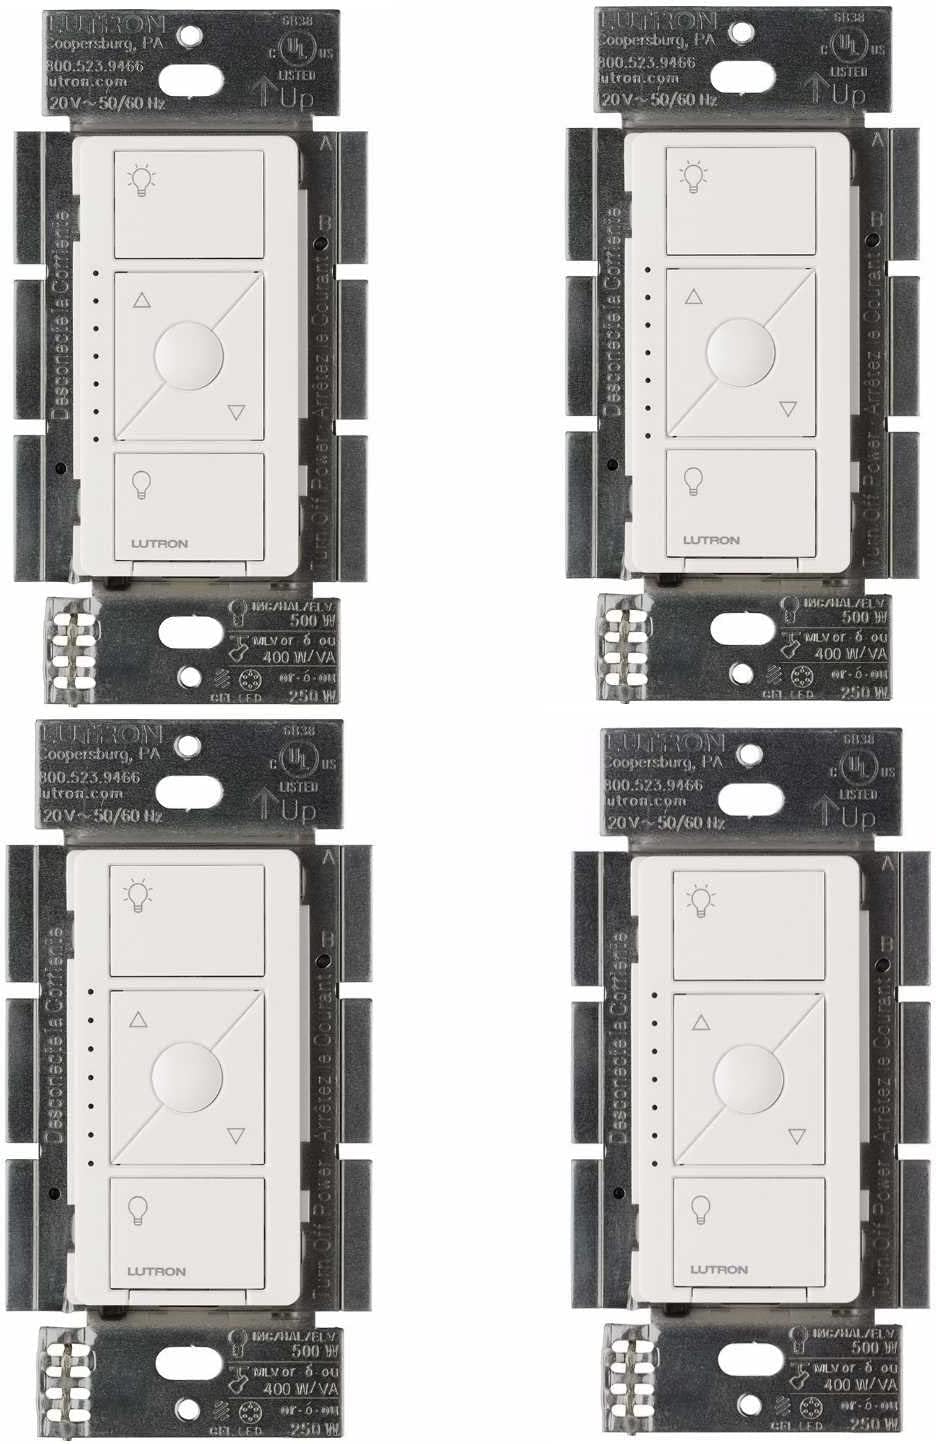
- Lutron Caseta Dimmer switch
- Wire connectors (wire nuts)
- Mounting screws for the wall box
- A matching wallplate (often sold separately)
- Your home's existing wiring
- A Phillips and a flathead screwdriver
Got your materials ready? Here's what to check first.
Before You Start
- A single-pole or 3-way switch to replace
- A standard electrical wall box
- Compatible dimmable light bulbs (LED/incan.)
- The power is turned off at the breaker
- You are not comfortable with electrical work
- The dimmer does not require a neutral wire
Don't skip this step — it breaks everything if you do
Always turn off power at the circuit breaker before working with electrical wiring. If you are uncomfortable, hire a licensed electrician.
Tools & Requirements
These tools will help you complete this fix.

Flathead screwdriver
Klein Tools 85076 Screwdriver Set, Made in USA, Slot...
Phillips screwdriver
Klein Tools 85076 Screwdriver Set, Made in USA, Slot...

Voltage tester
Klein Tools 80196 Digital Multimeter Kit with Case, ...
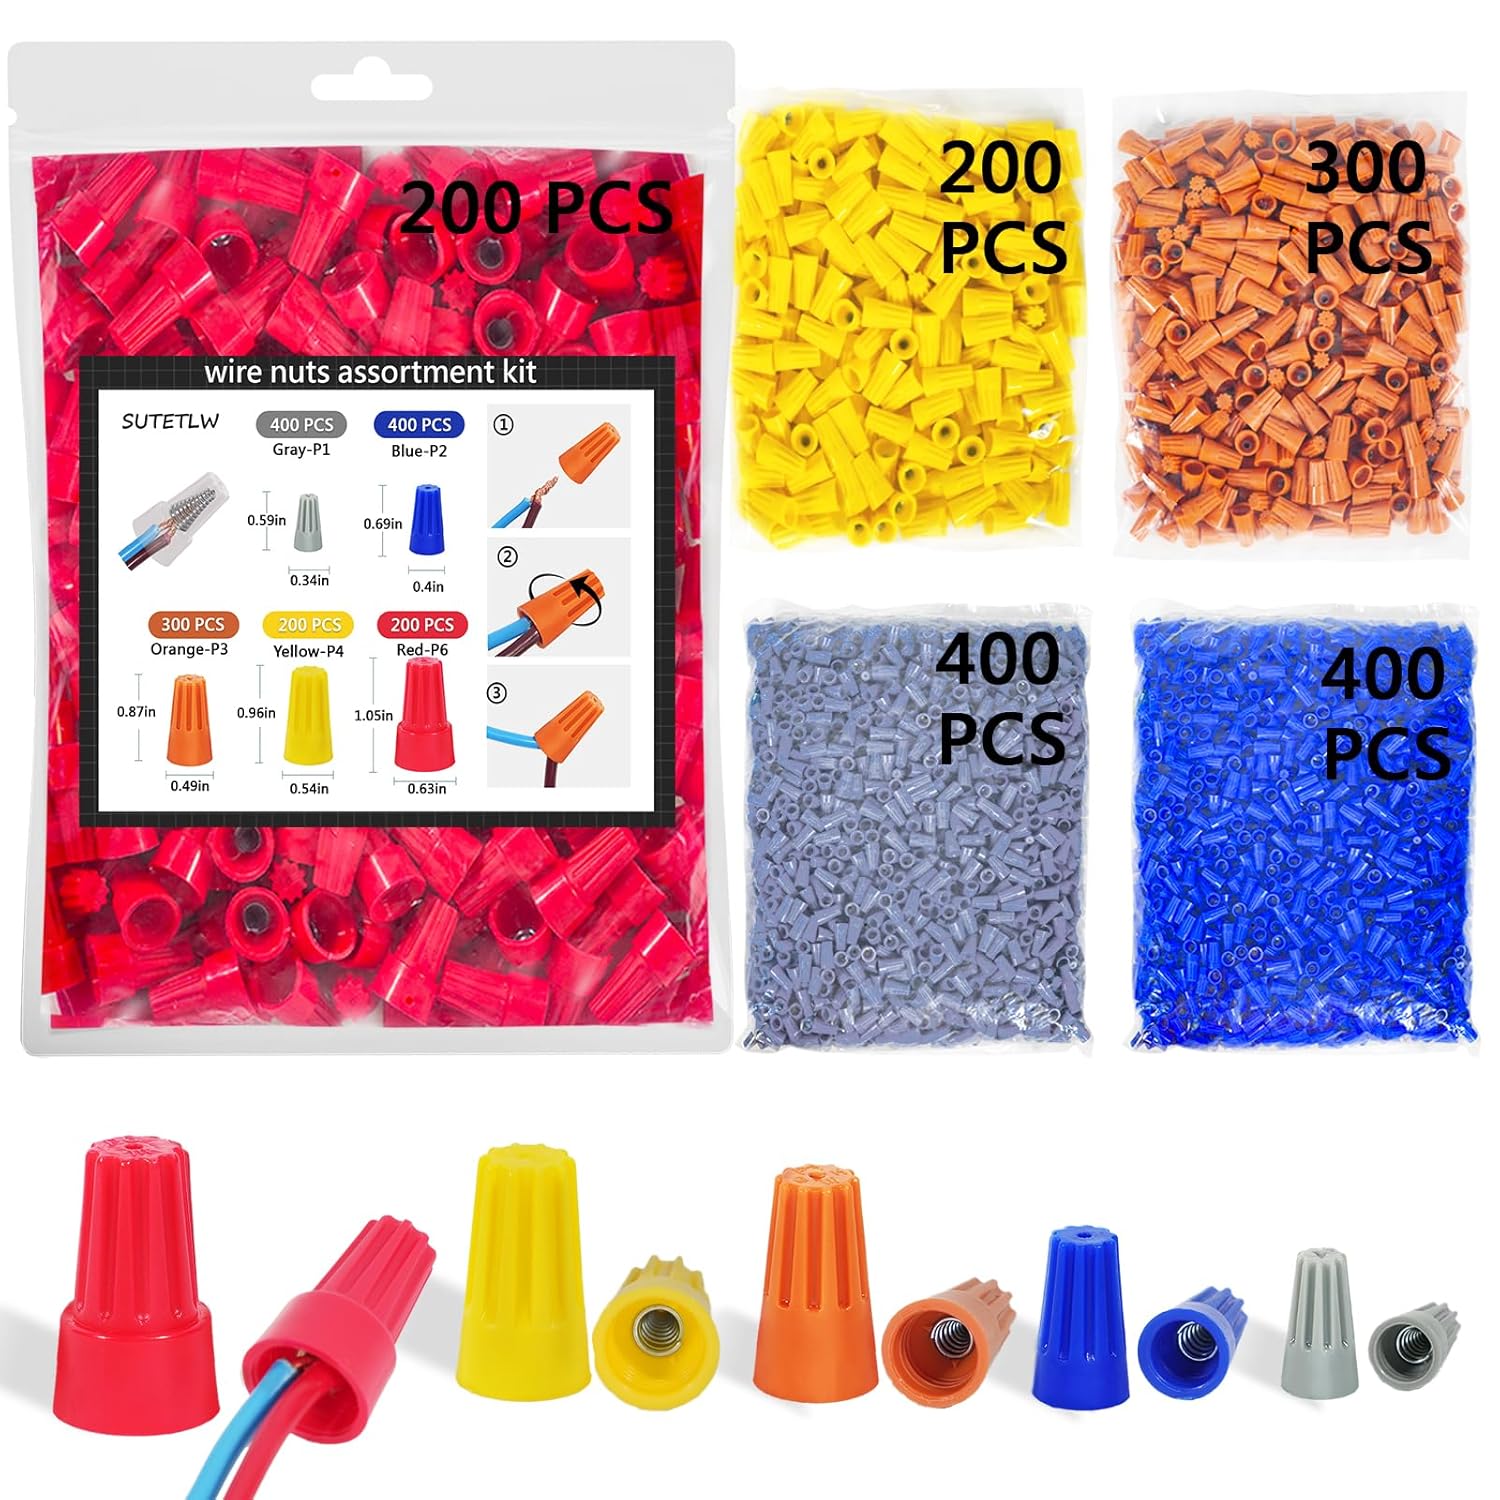
Wire nuts
Wire Nuts Assortment Kit 1500 PCS Insulating Insert ...
As an Amazon Associate we earn from qualifying purchases.
Installation Steps
Turn Off Power and Remove Old Switch
For your safety, go to your circuit breaker and turn off the power to the switch you are replacing. Confirm the power is off by flipping the switch. Then, remove the wallplate and unscrew the old switch from the wall box. Carefully pull it out to expose the wiring.
Disconnect and Connect Wires
Disconnect the wires from the old switch. For the new Caseta dimmer, connect the green ground wire to the bare copper or green wire in the box. Connect the two black wires on the dimmer to the remaining two wires from the wall (hot and load). It does not matter which is which.
Needed for this step
Wire Nuts Assortment Kit 1500 PCS Insulating In...
This helps complete the fix you are currently reading.
$29.99Mount the Dimmer
Gently push the wired dimmer back into the electrical box. Use the provided screws to secure the dimmer to the box. Once it is securely in place, you can attach the Lutron wallplate, which snaps on for a clean, screwless look.
Power On and Pair
Turn the power back on at the circuit breaker. The dimmer's LED indicator should light up. Test the switch manually. To add smart control, pair it with a Pico remote by holding the remote close and pressing and holding the 'off' button on the dimmer for 6 seconds.
Installation Tips
Still stuck? This is usually the deeper cause below.
Lutron Caseta dimmers do not require a neutral wire, making them compatible with older homes that lack this wire.
Before you go — these Lutron guides fix most remaining issues.
Most popular upgrades chosen by Lutron Caseta Wireless In-Wall Dimmer owners.

Lutron Deluxe Diva Smart Dimmer Kit for Caseta Lighting w...

Lutron Diva Smart Dimmer Switch with Wallplate and Pico S...

Lutron Caseta Deluxe Smart Dimmer Switch Kit, Compatible ...
As an Amazon Associate we earn from qualifying purchases.
Official Manufacturer Manual
If you need the complete manufacturer documentation for advanced setup, wiring diagrams, or detailed specifications, you can download the official manual below. The manual includes full technical instructions directly from the manufacturer and may help if your issue requires deeper troubleshooting.
Download the Official Lutron Caseta Wireless In-Wall Dimmer ManualSource: lutron.com
Need More Help? Lutron Support
Note: The contact information below connects you directly to Lutron's official customer support team, not Trunetto. They can help with warranty claims, device replacements, and advanced technical issues.
Accessories owners commonly pair with Lutron Caseta Wireless In-Wall Dimmer.

Lutron Caseta Smart Lighting Smart Hub Repeater, Expands ...

Lutron Pico Remote for Audio, Works with Sonos (Caseta Sm...

LXLO Remote Wallplate Bracket, Perfectly Compatible with ...
As an Amazon Associate we earn from qualifying purchases.