
How to Set Up Your Lutron Smart Bridge
- Connect Bridge to Router
- Power Up the Bridge
- Add Bridge in Lutron App
- Add Caseta Devices
Most users complete this in under 20 minutes
Overview
This guide explains how to set up the Lutron Caseta Smart Bridge, the central hub for your Caseta lighting system. It covers connecting the bridge to your router, powering it on, and configuring it with the Lutron app to control your lights from anywhere.
Why This Happens in Real Homes
The Lutron Smart Bridge is the hub for Caseta — and crucially it connects to your router by Ethernet, not WiFi, and talks to dimmers, Picos, and shades over Lutron's Clear Connect RF (also not WiFi). So it needs a free LAN port near the router.
Cable the Bridge to the router and power it, add it in the Lutron app, then add each device (dimmer, Pico, shade) by tapping its button when prompted. The devices are RF, so range from the Bridge matters; a Bridge that won't be found is usually the Ethernet, the app on a different network, or a router blocking device discovery.
What's Included
- Lutron Smart Bridge unit
- Power adapter for the bridge
- Ethernet cable to connect to your router
- The Lutron app on your smartphone
- An available Ethernet port on your router
- An available power outlet
Got your materials ready? Here's what to check first.
Before You Start
- A Wi-Fi router with an available Ethernet port
- A nearby power outlet for the bridge
- The Lutron app installed on your phone
- You have Caseta devices to connect to it
- The bridge must be wired to the router
- Your phone is on the same Wi-Fi network
Don't skip this step — it breaks everything if you do
Ensure the Smart Bridge is placed in a central location for the best signal range to all your Caseta devices throughout your home.
Tools & Requirements
Installation Steps
Connect Bridge to Router
Connect the Lutron Smart Bridge to an available Ethernet port on your home's Wi-Fi router using the included Ethernet cable. This physical connection is required for the bridge to communicate with your network and the Lutron cloud service for remote access.
Power Up the Bridge
Plug the included power adapter into a nearby wall outlet and connect it to the Smart Bridge. The LED light on the bridge will turn on and blink as it boots up. Wait for the light to become solid, indicating it has successfully connected to your network.
Add Bridge in Lutron App
Download and open the Lutron app on your smartphone. Create an account and sign in. Tap to add a new device and select 'Smart Bridge'. The app will automatically discover the bridge on your network. Press the button on the back of the bridge when prompted.
Add Caseta Devices
Once the bridge is set up, you can add your Caseta dimmers, switches, and Pico remotes. In the app, go to 'Add Device' and select the type of device you want to add. The app will guide you through the simple pairing process for each one.
Installation Tips
Still stuck? This is usually the deeper cause below.
The Smart Bridge must be connected via Ethernet. It does not have built-in Wi-Fi for connecting to your router.
Before you go — these Lutron guides fix most remaining issues.
Most popular upgrades chosen by Lutron Caseta Smart Bridge owners.

Lutron Deluxe Diva Smart Dimmer Kit for Caseta Lighting w...
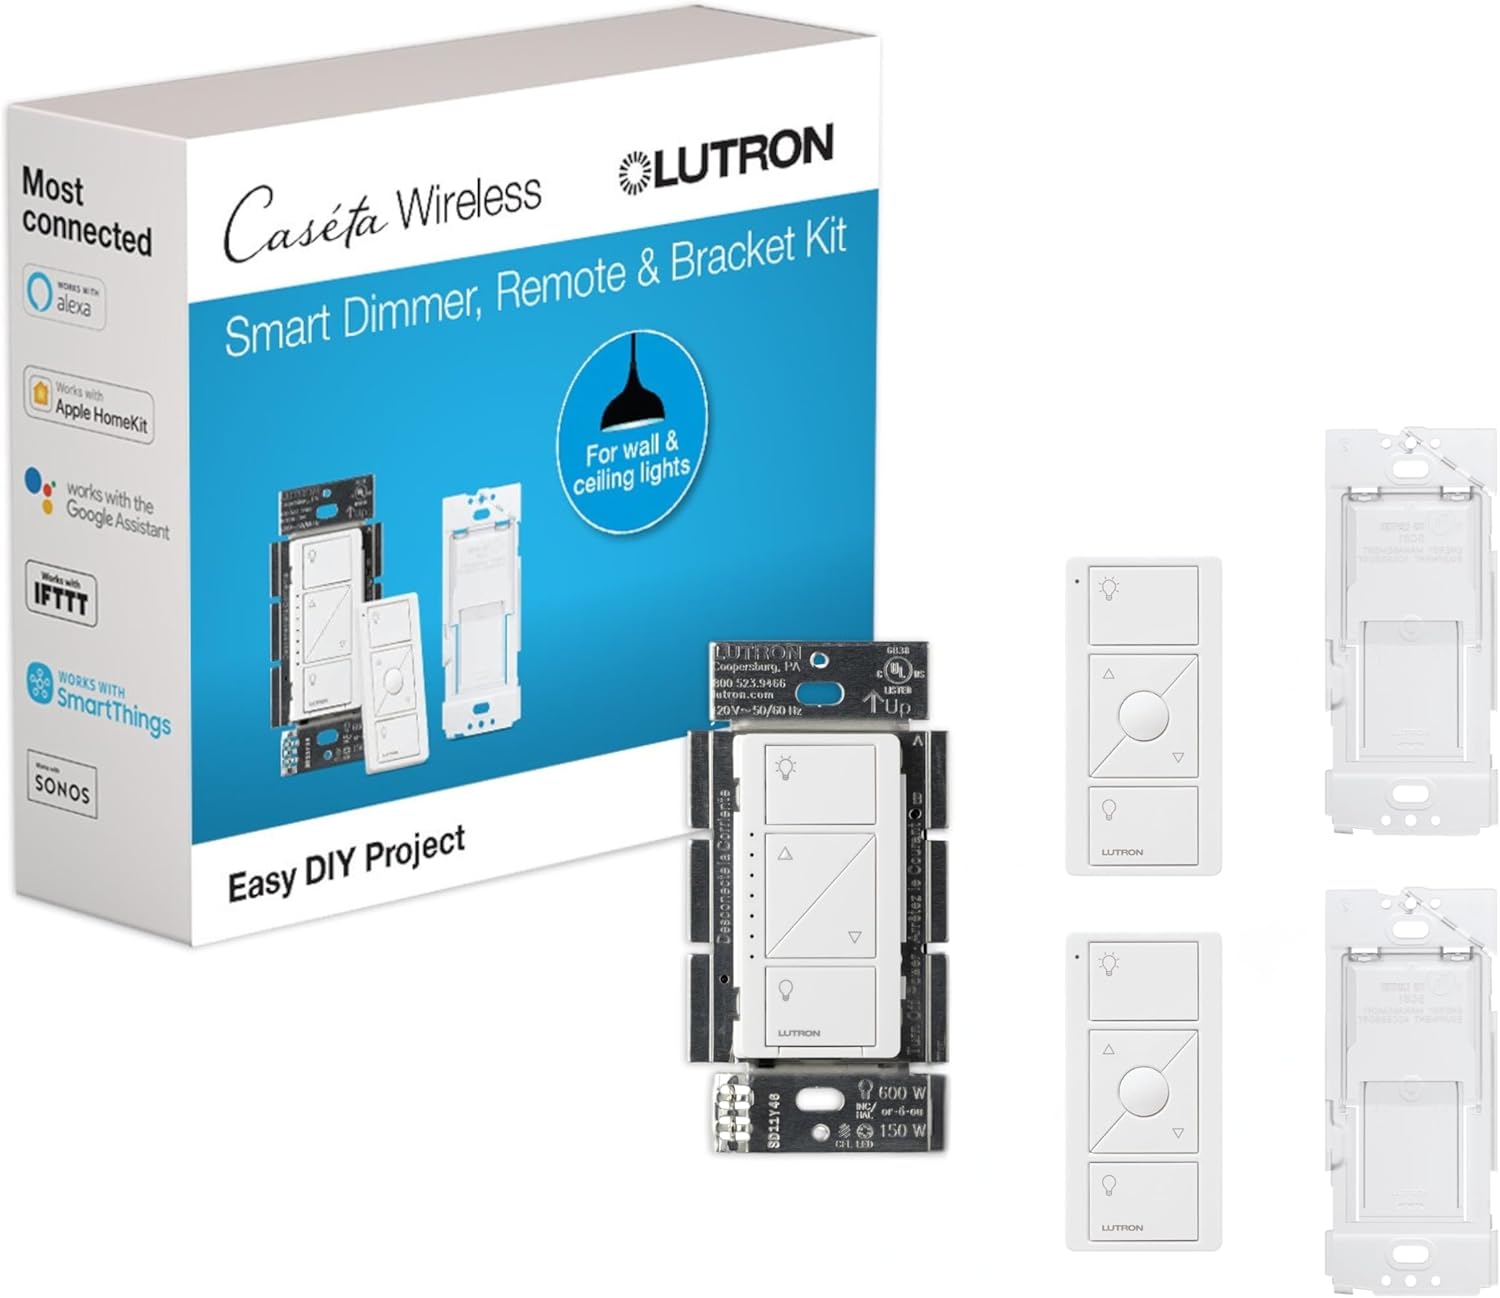
Lutron Caseta Smart Lighting Kit w/ Original Switch, 2 Pi...
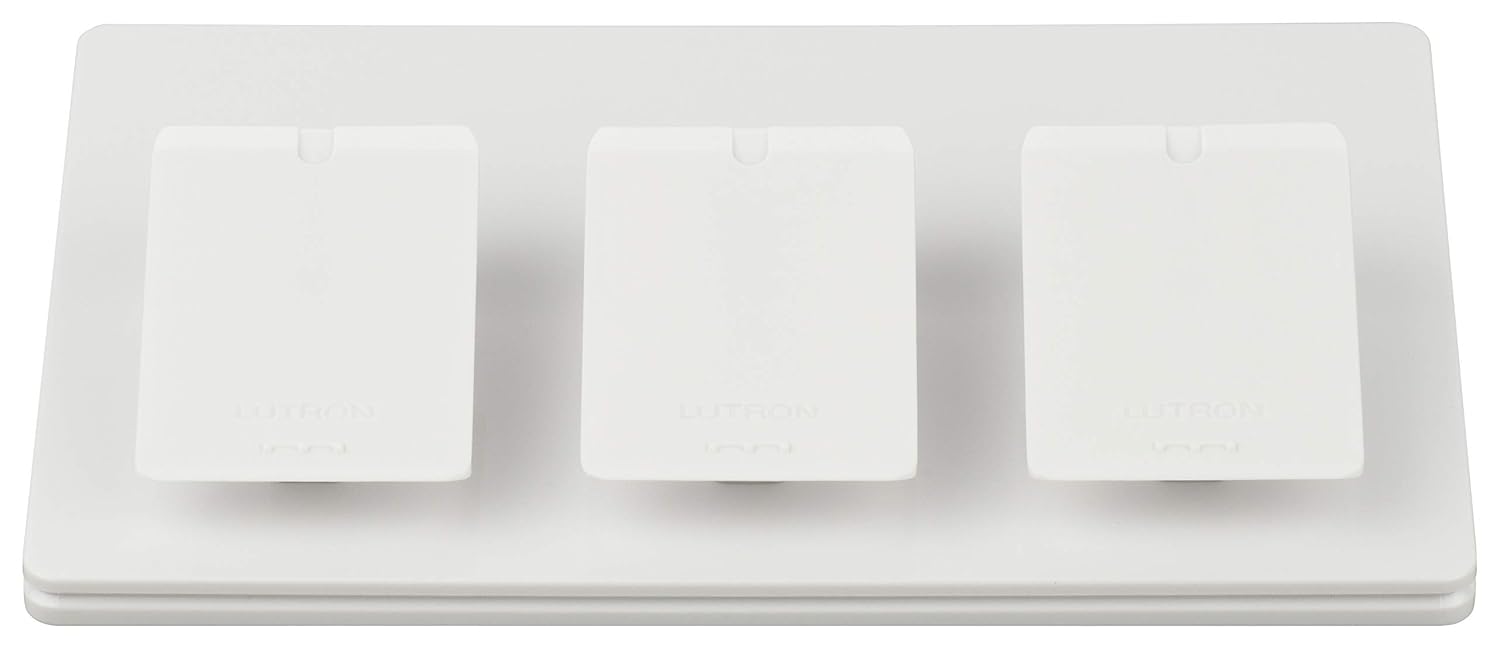
Lutron Caseta Smart Lighting Triple Pedestal for Pico Rem...
As an Amazon Associate we earn from qualifying purchases.
Official Manufacturer Manual
Lutron provides official product documentation through their online manual rather than downloadable PDF. Access setup guides, troubleshooting steps, and product specifications for your Lutron Caseta Smart Bridge.
Source: support.lutron.com
Need More Help? Lutron Support
Note: The contact information below connects you directly to Lutron's official customer support team, not Trunetto. They can help with warranty claims, device replacements, and advanced technical issues.
Accessories owners commonly pair with Lutron Caseta Smart Bridge.

Amazon Smart Plug, Works with Alexa, Simple Setup, Endles...

TP-Link WiFi Extender with Ethernet Port, Dual Band 5GHz/...

Kasa Smart Plug, Matter Compatible, Energy Monitoring, Co...
As an Amazon Associate we earn from qualifying purchases.


