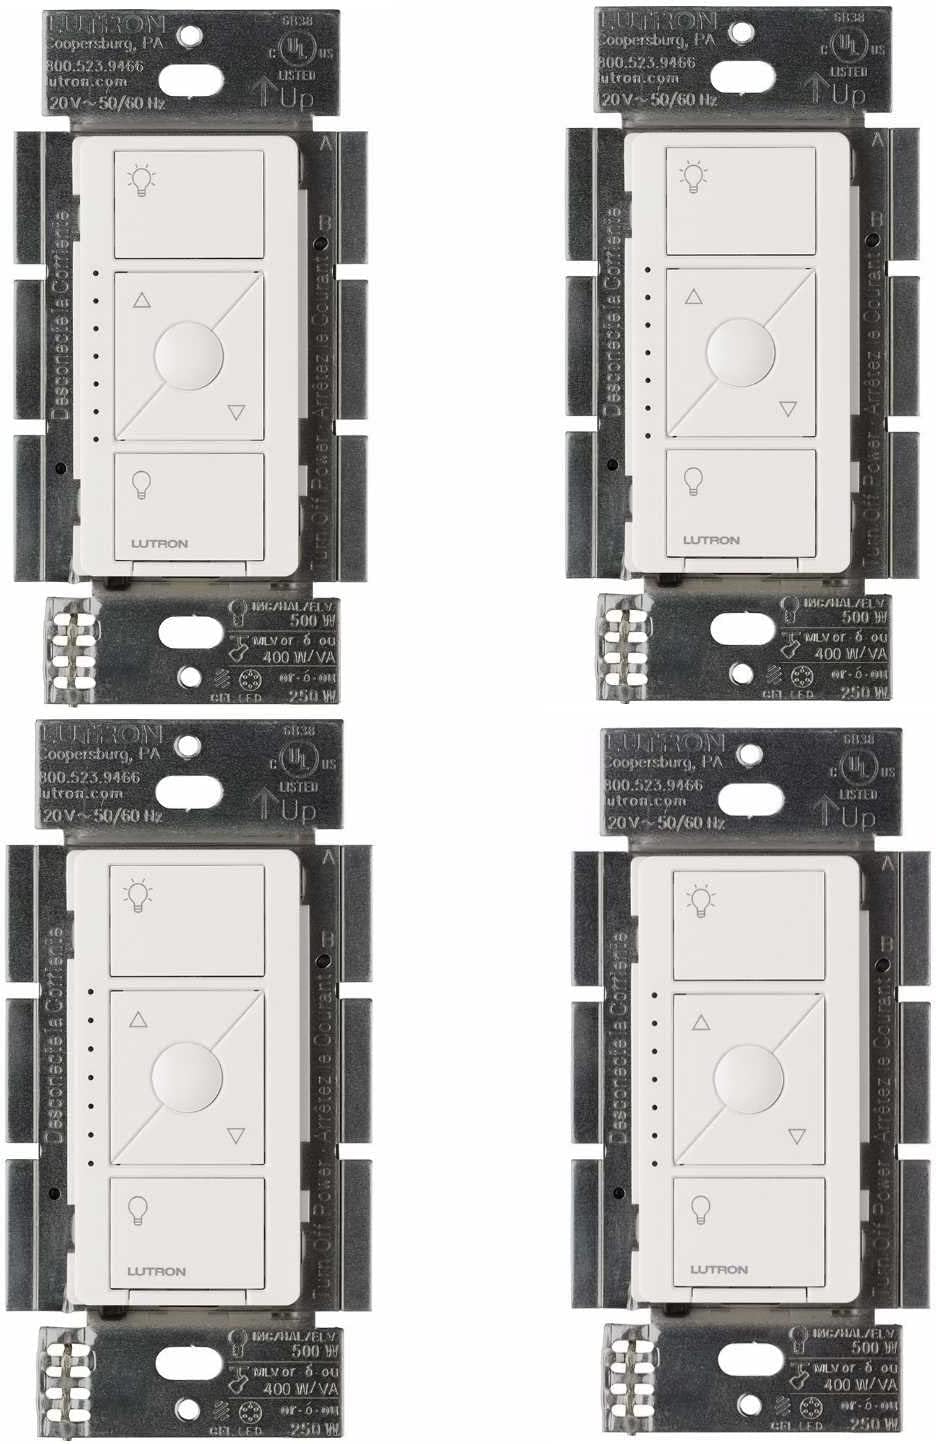
How Do I Set Up the Lutron Caseta Lamp Dimmer?
- Lamp switch turned off
- Non-dimmable bulb in the lamp
- Not paired to the Smart Bridge
Problem Description
You are setting up the Lutron Caseta lamp dimmer module for controlling a table or floor lamp. The module plugs into a wall outlet, and the lamp plugs into the module. It provides wireless dimming control through the Lutron app, Pico remote, or voice assistants. This guide covers plugging in, pairing with the Smart Bridge, and setting up controls.
Why This Happens in Real Homes
The Caseta plug-in lamp dimmer (PD-3PCL) turns any table or floor lamp into a dimmable, app-controlled one — plug it into a standard outlet, plug the lamp into it, and pair it to the Smart Bridge. The lamp's own switch has to be left on, and the bulb has to be dimmable.
Start by using a dimmable bulb (on Lutron's list) with the lamp switched on, plugging the module into an always-on outlet (not a wall-switched one), and pairing it in the Lutron app. Flicker at low levels is the usual bulb issue, fixed with a compatible bulb and the low-end trim.
Symptoms
- Lamp dimmer will not work
- Lamp will not dim
- Will not pair
- Plug-in setup questions
- Dims but flickers
- Wrong outlet behavior
- Will not turn on the lamp
- Bulb compatibility
Recognize these? Here's what usually causes it.
Common Causes
- Lamp switch turned off
- Non-dimmable bulb in the lamp
- Not paired to the Smart Bridge
- Plugged into a switched outlet
- Bulb not on the compatibility list
- Overloaded (too much wattage)
- Low-end trim not set
- Out of RF range
Most fixes happen in the first 3 steps.
Do not attempt to open or modify the light hardware. Smart lights contain electronic components that can be damaged by moisture or physical tampering. Always power off at the wall switch before removing or repositioning a smart light.
Step-by-Step Solution
Plug in the lamp dimmer module
The Caseta plug-in lamp dimmer (PD-3PCL) plugs into any standard wall outlet. Then plug your table lamp or floor lamp into the dimmer module. The module sits between the outlet and the lamp, intercepting the power to provide dimming. It has a small button on top for manual on/off and dimming if you do not have the remote handy.
Pair with the Caseta Smart Bridge
The lamp dimmer communicates with the Smart Bridge over Clear Connect RF. Open the Lutron app, tap Add Device, and select Plug-In Lamp Dimmer. Press the button on top of the dimmer module to put it into pairing mode. The app discovers it within seconds. Assign it to the room where the lamp is located. The dimmer must be within 30 feet of the Smart Bridge or another Caseta device acting as a range extender.
Pair the included Pico remote
The starter kit includes a Pico remote for convenient control. In the Lutron app, tap Add Device and select Pico Remote. Press and hold the top and bottom buttons on the Pico simultaneously until the LED blinks. The app pairs it and lets you assign it to control the lamp dimmer. Mount the Pico on the wall using the included bracket or use the tabletop pedestal.
Check bulb wattage limits
The plug-in lamp dimmer supports up to 100W of dimmable LED or CFL bulbs, or up to 300W of incandescent or halogen. If you plug in a 150W LED lamp, the dimmer may overheat or shut off as a safety measure. Check the wattage of your bulbs. Also confirm the bulbs are labeled as dimmable — non-dimmable LEDs will flicker or refuse to dim properly.
Use it as a range extender
The first Caseta plug-in device you add to your system automatically becomes a range extender for the Clear Connect RF network. This extends the Smart Bridge signal by an additional 30 feet. If you have Caseta dimmers in distant rooms that struggle to connect, placing a plug-in lamp dimmer between them and the bridge improves reliability across the whole system.
Quick Solutions
Still having issues? This is usually the deeper cause below.
If flickering only happens on dimming, the issue is almost always the dimmer's minimum-load setting, not the bulb — it's drawing less current than the dimmer expects.
Group your smart lights by room in the app and assign clear names like Kitchen Ceiling and Bedroom Lamp. This makes voice commands more reliable and lets you create scenes that control multiple lights at once with a single command. **Product Intelligence:** - Requires Caseta Smart Bridge - Clear Connect RF (not WiFi) - HomeKit/Alexa/Google compatible
This issue almost always looks more complex than it is — the majority of cases trace back to a single setting, a stale credential, or a default that shipped wrong.
- Lamp switch turned off
- Non-dimmable bulb in the lamp
- Not paired to the Smart Bridge
- Plugged into a switched outlet
- Bulb not on the compatibility list
Before you go — try one of these (they fix most cases).
Most popular upgrades chosen by Lutron Lamp Dimmer owners.
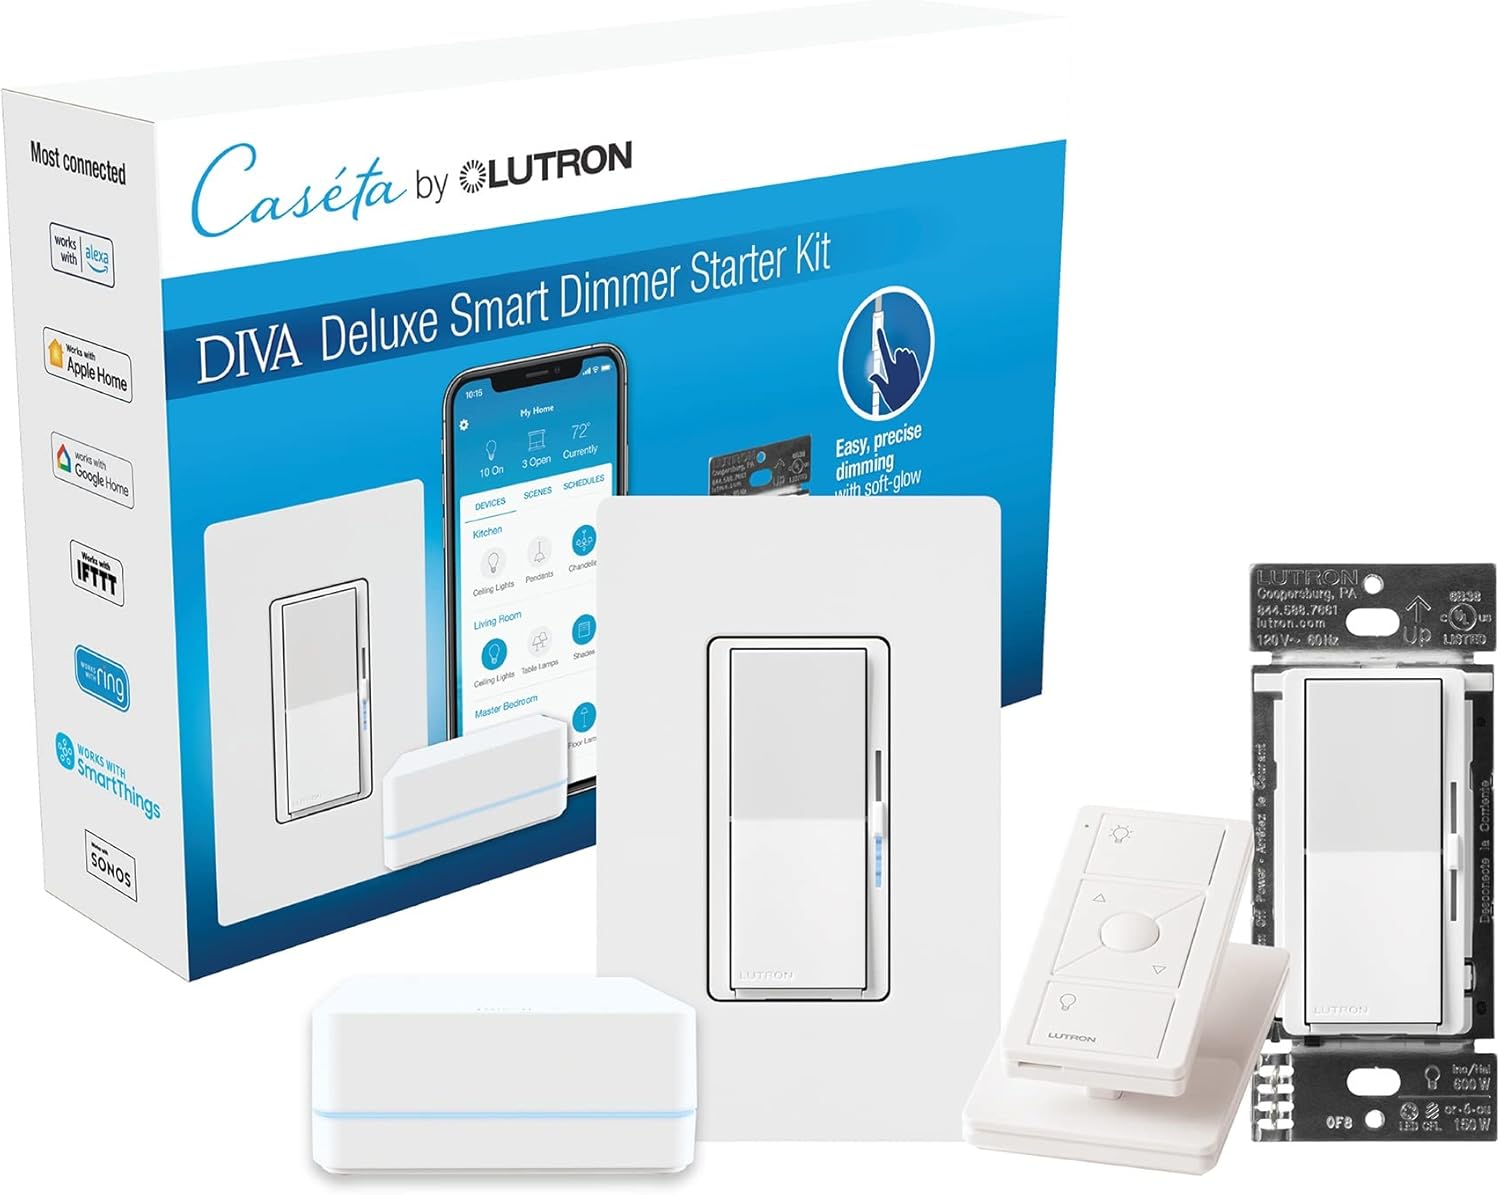
Lutron Deluxe Diva Smart Dimmer Kit for Caseta Lighting w...
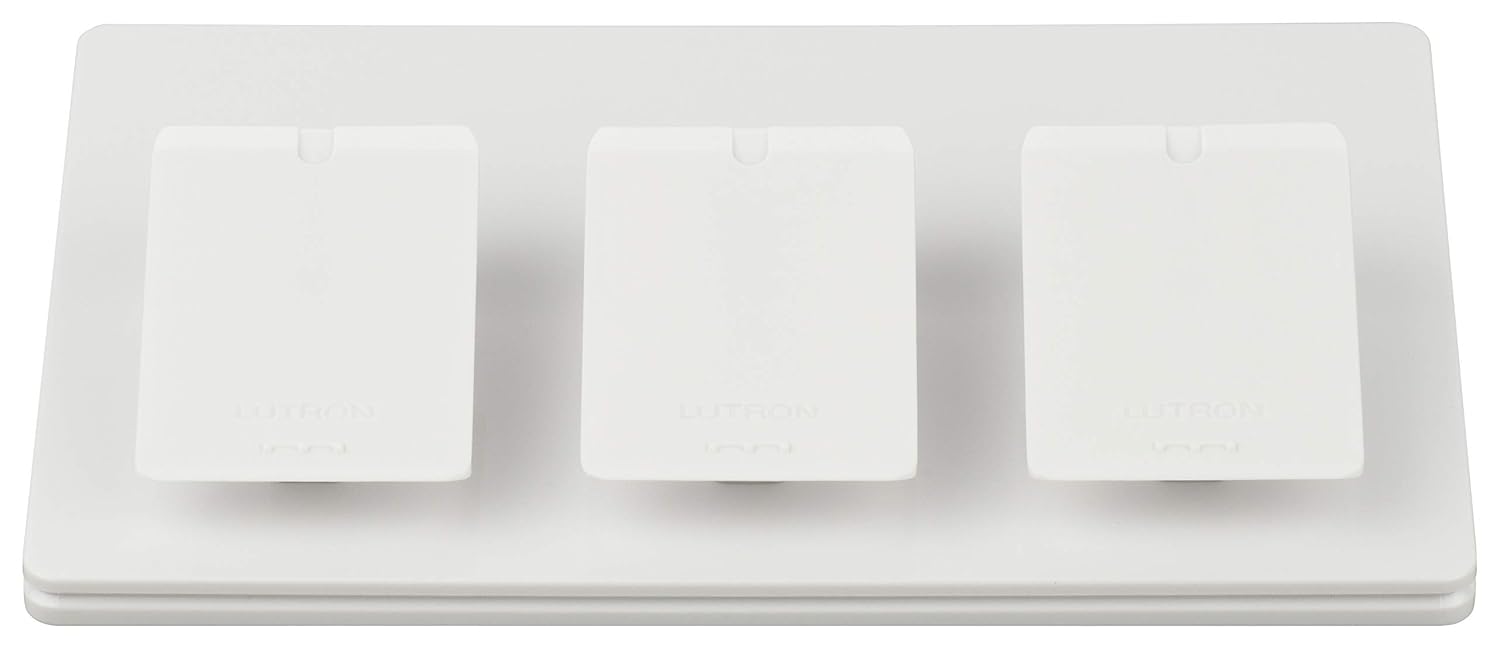
Lutron Caseta Smart Lighting Triple Pedestal for Pico Rem...

Lutron Caseta Smart Lighting Pedestal for Pico Remote, L-...
As an Amazon Associate we earn from qualifying purchases.
Official Manufacturer Manual
Lutron provides official product documentation through their online manual rather than downloadable PDF. Access setup guides, troubleshooting steps, and product specifications for your Lutron Lamp Dimmer.
Source: support.lutron.com
Need More Help? Lutron Support
Note: The contact information below connects you directly to Lutron's official customer support team, not Trunetto. They can help with warranty claims, device replacements, and advanced technical issues.
Accessories owners commonly pair with Lutron Lamp Dimmer.

Lutron Caseta 3 Way Smart Dimmer Light Switch Kit, Includ...

Lutron Caseta Original Smart Light Switch Kit w/ Wall Pla...

Lutron Caseta Smart Light Switch 3-Way Kit, with Pico Rem...
As an Amazon Associate we earn from qualifying purchases.