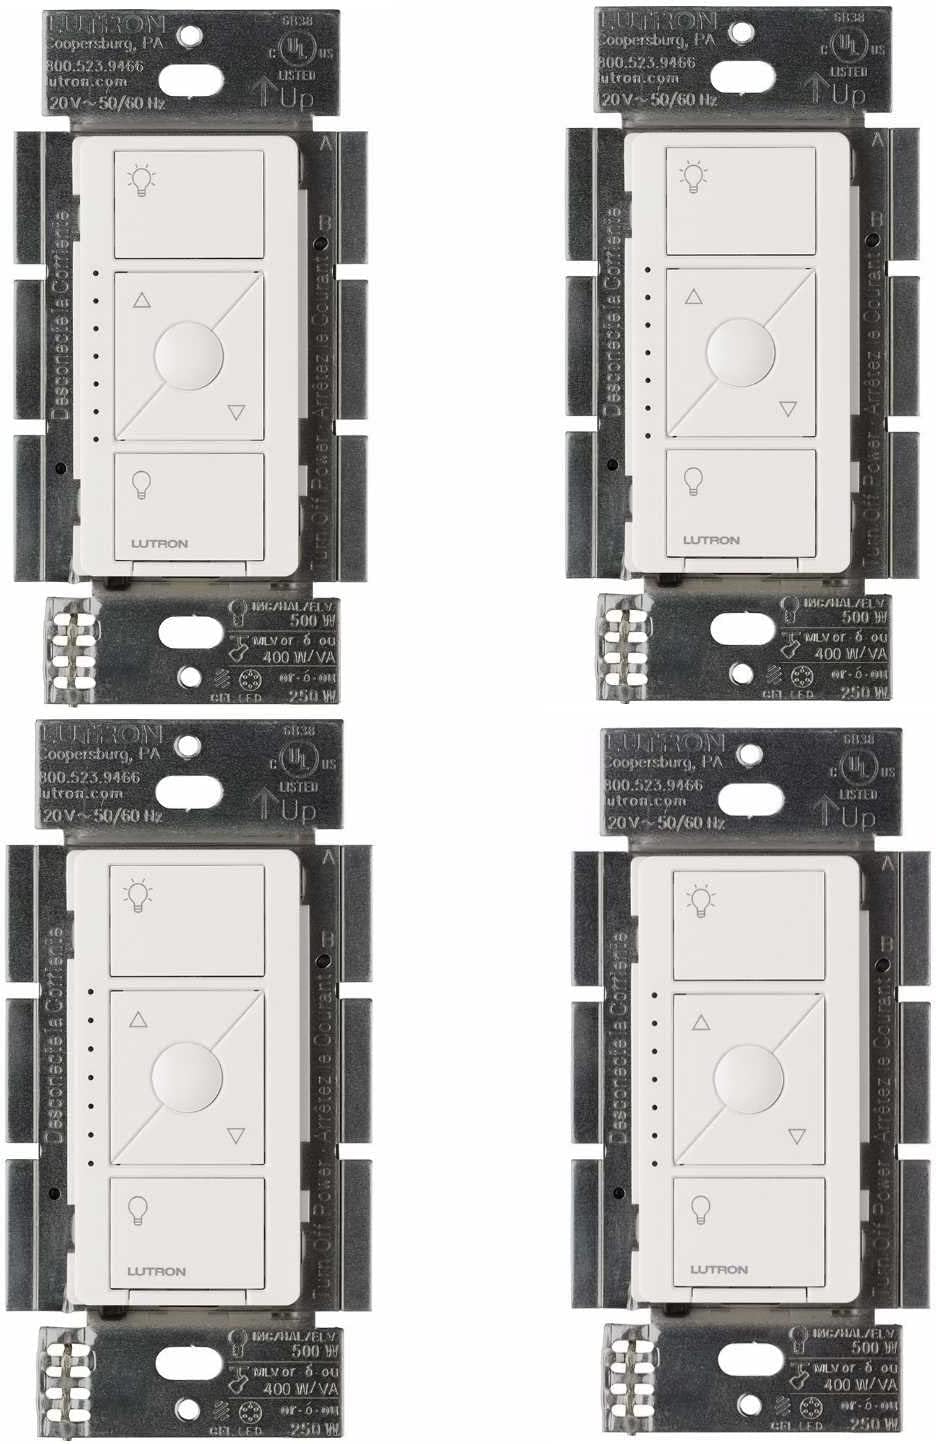
How Do I Mount the Lutron Caseta Pico Remote?
- Wrong mounting accessory for the spot
- Adhesive/screws not used
- Mounted out of comfortable reach
Problem Description
You want to mount the Lutron Caseta Pico remote on a wall. The Pico comes with a wall plate bracket and an optional pedestal stand. For wall mounting, attach the mounting plate to the wall with screws (into a standard single-gang box or directly to drywall), then snap the Pico into the plate. This guide covers the different mounting options.
Why This Happens in Real Homes
The Pico mounts three ways, and picking the right one is the whole job: a wall bracket (adhesive) for a flat wall, a wallplate adapter so it sits in a standard gang box like a switch (great for a 3-way companion), or a tabletop pedestal to use it as a handheld/desk remote.
Choose the accessory for the spot — a wallplate adapter to make it look like a permanent switch, the bracket for a quick wall mount, the pedestal for tabletop — and secure it with the included hardware. Since the Pico is wireless, you can mount it anywhere within RF range that's convenient.
Symptoms
- How to wall-mount the Pico
- Mounting options
- Pico falls off
- Wallplate vs bracket
- Tabletop pedestal question
- Mount location
- Pico moves around
- Multi-gang mounting
Recognize these? Here's what usually causes it.
Common Causes
- Wrong mounting accessory for the spot
- Adhesive/screws not used
- Mounted out of comfortable reach
- Wallplate adapter not used for a gang box
- Pedestal for tabletop not used
- Surface not prepped
- Wrong wallplate kit
- Gang spacing
Most fixes happen in the first 3 steps.
Do not attempt to open or modify the light hardware. Smart lights contain electronic components that can be damaged by moisture or physical tampering. Always power off at the wall switch before removing or repositioning a smart light.
Tools & Requirements
These tools will help you complete this fix.

Pico wall plate
Lutron Pico Remote for Caseta Smart Fan Speed Contro...

Screwdriver
STREBITO 155 in 1 Electric Screwdriver Set, Small El...
As an Amazon Associate we earn from qualifying purchases.
Step-by-Step Solution
Choose your mounting method
Lutron offers three mounting options for the Pico remote: wall plate bracket (screws into a wall box or directly to drywall), adhesive mount (peel-and-stick for surfaces where drilling is not possible), and tabletop pedestal (freestanding for nightstands and desks). The wall plate bracket is the most popular because it makes the Pico look like a permanent wall switch.
Needed for this step
Lutron Pico Remote for Caseta Smart Fan Speed C...
This helps complete the fix you are currently reading.
$37.79Mount with the wall plate bracket
The PICO-WBX-ADAPT bracket fits a standard single-gang wall box. If you have an empty wall box (from a removed switch), screw the bracket into the box. If there is no wall box, you can screw the bracket directly into the drywall using drywall anchors. Slide the Pico into the bracket clips — it snaps in and sits flush. Add a Claro or Decora wall plate over it for a finished look.
Mount with adhesive
The Pico comes with an adhesive mounting plate. Peel the backing off, press the plate firmly against any smooth, clean surface (wall, cabinet, nightstand side), and hold for 30 seconds. Then clip the Pico into the plate. This method works on painted drywall, tile, glass, and wood. Avoid textured walls — the adhesive does not bond well to rough surfaces and the remote will fall off.
Use the tabletop pedestal
The optional Pico pedestal (sold separately) is a small weighted stand that holds the Pico upright on a flat surface. It is ideal for nightstands, coffee tables, or kitchen counters where you want the remote within reach but not mounted to a wall. The pedestal has a non-slip base to prevent sliding.
Position for 3-way switch replacement
The most common Pico mounting use case is replacing a 3-way switch. Instead of running new wires, install a Caseta dimmer at one switch location and mount a Pico at the other location using the wall plate bracket. Cap off the old wires in the second switch box, screw in the bracket, and snap in the Pico. Pair the Pico with the Caseta dimmer in the app. Now both locations control the same light.
Quick Solutions
Still having issues? This is usually the deeper cause below.
If this comes back after following these steps, check whether a recent app or firmware update reset a default setting — the fix works, but the setting gets reverted silently.
Group your smart lights by room in the app and assign clear names like Kitchen Ceiling and Bedroom Lamp. This makes voice commands more reliable and lets you create scenes that control multiple lights at once with a single command. **Product Intelligence:** - Requires Caseta Smart Bridge - Clear Connect RF (not WiFi) - HomeKit/Alexa/Google compatible
This issue almost always looks more complex than it is — the majority of cases trace back to a single setting, a stale credential, or a default that shipped wrong.
- Wrong mounting accessory for the spot
- Adhesive/screws not used
- Mounted out of comfortable reach
- Wallplate adapter not used for a gang box
- Pedestal for tabletop not used
Before you go — try one of these (they fix most cases).
Most popular upgrades chosen by Lutron Caseta owners.
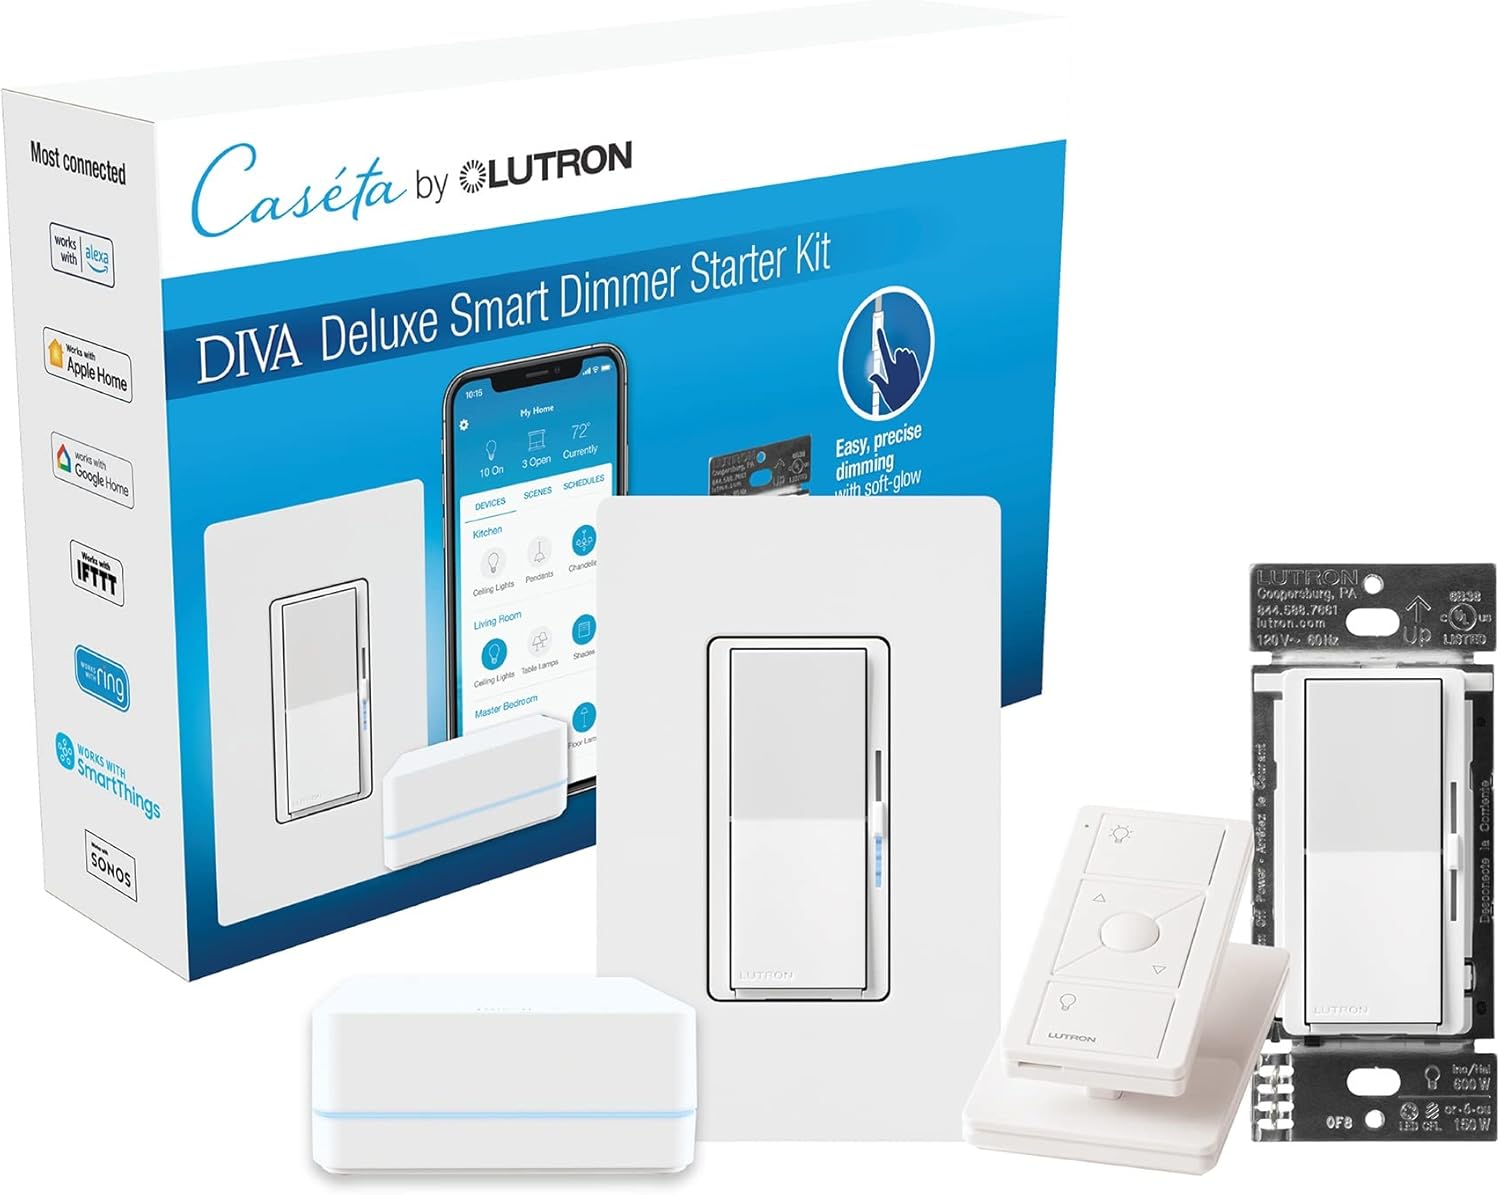
Lutron Deluxe Diva Smart Dimmer Kit for Caseta Lighting w...
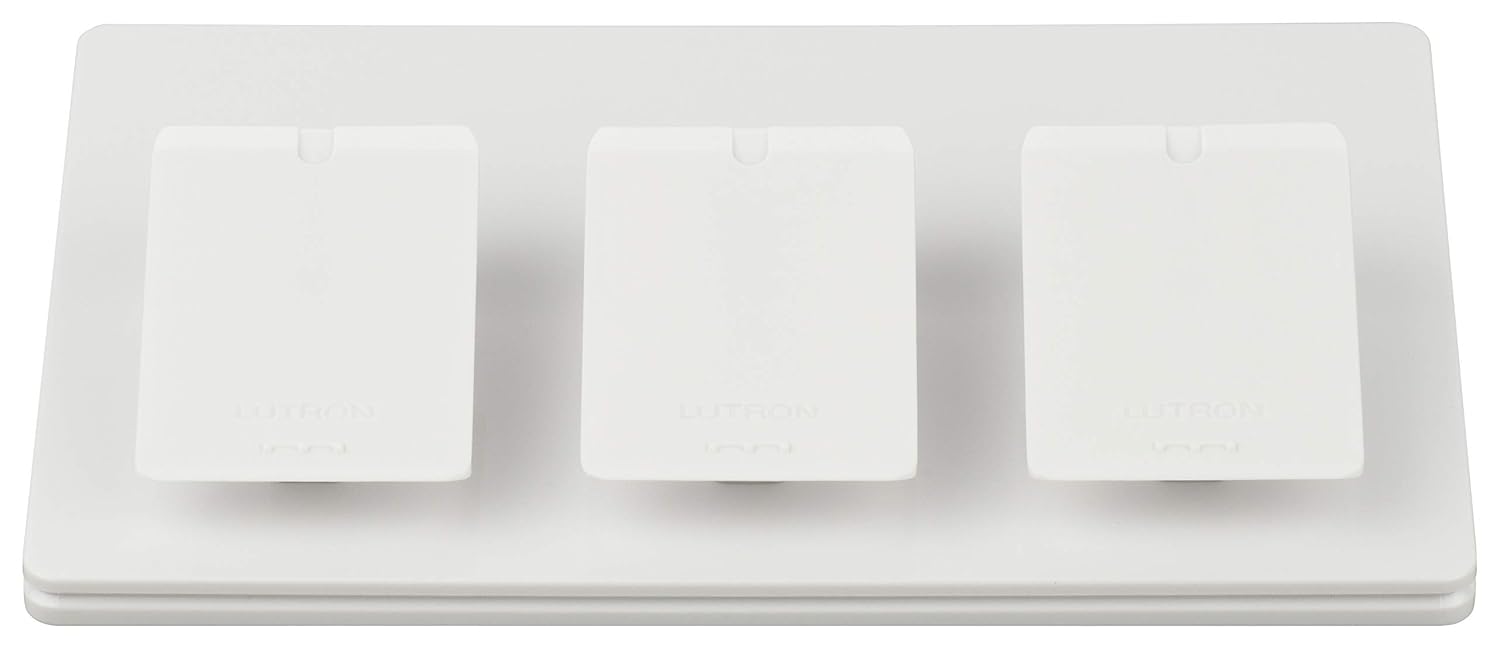
Lutron Caseta Smart Lighting Triple Pedestal for Pico Rem...

Lutron Caseta Smart Lighting Pedestal for Pico Remote, L-...
As an Amazon Associate we earn from qualifying purchases.
Official Manufacturer Manual
If you need the complete manufacturer documentation for advanced setup, wiring diagrams, or detailed specifications, you can download the official manual below. The manual includes full technical instructions directly from the manufacturer and may help if your issue requires deeper troubleshooting.
Download the Official Lutron Caseta ManualSource: lutron.com
Need More Help? Lutron Support
Note: The contact information below connects you directly to Lutron's official customer support team, not Trunetto. They can help with warranty claims, device replacements, and advanced technical issues.
Accessories owners commonly pair with Lutron Caseta.

Lutron Caseta Original Smart Dimmer Switch (Lutron Smart ...

Lutron Caseta Original Smart Dimmer Switch (Lutron Smart ...

Lutron Caseta Original Smart Dimmer Switch (Lutron Smart ...
As an Amazon Associate we earn from qualifying purchases.