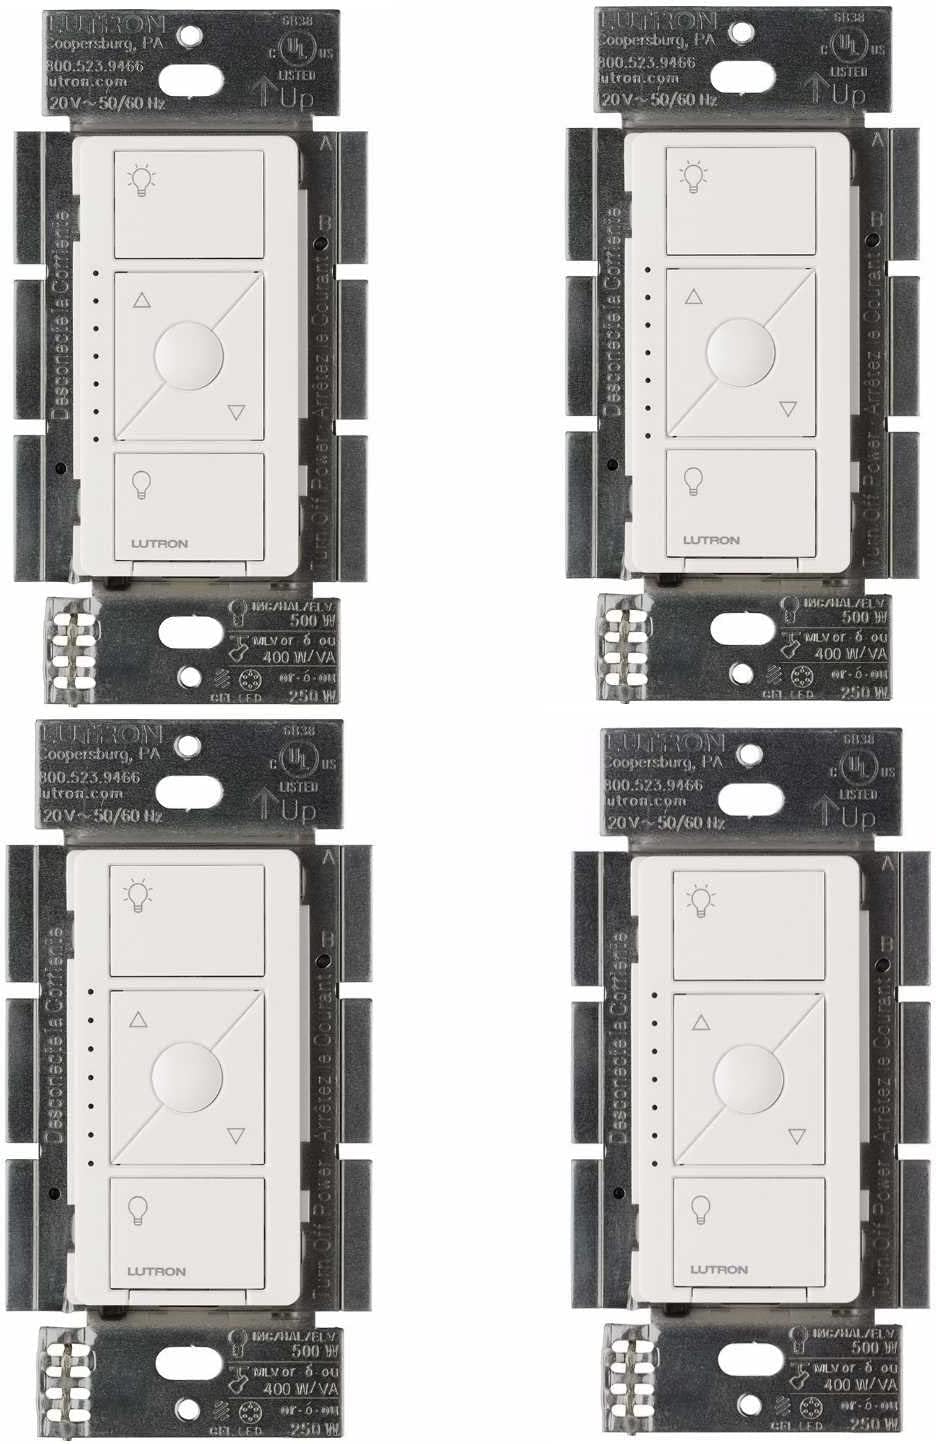
How Do I Pair the Lutron Caseta Pico Remote?
- Not added through the Lutron app
- Not assigned to a device/scene
- Assigned to the wrong load
Problem Description
You want to pair the Lutron Caseta Pico remote with your Smart Bridge and assign it to control specific lights or devices. Open the Lutron app and start the Add Device flow. The Pico connects to the Smart Bridge using Lutron's Clear Connect RF protocol. This guide covers app pairing steps and assigning the remote to lights, shades, or scenes.
Why This Happens in Real Homes
Pairing a Pico is entirely an in-app process: you add it in the Lutron app, then assign it to a specific device, several devices, or a scene — it's not paired at the switch. So the two-step nature (add, then assign) is where people get stuck.
Start by adding the Pico in the app with its battery active and within RF range, then assign it to the lights or scene you want. If it controls the wrong load, just reassign it; a Pico can drive multiple devices or trigger a scene, all configured in the app.
Symptoms
- How to pair and assign the Pico
- Will not control lights after pairing
- Assign to a device
- Assign to a scene
- Controls the wrong lights
- Pairing unclear
- Multiple loads on one Pico
- Reassigning
Recognize these? Here's what usually causes it.
Common Causes
- Not added through the Lutron app
- Not assigned to a device/scene
- Assigned to the wrong load
- Battery not activated
- Out of RF range
- Wanting scene vs device control
- Firmware issue
- Pairing vs assigning confusion
Most fixes happen in the first 3 steps.
Do not attempt to open or modify the light hardware. Smart lights contain electronic components that can be damaged by moisture or physical tampering. Always power off at the wall switch before removing or repositioning a smart light.
Tools & Requirements
These tools will help you complete this fix.
As an Amazon Associate we earn from qualifying purchases.
Step-by-Step Solution
Open the Lutron app and start Add Device
The Pico remote is paired through the Lutron app, not at the dimmer itself. Open the Lutron app, make sure your phone is connected to the same network as the Smart Bridge, and tap Add Device. Select Pico Remote. The app will guide you through the pairing sequence step by step.
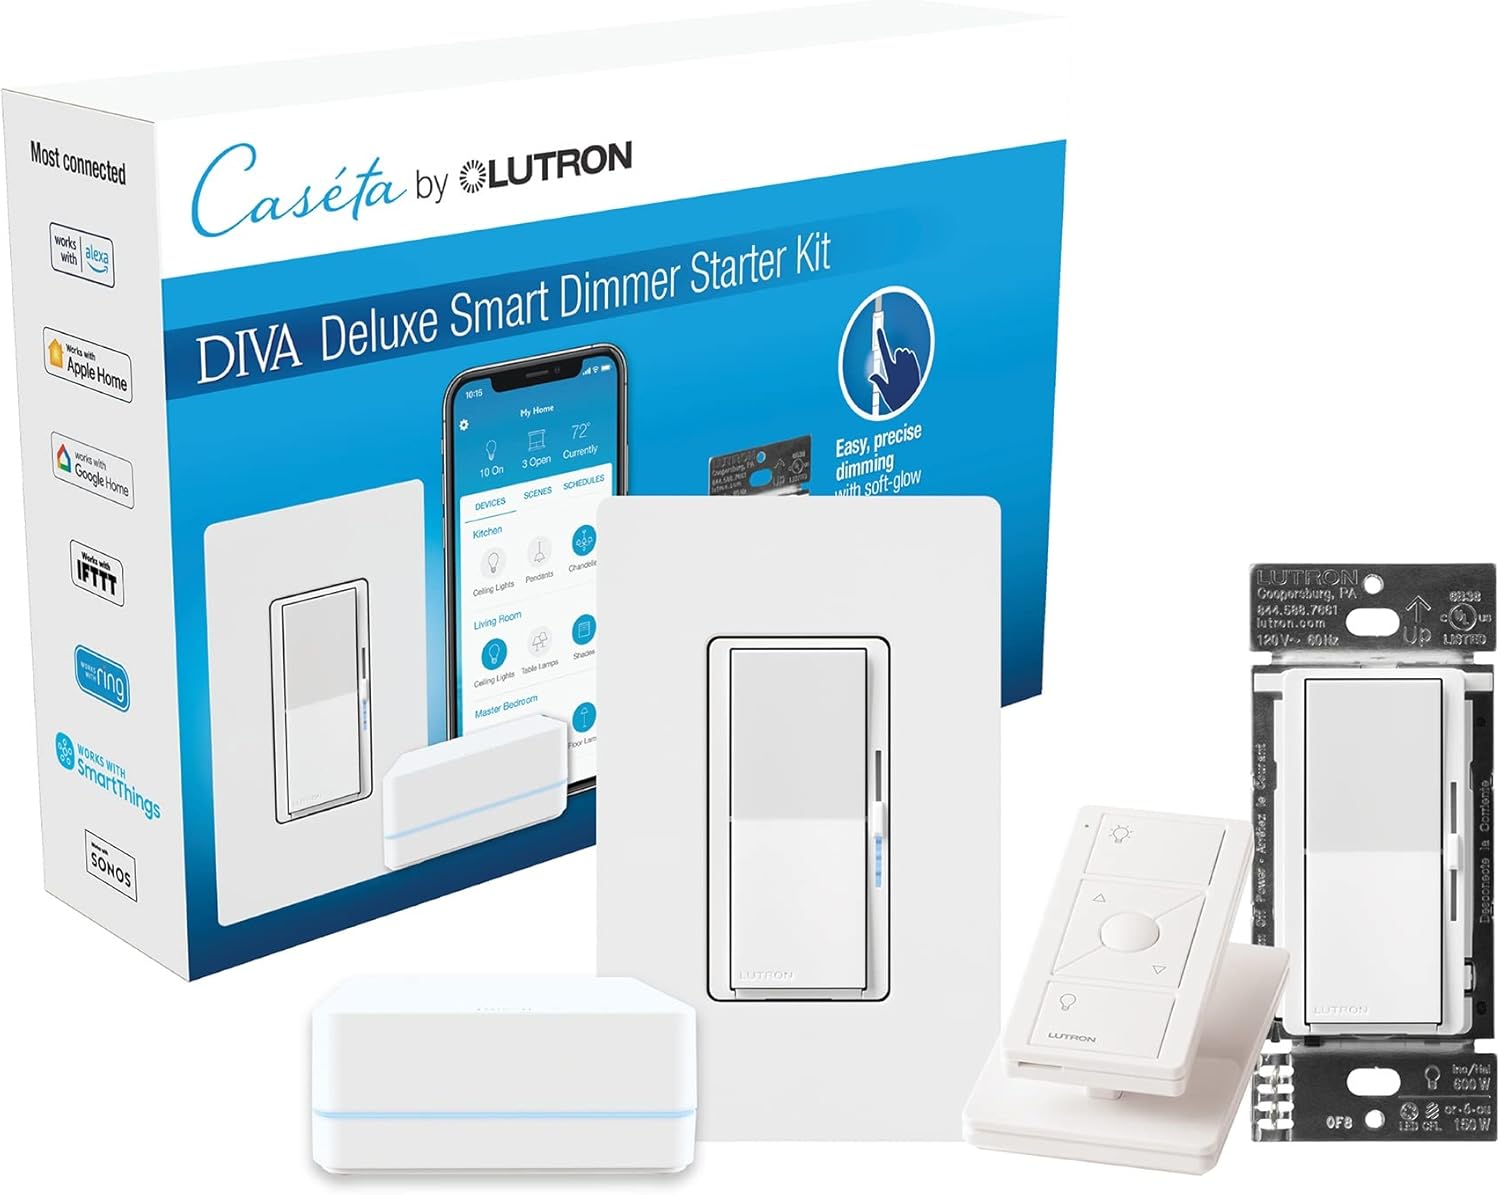
Needed for this step
Lutron Deluxe Diva Smart Dimmer Kit for Caseta ...
This helps complete the fix you are currently reading.
$199.15Put the Pico into pairing mode
When the app prompts you, press and hold the top and bottom buttons on the Pico simultaneously for about 3 seconds. The small LED on the Pico blinks to confirm it is in pairing mode. The app should discover the Pico within a few seconds. If the LED does not blink, try fresh-pressing both buttons — they need to be pressed at exactly the same time.
Assign the Pico to a device or room
After the app discovers the Pico, it asks you to assign it. You can assign the Pico to control a specific Caseta dimmer, switch, fan controller, or shade, or assign it to a room to control all devices in that room. One Pico can be paired with multiple Caseta devices for simultaneous control — for example, one button press dims every light in the living room.
Test the Pico immediately after pairing
Once paired, press the top button on the Pico. The assigned device should respond. Press the bottom button to turn it off. If there are dimming buttons (middle arrows), test those too. The response should be instant — Clear Connect RF communication between the Pico and the Caseta device is direct and does not go through the bridge for basic control. If there is a delay, the Pico may be too far from the device.
Pair additional Picos if needed
You can pair up to 10 Pico remotes to a single Caseta dimmer or switch. This is useful in large rooms or hallways with multiple entry points. Repeat the Add Device process for each additional Pico. Each Pico counts toward your Smart Bridge device limit (50 for standard, 75 for Pro), so plan accordingly if you have a large installation.
Quick Solutions
Still having issues? This is usually the deeper cause below.
If pairing fails after multiple attempts, the device may still be registered to a previous account — factory-reset it before trying to add it to a new one.
Group your smart lights by room in the app and assign clear names like Kitchen Ceiling and Bedroom Lamp. This makes voice commands more reliable and lets you create scenes that control multiple lights at once with a single command. **Product Intelligence:** - Requires Caseta Smart Bridge - Clear Connect RF (not WiFi) - HomeKit/Alexa/Google compatible
Pairing failures almost always come down to distance during the initial handshake — manufacturers seriously understate how close you actually need to be.
- Not added through the Lutron app
- Not assigned to a device/scene
- Assigned to the wrong load
- Battery not activated
- Out of RF range
Before you go — try one of these (they fix most cases).
Most popular upgrades chosen by Lutron Caseta owners.
Lutron Deluxe Diva Smart Dimmer Kit for Caseta Lighting w...
Lutron Caseta Smart Lighting Triple Pedestal for Pico Rem...

Lutron Caseta Smart Lighting Pedestal for Pico Remote, L-...
As an Amazon Associate we earn from qualifying purchases.
Official Manufacturer Manual
If you need the complete manufacturer documentation for advanced setup, wiring diagrams, or detailed specifications, you can download the official manual below. The manual includes full technical instructions directly from the manufacturer and may help if your issue requires deeper troubleshooting.
Download the Official Lutron Caseta ManualSource: lutron.com
Need More Help? Lutron Support
Note: The contact information below connects you directly to Lutron's official customer support team, not Trunetto. They can help with warranty claims, device replacements, and advanced technical issues.
Accessories owners commonly pair with Lutron Caseta.

Lutron Caseta Original Smart Dimmer Switch (Lutron Smart ...

Lutron Caseta Original Smart Dimmer Switch (Lutron Smart ...

Lutron Caseta Original Smart Dimmer Switch (Lutron Smart ...
As an Amazon Associate we earn from qualifying purchases.