

Why Won't My Lutron Pico Remote Control My Lights?
- CR2032 battery dead/low
- Out of RF range of the device/Bridge
- Lost its assignment/pairing
Problem Description
Your Lutron Pico remote is not controlling your lights when buttons are pressed. Check the Pico battery first — the Pico uses a CR2032 coin cell battery under the back cover. Battery life is typically 10 years, but if the remote was pre-owned or stored for years, the battery may be depleted. This guide covers battery replacement and re-pairing.
Why This Happens in Real Homes
A Pico that stops controlling lights almost always has a dead CR2032 coin cell — it's the number-one cause, since the remote is entirely battery-powered. After that, it's range or a lost assignment.
Start by replacing the CR2032, then test within good RF range of the device. If it still does nothing, re-add and re-assign it in the Lutron app (it may have lost its pairing), and confirm it's pointed at the right load. Scene buttons also need the Smart Bridge online, so check that if a scene button specifically fails.
Symptoms
- Pico buttons do nothing
- Lights don't respond
- Worked before, now dead
- Intermittent
- Only some buttons work
- Out of range
- Battery question
- Lost assignment
Recognize these? Here's what usually causes it.
Common Causes
- CR2032 battery dead/low
- Out of RF range of the device/Bridge
- Lost its assignment/pairing
- Assigned to the wrong load
- Interference
- Bridge offline (for scenes)
- Firmware issue
- Button stuck
Most fixes happen in the first 3 steps.
Mount Pico anywhere with included wall plate - no wiring needed.
Step-by-Step Solution
Check the Pico battery
The Pico remote runs on a CR2032 coin cell battery. When the battery is low, the remote becomes intermittent — sometimes it works, sometimes it does not. Press any button and watch for the small LED on the front. If the LED does not light up at all, the battery is dead. Pop off the back cover, swap in a new CR2032, and test again. Batteries typically last about 10 years, but defective ones fail much sooner.
Verify the Pico is paired to the correct device
Open the Lutron app and check which device the Pico is assigned to. If the Pico was assigned to a different dimmer or room than you expect, it is controlling the wrong light. Reassign it in the app under the Pico device settings. This is a known problem after system changes or room reorganization.
Check the distance and obstructions
The Pico communicates directly with Caseta devices over Clear Connect RF with a range of about 30 feet. Thick walls, metal studs, large appliances, and HVAC ductwork between the Pico and the device reduce range. Move the Pico closer and test. If it works at close range but not from across the room, you have a range issue — add a Caseta plug-in device between them as a range extender.
Re-pair the Pico
If the Pico has power and is in range but still does not control the light, remove it from the Lutron app and re-pair it. Delete the Pico in the app, then factory reset the Pico by holding the top and bottom buttons for 10 seconds. Add it as a new device and assign it to the correct dimmer or room. This clears any corrupted pairing data.
Check if the Caseta device itself is working
The issue may not be the Pico at all. Go to the Caseta dimmer or switch and press its physical buttons. If the device does not respond to its own buttons either, the problem is the device, not the remote. Check the breaker, the wiring, and try restarting the Smart Bridge. If the device works at the wall but not from the Pico, focus troubleshooting on the Pico pairing and range.
Quick Solutions
Still having issues? This is usually the deeper cause below.
If flickering only happens on dimming, the issue is almost always the dimmer's minimum-load setting, not the bulb — it's drawing less current than the dimmer expects.
Group your smart lights by room in the app and assign clear names like Kitchen Ceiling and Bedroom Lamp. This makes voice commands more reliable and lets you create scenes that control multiple lights at once with a single command.
Battery-related failures are almost always flagged too late — the device degrades silently for days before the app catches up to what's actually happening.
- CR2032 battery dead/low
- Out of RF range of the device/Bridge
- Lost its assignment/pairing
- Assigned to the wrong load
- Interference
Before you go — try one of these (they fix most cases).
Most popular upgrades chosen by Lutron Pico Remote owners.
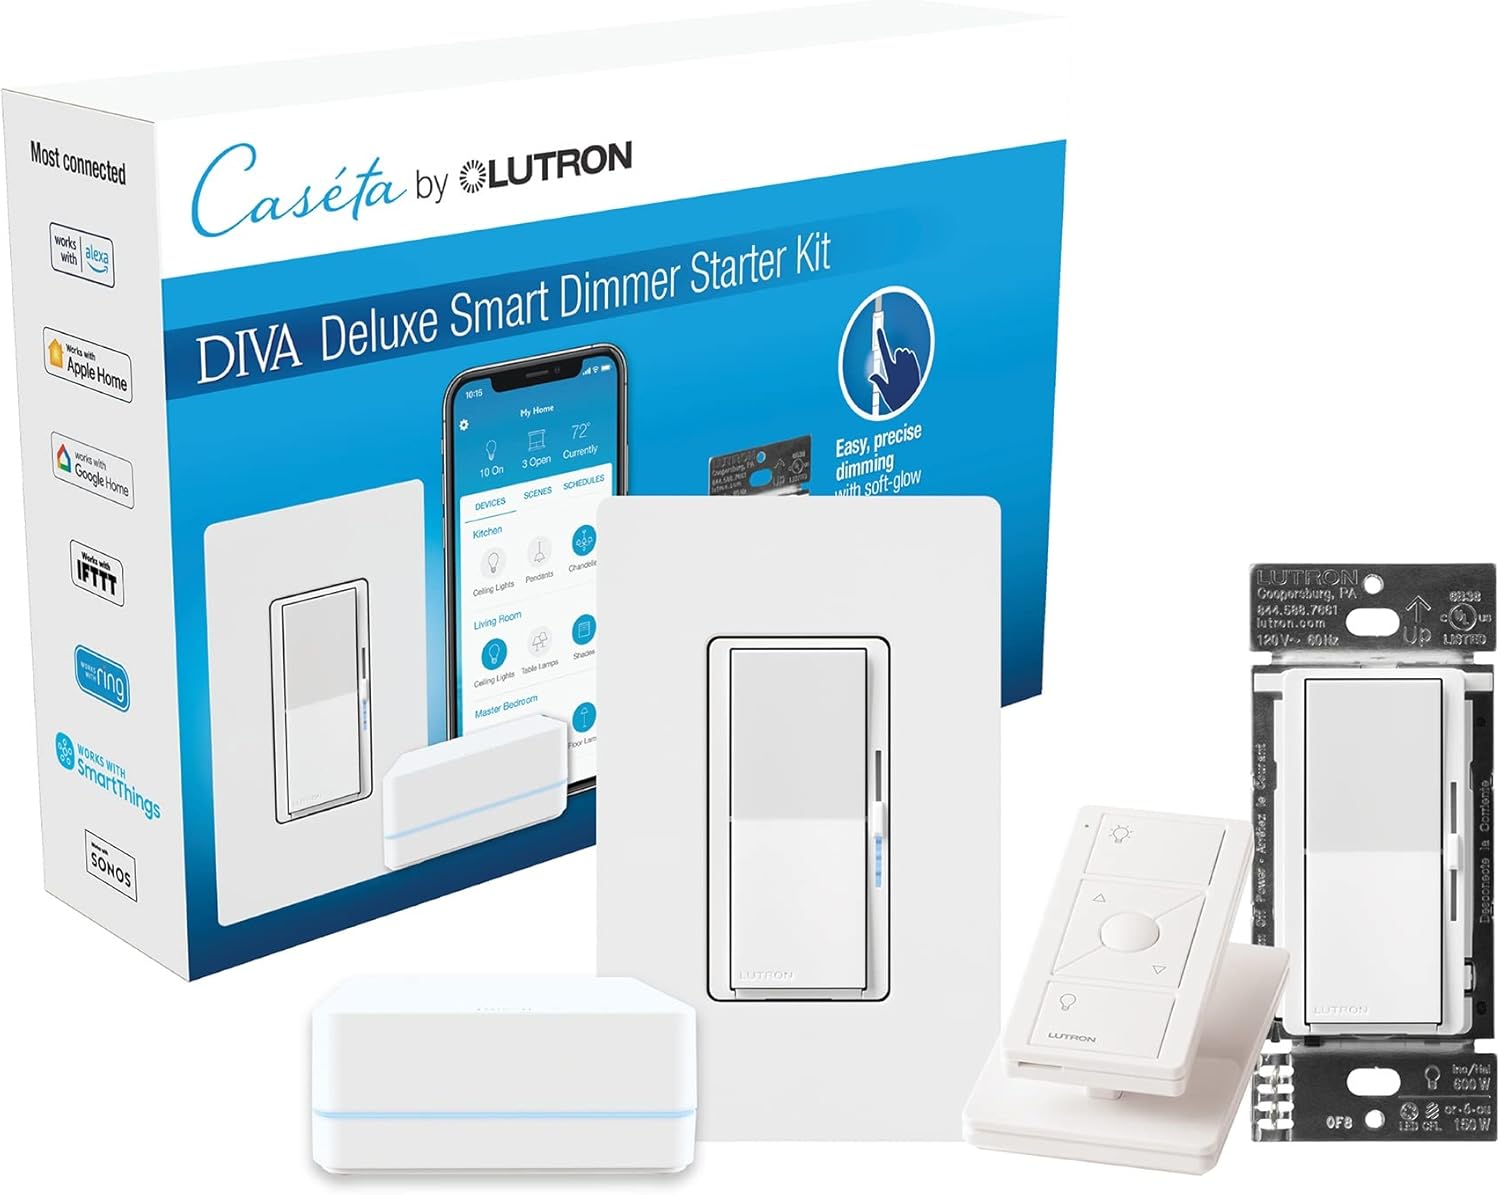
Lutron Deluxe Diva Smart Dimmer Kit for Caseta Lighting w...
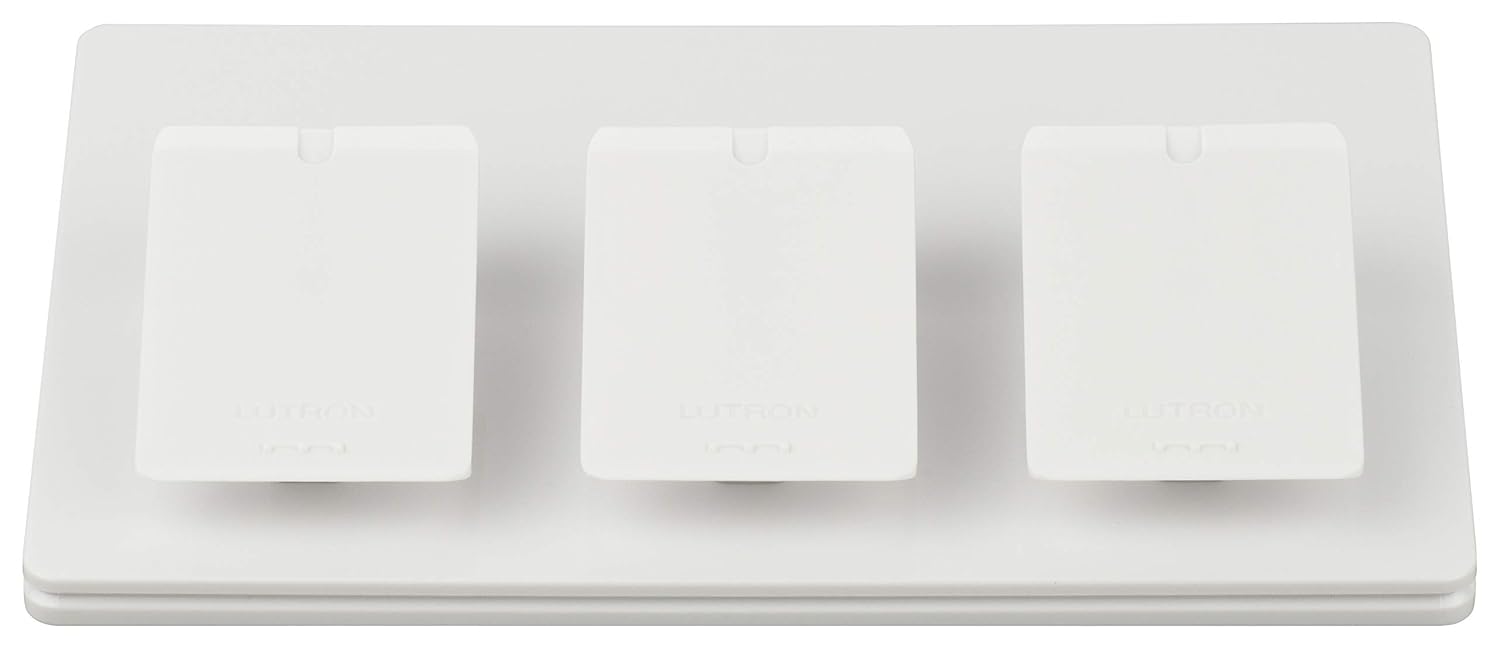
Lutron Caseta Smart Lighting Triple Pedestal for Pico Rem...

Lutron Caseta Smart Lighting Pedestal for Pico Remote, L-...
As an Amazon Associate we earn from qualifying purchases.
Official Manufacturer Manual
If you need the complete manufacturer documentation for advanced setup, wiring diagrams, or detailed specifications, you can download the official manual below. The manual includes full technical instructions directly from the manufacturer and may help if your issue requires deeper troubleshooting.
Download the Official Lutron Pico Remote ManualSource: lutron.com
Need More Help? Lutron Support
Note: The contact information below connects you directly to Lutron's official customer support team, not Trunetto. They can help with warranty claims, device replacements, and advanced technical issues.
Accessories owners commonly pair with Lutron Pico Remote.

Lutron Caseta 3 Way Smart Dimmer Light Switch Kit, Includ...
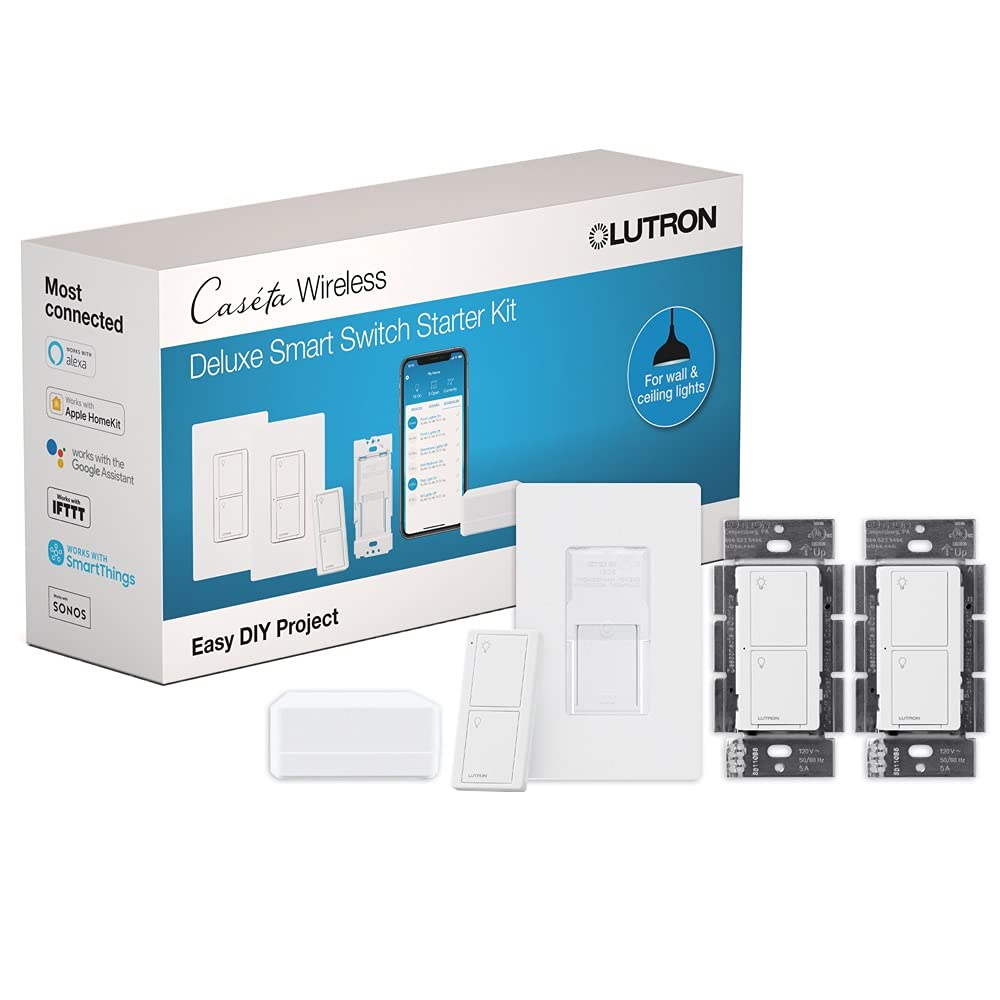
Lutron Caseta Deluxe Smart Light Switch Kit w/ Wall Plate...

Lutron Caseta Original Smart Light Switch Kit w/ Wall Pla...
As an Amazon Associate we earn from qualifying purchases.


