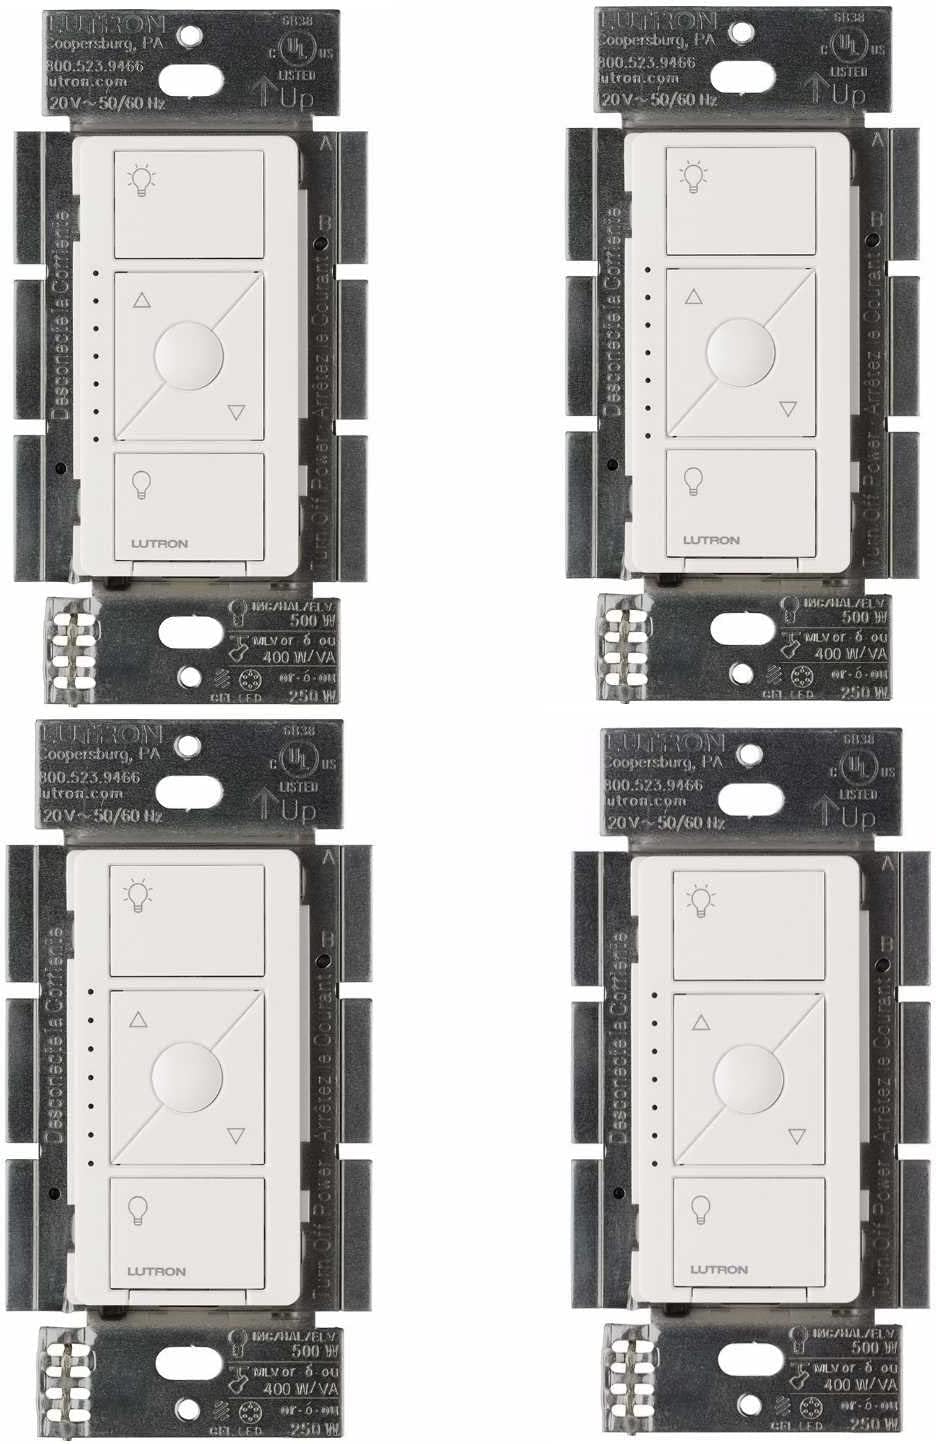
How to Add a Pico Remote as a 3-Way for Lutron Caseta Diva Dimmer
- Pico not paired to dimmer
- Pico mounted too far from dimmer
- Wrong wall plate adapter
Problem Description
Caseta Diva dimmers use a Pico remote to create a 3-way without rewiring. This guide pairs the Pico, mounts it in a wall plate, and verifies multi-location control.
Why This Happens in Real Homes
Caseta Diva dimmers use a Pico remote to create a 3-way without rewiring. This guide pairs the Pico, mounts it in a wall plate, and verifies multi-location control. In day-to-day use, this usually looks like Need 3-way control without new wiring; Caseta Diva dimmer already installed; Pico remote available.
Most cases trace back to Pico not paired to dimmer; Pico mounted too far from dimmer; Wrong wall plate adapter. The fix works best when you go step by step instead of changing multiple settings at once.
A practical order for this issue is: Confirm Dimmer Works -> Put Dimmer in Pairing Mode -> Pair the Pico -> Mount the Pico. After each step, test the exact behavior that was failing so you can confirm what actually solved it.
Symptoms
- Need 3-way control without new wiring
- Caseta Diva dimmer already installed
- Pico remote available
- No neutral in second box
- Smart Bridge connected
- Wall plate ready
Recognize these? Here's what usually causes it.
Common Causes
- Pico not paired to dimmer
- Pico mounted too far from dimmer
- Wrong wall plate adapter
- Dimmer not in pairing mode
- Smart Bridge offline
- Battery tab still in Pico
Most fixes happen in the first 3 steps.
Do not wire the Pico into line voltage. It is battery powered only and should not be wired.
Tools & Requirements
These tools will help you complete this fix.

As an Amazon Associate we earn from qualifying purchases.
Step-by-Step Solution
Confirm Dimmer Works
Turn the Caseta Diva dimmer on and off at the main location. Make sure it responds before pairing the Pico.
Put Dimmer in Pairing Mode
Press and hold the dimmer control button until the LED indicator flashes. This opens pairing mode for a Pico remote.
Pair the Pico
Hold the Pico off button for 10 seconds until the dimmer flashes. The dimmer will respond to confirm pairing.
Mount the Pico
Install the Pico in a wall plate using the Lutron adapter or in a surface mount kit. Align it to match existing switches.
Test Both Locations
Toggle and dim from both the dimmer and the Pico to confirm two-location control.
Quick Solutions
Still having issues? This is usually the deeper cause below.
If flickering only happens on dimming, the issue is almost always the dimmer's minimum-load setting, not the bulb — it's drawing less current than the dimmer expects.
Label the Pico with the room name before mounting. It helps future troubleshooting and room changes.
This issue almost always looks more complex than it is — the majority of cases trace back to a single setting, a stale credential, or a default that shipped wrong.
- Pico not paired to dimmer
- Pico mounted too far from dimmer
- Wrong wall plate adapter
- Dimmer not in pairing mode
- Smart Bridge offline
Before you go — try one of these (they fix most cases).
Most popular upgrades chosen by Lutron Caseta Diva Dimmer owners.

Lutron Diva Smart Dimmer Switch with Wallplate and Pico S...

Lutron Caseta Deluxe Smart Dimmer Switch Kit, Compatible ...

Lutron Caséta Motion Sensor, Occupancy/Multi-Location, wi...
As an Amazon Associate we earn from qualifying purchases.
Official Manufacturer Manual
Lutron provides official product documentation through their online manual rather than downloadable PDF. Access setup guides, troubleshooting steps, and product specifications for your Lutron Caseta Diva Dimmer.
Source: support.lutron.com
Need More Help? Lutron Support
Note: The contact information below connects you directly to Lutron's official customer support team, not Trunetto. They can help with warranty claims, device replacements, and advanced technical issues.
Accessories owners commonly pair with Lutron Caseta Diva Dimmer.

Lutron Caseta Smart Lighting Smart Hub Repeater, Expands ...

Lutron Pico Remote for Audio, Works with Sonos (Caseta Sm...

LXLO Remote Wallplate Bracket, Perfectly Compatible with ...
As an Amazon Associate we earn from qualifying purchases.