How to Install Lutron Caseta Smart Dimmer
- Electrical Safety Preparation
- Caseta Dimmer Wiring
- Physical Installation
- Smart Bridge Setup
- Lutron App Configuration
- LED Compatibility Testing
Most users complete this in under 60 minutes
Overview
Lutron Lutron Caseta Smart Dimmer setup takes under 15 minutes for most users — if you're stuck, the steps below target the specific points where installs stall.
This guide covers the in-wall installation of the Lutron Caseta Smart Dimmer, including wiring to your existing light circuit with or without a neutral wire, Smart Bridge pairing, and Lutron app setup for scheduling, geofencing, and Alexa or Google Home integration. Caseta dimmers work with most dimmable LED and CFL bulbs and do not require smart bulbs.
Why This Happens in Real Homes
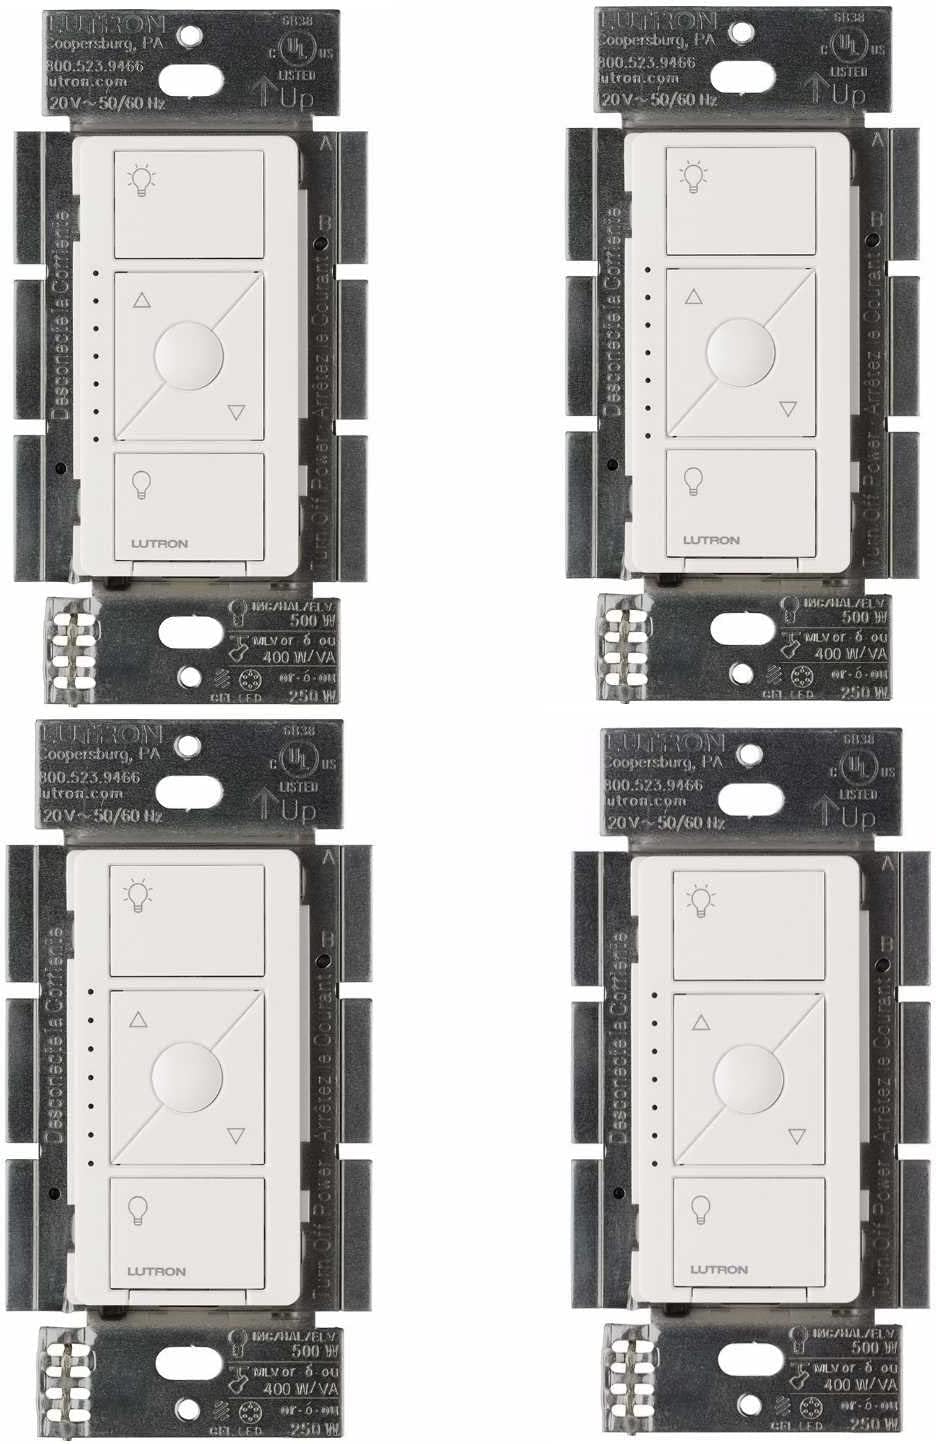
The standard Caseta Smart Dimmer's big install advantage is that it doesn't need a neutral wire — it connects to line, load, and ground, dropping into older boxes that only have those. Cut power at the breaker and confirm before wiring.
Match line and load per the diagram, cap off any 3-way companion (use a Pico as the wireless companion instead), and pair the dimmer to the Smart Bridge in the app. Use dimmable LEDs on Lutron's compatibility list; post-install flicker is almost always the bulbs, not the wiring.
What's Included
- Which wires connect where
- No neutral question
- Will not power on
- Single-pole vs 3-way
- Bulbs flicker after install
- Will not pair to the Bridge
- Wallbox too crowded
- Power still on
Got your materials ready? Here's what to check first.
Before You Start
- Power not off at the breaker
- Line/load not identified correctly
- Assuming a neutral is required (it isn't)
- 3-way companion left wired
- Non-compatible LED bulbs
- Not paired to the Smart Bridge
- Ground not connected
- Wallbox depth/space
Don't skip this step — it breaks everything if you do
Neutral wire required for installation. Professional electrician recommended if neutral not present. Excellent LED compatibility.
Tools & Requirements
These tools will help you complete this fix.

Drill optional
DEWALT 20V MAX Cordless Drill and Impact Driver, Pow...

Level
9 Inch Torpedo Level Magnetic, Shock-Proof Small Lev...

Screwdriver
STREBITO 155 in 1 Electric Screwdriver Set, Small El...
As an Amazon Associate we earn from qualifying purchases.
Installation Steps
Electrical Safety Preparation
Turn off power at circuit breaker and verify with voltage tester. Remove existing dimmer/switch and identify line (hot), load, neutral, and ground wires.
Caseta Dimmer Wiring
Connect Caseta dimmer wires to house wiring: black to line (hot), red to load, white to neutral, green to ground. Neutral wire required for proper operation.
Physical Installation
Secure Caseta dimmer in wall box and attach included wallplate. Make sure proper fit as Caseta dimmers are slightly deeper than standard switches.
Smart Bridge Setup
Install Lutron Smart Bridge connected to router for wireless control and remote access. Bridge required for app control and smart home integration.
Lutron App Configuration
Add Caseta dimmer to Lutron app through Smart Bridge pairing. Configure lighting scenes, schedules, and integration preferences.
LED Compatibility Testing
Test dimmer with LED bulbs for smooth operation without flicker or buzzing. Caseta dimmers specifically designed for excellent LED compatibility.
Installation Tips
Still stuck? This is usually the deeper cause below.
Caseta dimmers provide professional-grade LED dimming with wireless control. Smart Bridge required for app control and automation features.
Before you go — these Lutron guides fix most remaining issues.
Most popular upgrades chosen by Lutron Caseta Smart Dimmer owners.

Lutron Pico Remote Wall-Mounting Kit, for Wireless 3-Way ...

Lutron Paddle Pico Remote for Caseta Smart Dimmers/Switch...

Lutron Pico Remote for Caseta Smart Dimmer Switch, 3-Butt...
As an Amazon Associate we earn from qualifying purchases.
Official Manufacturer Manual
If you need the complete manufacturer documentation for advanced setup, wiring diagrams, or detailed specifications, you can download the official manual below. The manual includes full technical instructions directly from the manufacturer and may help if your issue requires deeper troubleshooting.
Download the Official Lutron Caseta Smart Dimmer ManualSource: lutron.com
Need More Help? Lutron Support
Note: The contact information below connects you directly to Lutron's official customer support team, not Trunetto. They can help with warranty claims, device replacements, and advanced technical issues.
Accessories owners commonly pair with Lutron Caseta Smart Dimmer.

Amazon Smart Plug, Works with Alexa, Simple Setup, Endles...

Sengled Smart Light Bulbs, Color Changing Alexa/Bluetooth...

Sengled Alexa Light Bulb, S1 Auto Pairing with Alexa Devi...
As an Amazon Associate we earn from qualifying purchases.