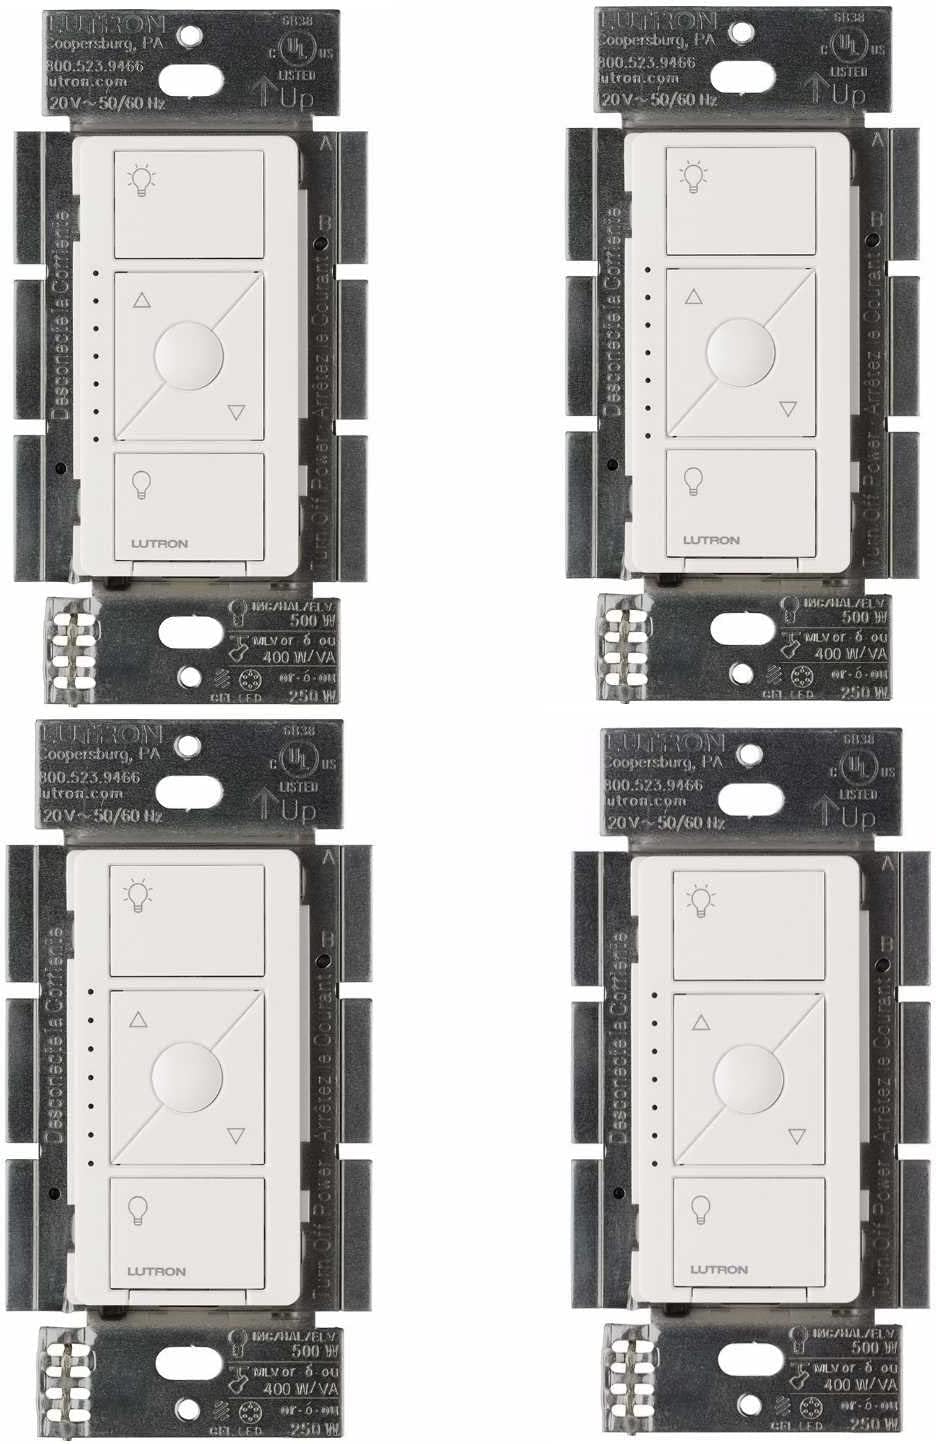
Why Won't My Lutron Caseta 3-Way Switch Work With My Existing Wiring?
- Existing 3-way companion switch still wired in circuit instead of removed
- Traveler wires not properly capped and isolated during Caseta installation
- Caseta dimmer wired to traveler wire instead of the hot line wire
Problem Description
Your Lutron Caseta smart dimmer does not work correctly in a 3-way switch configuration with your existing wiring. Lights may not turn off completely, may flicker, or the second switch location does not control the lights at all. Lutron Caseta uses a different 3-way approach than traditional switches. Instead of using the existing 3-way companion switch you must replace it with a Lutron Pico remote mounted in a wall plate, which communicates wirelessly with the Caseta dimmer.
Why This Happens in Real Homes
The classic Caseta 3-way mistake: leaving the old mechanical companion switch wired in the circuit. Caseta doesn't use a traditional 3-way companion — you install the Caseta dimmer at one location and use a Pico remote as the wireless companion, removing the old companion switch (capping its wires per Lutron's diagram).
Start by removing the existing 3-way companion and capping the traveler as Lutron's 3-way instructions show, then mount a Pico where that switch was (it's wireless, no wiring). Leaving the old companion in the circuit back-feeds the load and causes the erratic behavior; the Pico is the intended companion.
Symptoms
- Lights stay dimly on even when both switches are in the off position
- Second switch location does nothing after installing Caseta dimmer
- Lights flicker or buzz when controlled from either switch location
- Caseta dimmer works from its own buttons but not from the other switch
- Existing 3-way companion switch clicks but lights do not respond
- Circuit breaker trips when both switches are operated simultaneously
Recognize these? Here's what usually causes it.
Common Causes
- Existing 3-way companion switch still wired in circuit instead of removed
- Traveler wires not properly capped and isolated during Caseta installation
- Caseta dimmer wired to traveler wire instead of the hot line wire
- Pico remote not paired to Caseta dimmer for wireless 3-way control
- Neutral and ground wires confused during installation in older home
- Existing wiring uses a switch loop configuration incompatible with standard install
Most fixes happen in the first 3 steps.
Always turn off the circuit breaker before working on any switch wiring. Never rely on the switch being in the off position as protection. Use a non-contact voltage tester to confirm power is off before touching any wires.
Tools & Requirements
These tools will help you complete this fix.

Electrical tape
Scotch Vinyl 700 Electrical Tape, 5 Rolls, Black, 3/...

Flathead and Phillips screwdriver
Klein Tools 85076 Screwdriver Set, Made in USA, Slot...

Non-contact voltage tester
Neoteck Non-Contact AC Voltage Tester Pen, AC 12-100...
As an Amazon Associate we earn from qualifying purchases.
Step-by-Step Solution
Understand Caseta 3-Way Approach
Lutron Caseta does not use traditional 3-way wiring with traveler wires between two switches. Instead the Caseta dimmer replaces one switch and a Pico wireless remote replaces the other. The Pico communicates wirelessly with the Caseta dimmer through the Lutron Smart Bridge. This means you must disconnect and cap the traveler wires in both junction boxes. The Pico remote mounts in a standard wall plate bracket that looks identical to a regular switch to anyone walking by.
Identify Your Wires Correctly
Turn off the circuit breaker. Remove the existing switch at the location where you will install the Caseta dimmer. You will see either 3 or 4 wires. Use a non-contact voltage tester to identify the hot line wire by turning the breaker back on briefly. The hot wire has constant voltage regardless of the other switch position. The traveler wires only have voltage depending on the other switch position. Mark the hot wire with tape. Turn the breaker off again before proceeding.
Needed for this step
Scotch Vinyl 700 Electrical Tape, 5 Rolls, Blac...
This helps complete the fix you are currently reading.
$14.93Wire the Caseta Dimmer
Connect the Caseta dimmer black wire to the hot line wire you identified. Connect the Caseta blue wire to the load wire going to the light fixture. Cap the traveler wires individually with wire nuts and push them to the back of the junction box. The Caseta dimmer does not need a neutral wire. Connect the green ground wire to the ground wire in the box. Carefully fold the wires and push the dimmer into the box then secure with screws.
Replace Companion Switch With Pico Remote
At the second switch location turn off the breaker and remove the existing 3-way switch. Cap all wires individually with wire nuts. The wires at this location are no longer needed for switching since the Pico remote is wireless. Push the capped wires to the back of the box. Install the Lutron Pico wall plate adapter bracket into the electrical box using the existing screws. Snap the Pico remote into the bracket. It sits flush and looks like a standard paddle switch.
Pair Pico to Caseta Dimmer
Open the Lutron app and go to the room where your Caseta dimmer is configured. Tap Add and select Pico Remote. Follow the prompts to put the Pico into pairing mode by pressing the top and bottom buttons simultaneously for 3 seconds until the LED blinks. The app will detect the Pico and associate it with your Caseta dimmer. Test by pressing the top button on the Pico to turn lights on and the bottom to turn off. Both the dimmer and the Pico should now control the same lights together.
Quick Solutions
Still having issues? This is usually the deeper cause below.
If this comes back after following these steps, check whether a recent app or firmware update reset a default setting — the fix works, but the setting gets reverted silently.
Buy the Lutron Caseta 3-Way Kit which includes the dimmer, Pico remote, wall plate bracket, and Smart Bridge together. The kit costs less than buying components separately and ensures you have everything needed for a proper 3-way installation.
This issue almost always looks more complex than it is — the majority of cases trace back to a single setting, a stale credential, or a default that shipped wrong.
- Existing 3-way companion switch still wired in circuit instead
- Traveler wires not properly capped and isolated during Caseta
- Caseta dimmer wired to traveler wire instead of the
- Pico remote not paired to Caseta dimmer for wireless
- Neutral and ground wires confused during installation in older
Before you go — try one of these (they fix most cases).
Most popular upgrades chosen by Lutron Caseta Smart Dimmer owners.

Lutron Pico Remote Wall-Mounting Kit, for Wireless 3-Way ...

Lutron Paddle Pico Remote for Caseta Smart Dimmers/Switch...

Lutron Pico Remote for Caseta Smart Dimmer Switch, 3-Butt...
As an Amazon Associate we earn from qualifying purchases.
Official Manufacturer Manual
If you need the complete manufacturer documentation for advanced setup, wiring diagrams, or detailed specifications, you can download the official manual below. The manual includes full technical instructions directly from the manufacturer and may help if your issue requires deeper troubleshooting.
Download the Official Lutron Caseta Smart Dimmer ManualSource: lutron.com
Need More Help? Lutron Support
Note: The contact information below connects you directly to Lutron's official customer support team, not Trunetto. They can help with warranty claims, device replacements, and advanced technical issues.
Accessories owners commonly pair with Lutron Caseta Smart Dimmer.

Lutron Caseta Smart Lighting Smart Hub Repeater, Expands ...

Lutron Pico Remote for Audio, Works with Sonos (Caseta Sm...

LXLO Remote Wallplate Bracket, Perfectly Compatible with ...
As an Amazon Associate we earn from qualifying purchases.