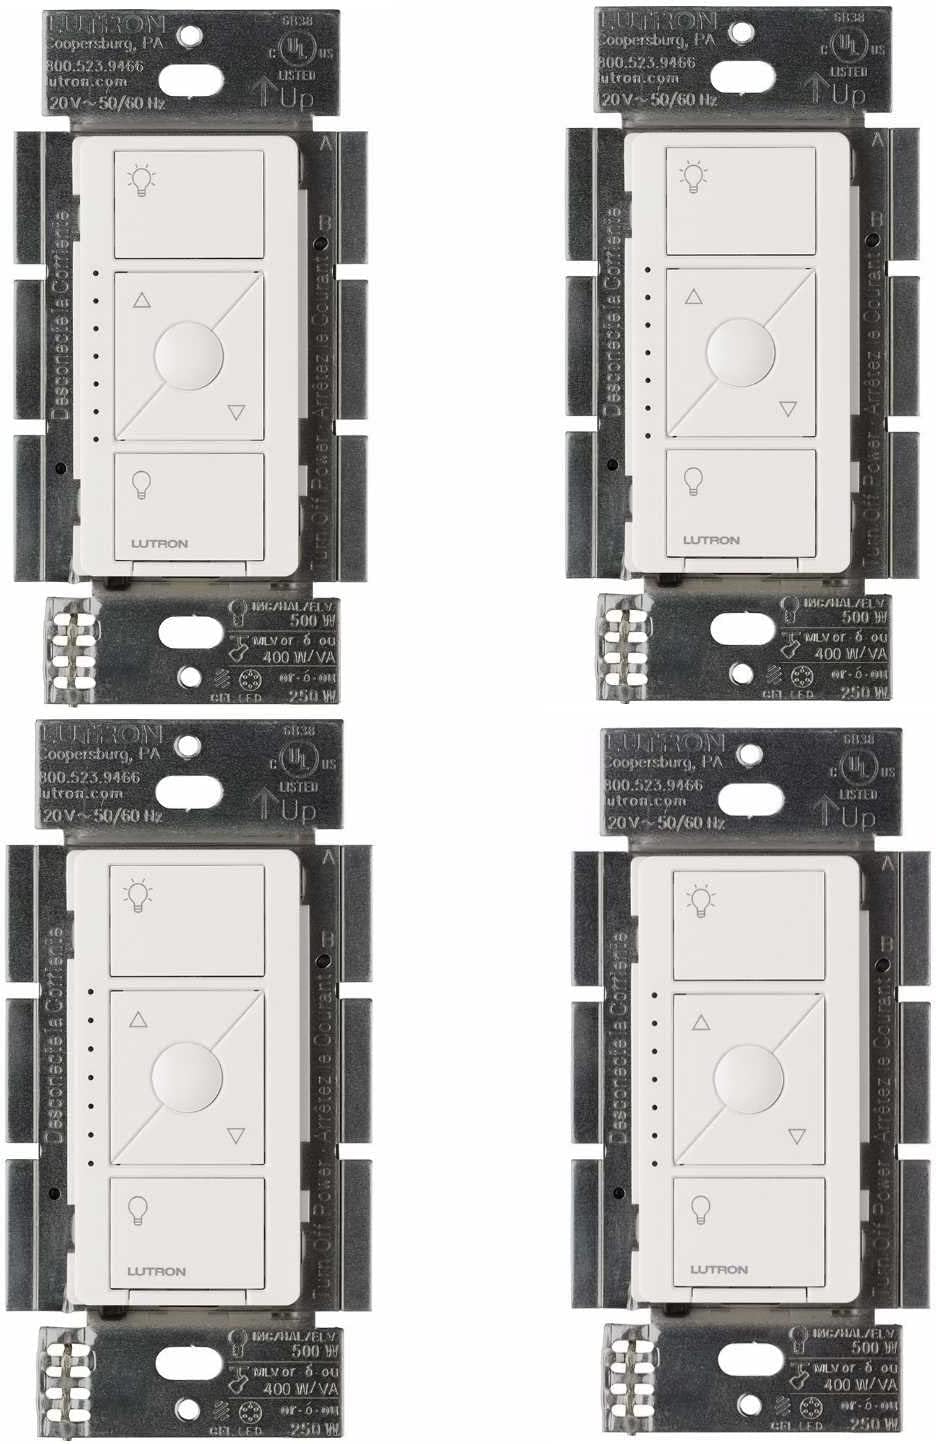
How Do I Install the Lutron Caseta Dimmer Switch?
- Power not off at the breaker
- Line/load not identified
- Assuming a neutral is needed (it isn't for PD-6WCL)
Problem Description
You are installing the Lutron Caseta dimmer switch in your wall box. Check wiring and load compatibility before starting — the Caseta dimmer needs line (hot), load, ground, and neutral wires. It supports up to 150W of dimmable LED or 600W of incandescent. This guide covers wiring identification, switch installation, and pairing with the Smart Bridge.
Why This Happens in Real Homes
The Caseta dimmer (PD-6WCL) installs without a neutral wire — just line, load, and ground — which is why it works in older boxes that lack a neutral. Cut power at the breaker and verify before wiring.
Match line and load per the diagram, cap any 3-way companion and use a Pico as the wireless companion instead, then pair it to the Smart Bridge in the app. Use dimmable LEDs on Lutron's compatibility list; flicker after a correct install is a bulb-compatibility issue, addressed with the right bulbs and the low-end trim.
Symptoms
- Which wires where
- No neutral question
- Will not power on
- Single-pole vs 3-way
- Flicker after install
- Will not pair
- Wallbox crowded
- Power still on
Recognize these? Here's what usually causes it.
Common Causes
- Power not off at the breaker
- Line/load not identified
- Assuming a neutral is needed (it isn't for PD-6WCL)
- 3-way companion still wired
- Non-compatible LEDs
- Not paired to the Bridge
- Ground not connected
- Wallbox depth
Most fixes happen in the first 3 steps.
Always turn off the circuit breaker before working on any electrical wiring. Smart switch installation involves line voltage that can cause serious injury or death. If you are not comfortable working with electrical wiring hire a licensed electrician. Never exceed the switch maximum load rating with your connected fixtures.
Tools & Requirements
These tools will help you complete this fix.

Screwdriver
STREBITO 155 in 1 Electric Screwdriver Set, Small El...

Voltage tester
Klein Tools 80196 Digital Multimeter Kit with Case, ...
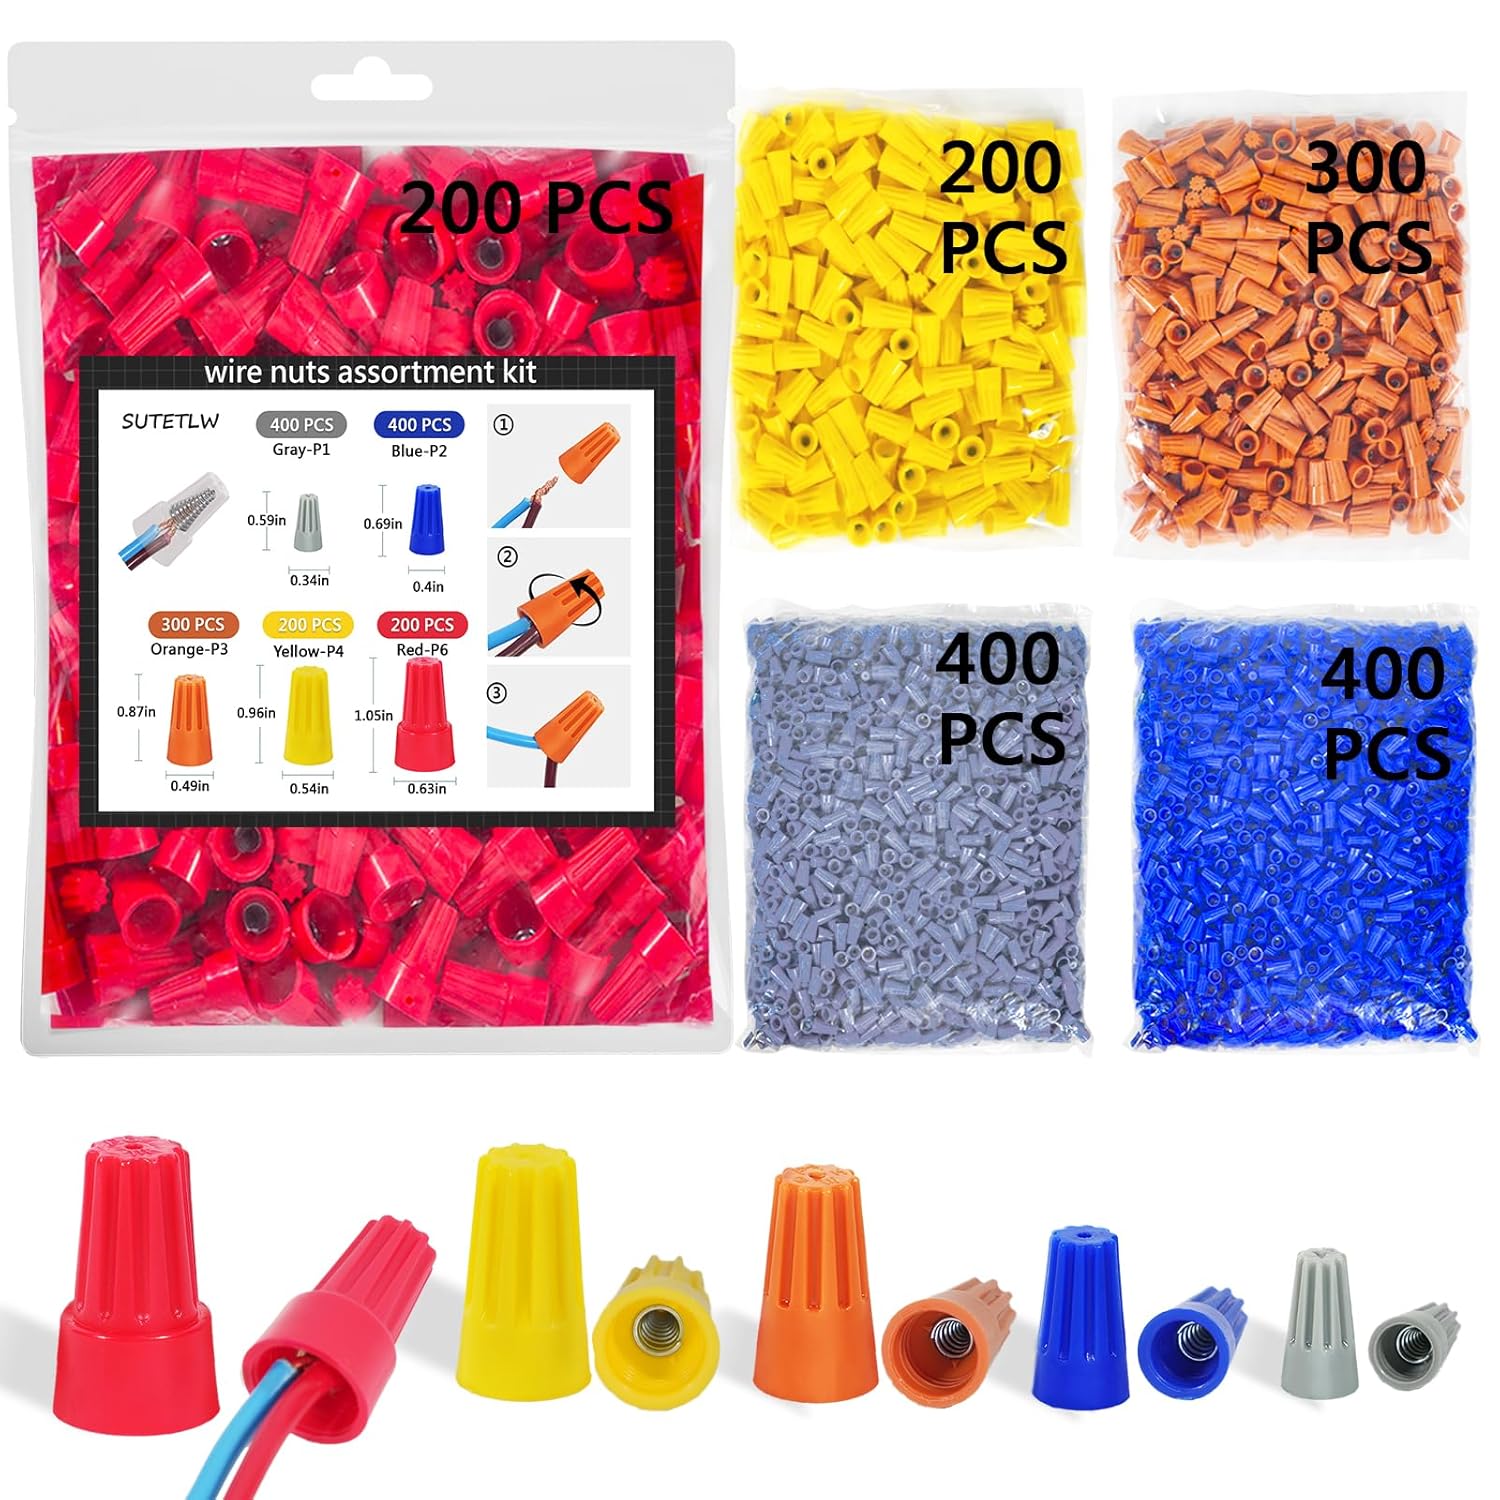
Wire nuts
Wire Nuts Assortment Kit 1500 PCS Insulating Insert ...
As an Amazon Associate we earn from qualifying purchases.
Step-by-Step Solution
Check wiring and load compatibility
The Lutron Caseta dimmer (PD-6WCL) works with dimmable LEDs (up to 150W), incandescent bulbs (up to 600W), and halogen bulbs (up to 600W). It does not require a neutral wire — it works in 2-wire boxes. Check that your bulbs are dimmable (non-dimmable LEDs flicker or buzz with dimmers). The Caseta dimmer is not compatible with ceiling fans, appliances, or receptacles — use the Caseta switch (PD-6ANS) for those.
Needed for this step
Wire Nuts Assortment Kit 1500 PCS Insulating In...
This helps complete the fix you are currently reading.
$29.99Install the dimmer switch
Turn off the circuit breaker. Remove the existing switch. The Caseta dimmer has 2 wires (plus a green ground). Connect one wire to the hot/line wire and the other to the load wire going to the light fixture. Connect the green wire to ground. Polarity does not matter for the two main wires. Mount the dimmer to the box with screws. Attach the included Claro wallplate (Lutron's design — standard Decora plates also fit). Turn the breaker back on.
Pair with the Caseta Smart Bridge
The Caseta dimmer communicates via Lutron's Clear Connect RF protocol (not WiFi). It requires a Caseta Smart Bridge (or Smart Bridge Pro) for app control and voice assistant integration. Plug in the Smart Bridge and connect it to your router via Ethernet. In the Lutron app, add the dimmer: + > Add Device > Dimmer > follow the pairing prompts. Press the button on the dimmer when prompted.
Set minimum brightness level
Some LED bulbs flicker or turn off at very low dim levels. In the Lutron app, set the minimum brightness (also called 'low-end trim'). Go to the dimmer settings > Advanced > Low End Trim. Increase until the bulb dims smoothly without flickering at its lowest level. This is specific to your bulb model — different LEDs have different minimum dim points. Start at 15-20% and adjust down until you find the lowest stable point.
Set up Pico remote for 3-way control
Instead of wiring a traditional 3-way switch, Caseta uses a Pico remote as the second switch point. Mount the Pico remote in a standard wallplate bracket at the second switch location. In the Lutron app, pair the Pico with the dimmer: add the Pico as a device, then associate it with the dimmer. The Pico controls the dimmer wirelessly — no extra wiring between switch locations needed. This is a major advantage in homes where running new wires is difficult.
Quick Solutions
Still having issues? This is usually the deeper cause below.
If flickering only happens on dimming, the issue is almost always the dimmer's minimum-load setting, not the bulb — it's drawing less current than the dimmer expects.
["No neutral wire needed", "Works with most LED bulbs", "Check bulb compatibility list"] **Product Intelligence:** - Requires Caseta Smart Bridge - Clear Connect RF (not WiFi) - HomeKit/Alexa/Google compatible
Battery-related failures are almost always flagged too late — the device degrades silently for days before the app catches up to what's actually happening.
- Power not off at the breaker
- Line/load not identified
- Assuming a neutral is needed (it isn't for PD-6WCL)
- 3-way companion still wired
- Non-compatible LEDs
Before you go — try one of these (they fix most cases).
Most popular upgrades chosen by Lutron Caseta owners.

Lutron Caseta Deluxe Smart Dimmer Switch Kit, Compatible ...

Lutron Diva Smart Dimmer Switch with Wallplate and Pico S...

Lutron Pico Remote for Caseta Smart Switch, 2-Button Cont...
As an Amazon Associate we earn from qualifying purchases.
Official Manufacturer Manual
If you need the complete manufacturer documentation for advanced setup, wiring diagrams, or detailed specifications, you can download the official manual below. The manual includes full technical instructions directly from the manufacturer and may help if your issue requires deeper troubleshooting.
Download the Official Lutron Caseta ManualSource: lutron.com
Need More Help? Lutron Support
Note: The contact information below connects you directly to Lutron's official customer support team, not Trunetto. They can help with warranty claims, device replacements, and advanced technical issues.
Accessories owners commonly pair with Lutron Caseta.

Lutron Caseta Smart Lighting Smart Hub Repeater, Expands ...

Lutron Caseta Smart Fan Speed Control Switch (Smart Hub R...

Lutron Caseta Smart Fan Speed Control Switch (Smart Hub R...
As an Amazon Associate we earn from qualifying purchases.