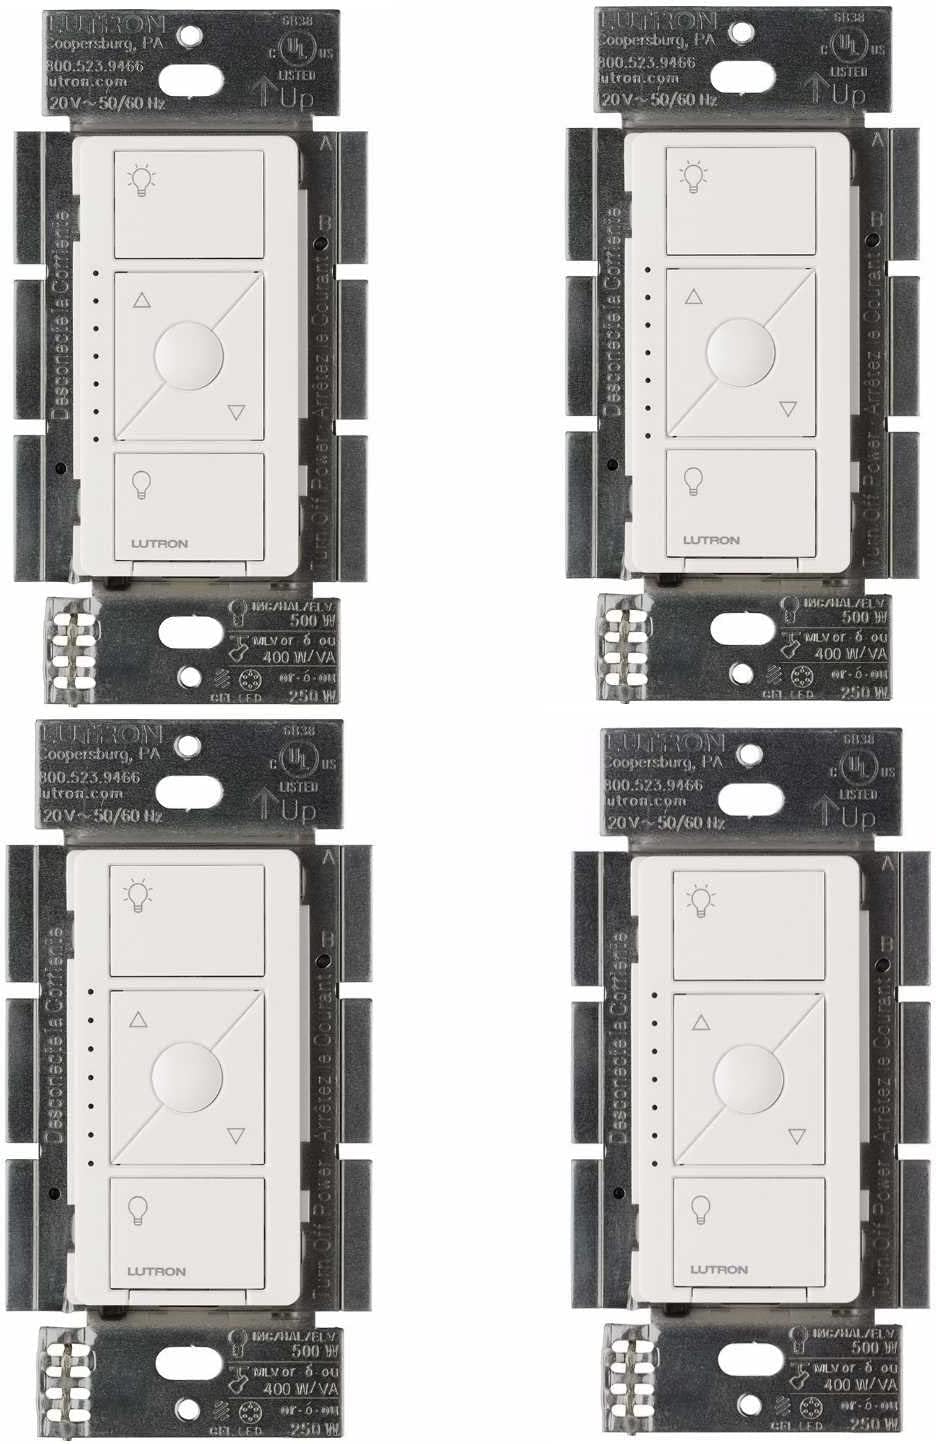
How Do I Pair the Lutron Caseta Pico Remote?
- Not added through the Lutron app
- Related dimmer wiring not verified
- Battery not activated
Problem Description
You are pairing the Lutron Caseta Pico remote in a setup where you need to verify electrical wiring at the switch box. If replacing a wall switch with a Pico-only setup (no hardwired Caseta switch), you need to cap the switch wires and use a Pico wall plate. This guide covers wiring verification, wire capping, and Pico installation.
Why This Happens in Real Homes
This covers pairing a Pico where it's acting as a companion to a Caseta dimmer (like a 3-way replacement) — so before pairing, it's worth verifying the dimmer's wiring (breaker off) is correct and any old mechanical companion is removed. The Pico itself is wireless and pairs in the app.
Add the Pico in the Lutron app and assign it to the same load as the dimmer so both control the light, with the battery active and within RF range. Getting the dimmer wiring right first (single-pole, old companion capped) is what makes the Pico-as-companion setup behave.
Symptoms
- Pairing the Pico with wiring context
- Verify device before pairing
- Will not pair
- Pico for a 3-way companion
- Battery/activation
- Assign to the switch
- Out of range
- Setup unclear
Recognize these? Here's what usually causes it.
Common Causes
- Not added through the Lutron app
- Related dimmer wiring not verified
- Battery not activated
- Not assigned to the switch/load
- Out of RF range
- Bridge issue
- Firmware issue
- Old companion wiring left in place
Most fixes happen in the first 3 steps.
Always turn off the circuit breaker before working on any electrical wiring. Smart switch installation involves line voltage that can cause serious injury or death. If you are not comfortable working with electrical wiring hire a licensed electrician. Never exceed the switch maximum load rating with your connected fixtures.
Tools & Requirements
These tools will help you complete this fix.
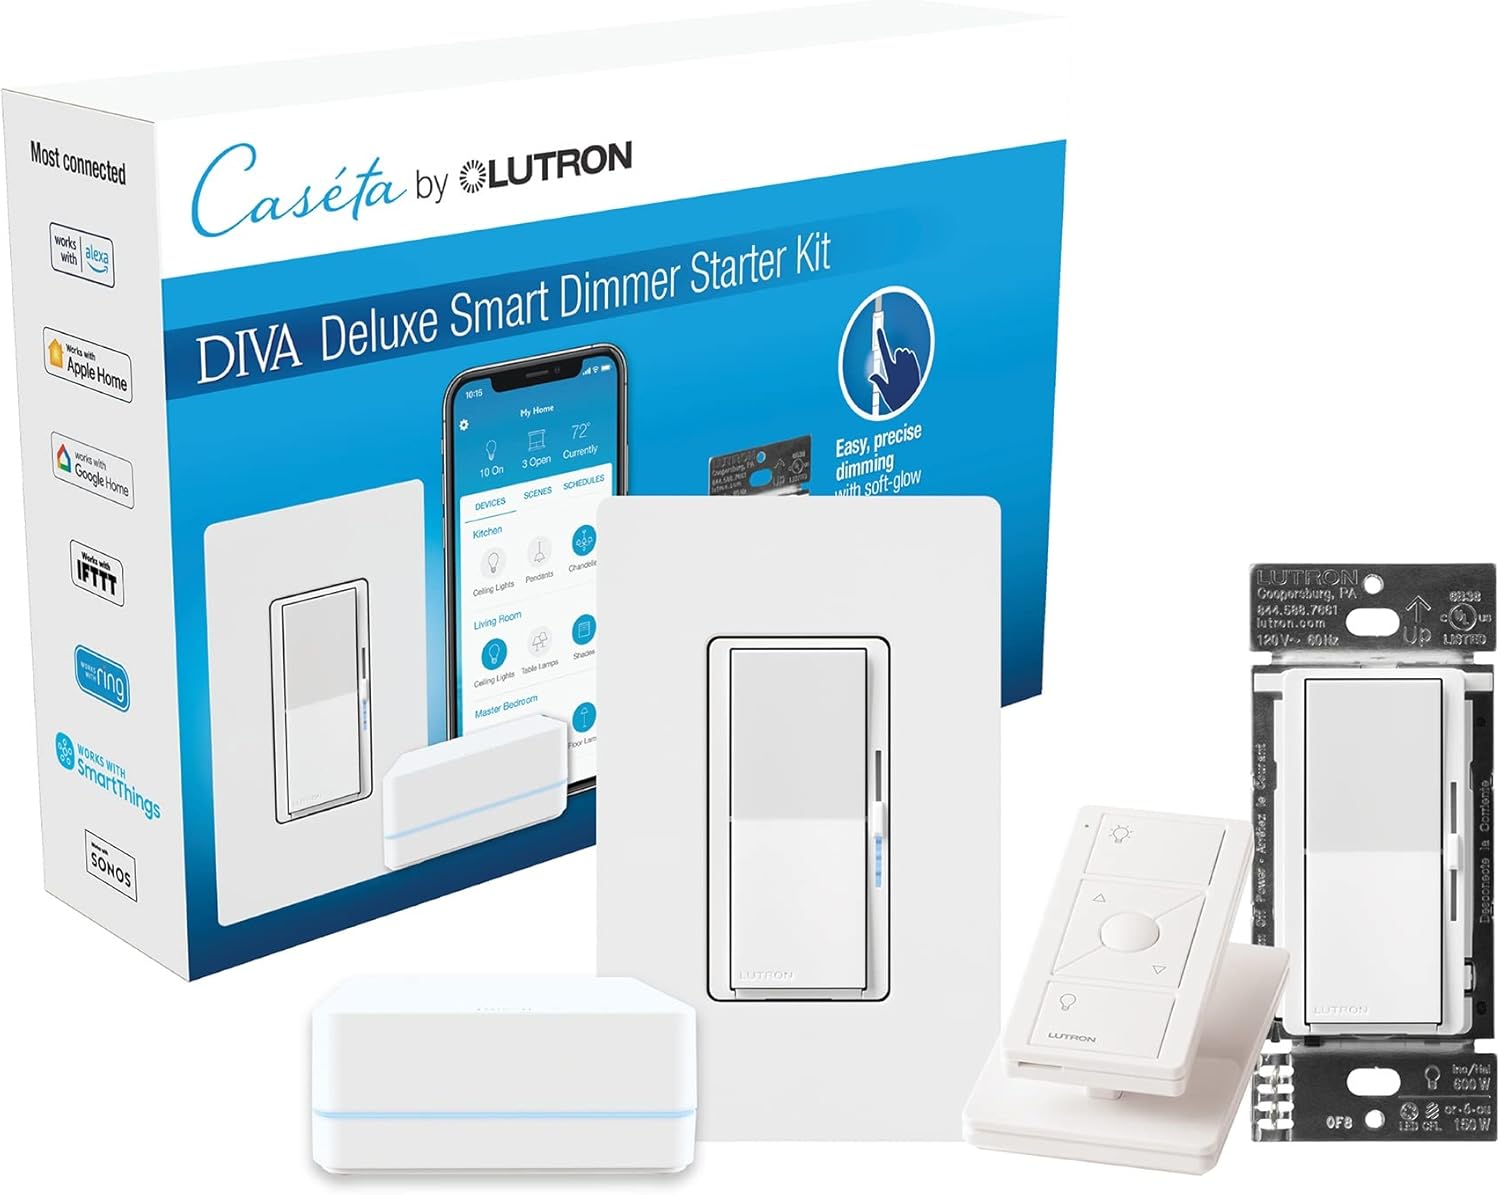
Pico remote
Lutron Deluxe Diva Smart Dimmer Kit for Caseta Light...

Wall plate optional
Lutron Caséta Wireless Wall Plate Bracket for Pico S...
As an Amazon Associate we earn from qualifying purchases.
Step-by-Step Solution
Verify Electrical Wiring at the Switch Box
Turn off the circuit breaker for the switch before opening the wall plate. Pull the switch out gently and verify the line wire carrying power, the load wire going to the fixture, the neutral wire, and the ground wire are all connected to the correct terminals as shown in the switch installation guide. Smart switches require a neutral wire which older homes may not have in every switch box. If neutral is missing you need a no-neutral switch model.
Needed for this step
Lutron Caséta Wireless Wall Plate Bracket for P...
This helps complete the fix you are currently reading.
$18.74Confirm the Switch Has Power
After verifying wiring turn the breaker back on. The switch LED or indicator should light up confirming it has power. If the LED does not light check that the breaker is fully on and not tripped. Test the outlet or another device on the same circuit. If other devices work but the switch does not, there may be a wiring issue at the switch. Turn the breaker off again and double check all wire connections are tight and on the correct terminals.
Connect the Switch to WiFi or Hub
Open the manufacturer app and tap Add Device. Select your switch type from the list. Put the switch into pairing mode by pressing the config button or toggling it on and off quickly as specified in the manual. The switch LED should blink indicating pairing mode. The app will scan and find the switch. Enter your 2.4GHz WiFi password when prompted and wait for the connection to complete. You should see a success message in the app.
Test Physical and App Controls
Press the physical switch paddle or button to turn the connected light or fixture on and off. Verify it responds instantly. Then test from the app by tapping the on and off control. Both methods should work independently. If the switch supports dimming, test the dimmer by holding the paddle or using the app slider. Verify the light dims smoothly without flickering. Flickering with LED bulbs usually means the bulbs are not dimmer-compatible.
Configure Multi-Way Switch Setup
If the switch controls a light from multiple locations like a 3-way setup, verify the companion switch or add-on switch is also properly wired and paired. In most smart switch systems the main switch goes in one box and a companion switch replaces the other. Some systems use the existing dumb switch as the companion. Test from both switch locations to make sure the light toggles correctly and the app reflects the current state accurately.
Set Up Schedules and Voice Control
In the app create schedules to automatically turn lights on at sunset and off at bedtime. Link the switch to Alexa or Google Home by enabling the brand skill and discovering devices. Give the switch a clear name matching the room like Kitchen Lights or Porch Light. Test voice commands to confirm they control the correct fixture. Set up scenes that control multiple switches at once for arriving home or movie night.
Quick Solutions
Still having issues? This is usually the deeper cause below.
If pairing fails after multiple attempts, the device may still be registered to a previous account — factory-reset it before trying to add it to a new one.
["Multiple Picos can control one switch", "Pico also works as scene controller", "No wiring needed for Pico"] **Product Intelligence:** - Requires Caseta Smart Bridge - Clear Connect RF (not WiFi) - HomeKit/Alexa/Google compatible
Pairing failures almost always come down to distance during the initial handshake — manufacturers seriously understate how close you actually need to be.
- Not added through the Lutron app
- Related dimmer wiring not verified
- Battery not activated
- Not assigned to the switch/load
- Out of RF range
Before you go — try one of these (they fix most cases).
Official Manufacturer Manual
Lutron provides official product documentation through their online manual rather than downloadable PDF. Access setup guides, troubleshooting steps, and product specifications for your Lutron Caseta Pico.
Source: support.lutron.com
Need More Help? Lutron Support
Note: The contact information below connects you directly to Lutron's official customer support team, not Trunetto. They can help with warranty claims, device replacements, and advanced technical issues.
Accessories owners commonly pair with Lutron Caseta Pico.

Amazon Smart Plug, Works with Alexa, Simple Setup, Endles...

Sengled Smart Light Bulbs, Color Changing Alexa/Bluetooth...

Sengled Alexa Light Bulb, S1 Auto Pairing with Alexa Devi...
As an Amazon Associate we earn from qualifying purchases.